If you’re a food blogger, you’ll know how important it is to showcase your recipes in the most appealing way possible. After all, stunning food photography can help you attract more traffic and even increase your sales. But with so many different props to choose from, it can be tough to know where to start.
In this post, we’ll explore the essential factors to consider when selecting props for your food photography. We’ll also provide tips on how you can choose the best options for your brand and style.
If you’re ready to take your food photography to the next level, read on!
8+ Useful Food Photography Props
Whatever style you opt for, there are a few props that are ‘must-haves’ for any great prop collection, including:
- Cutting boards
- Cutlery
- Napkins
- Cake stands
- Garnishes
- Cooking utensils
- Coolings racks
- Ingredients
Let’s take a closer look at why these props are some of the best prop options to master your food photography, no matter your budget.
1. Cutting boards for food styling
Cutting boards are an essential prop for food photography, as they provide a surface for both preparing and displaying ingredients. They come in a variety of materials, including marble, wood, and glass, and in different shapes and sizes to suit different needs. For example, a long, narrow cutting board can be great for showcasing a row of neatly sliced vegetables, while a round, marble cutting board can add a touch of elegance to a cheese board.
2. Cutlery to scale your food photography
Cutlery is an important prop for food photography, as it helps to show the scale and portion size of a dish. In addition, well-chosen cutlery can add visual interest to the photograph. Choosing gold metal or vintage utensils (depending on the aesthetic you’re striving for) can complement the food and create a more appealing overall image.
3. Napkins for visual accents
Napkins are a useful prop for food photography, as they can help add color and texture to your photographs. Like plates and cutlery, napkins come in a wide range of materials, patterns, and colors, so you can choose ones that complement your branding and aesthetic. For example, a simple white napkin can add a clean, modern look to your photographs, while a colorful patterned napkin can add visual interest and personality.
4. Cake stands for photographing baked goods
Cake stands are a great prop for showcasing desserts and baked goods. They come in various styles and materials, including glass, metal, and ceramic, and can add height and dimension to photographs of baked goods like cakes, cupcakes, or pastries.
5. Garnishes to elevate food photos
Garnishes are a useful prop for food styling, as they can add color and texture to your photographs and are widely accessible. Some popular garnishes include herbs, spices, fruit, and nuts. When using garnishes, be mindful of the flavors and textures of your dish, and choose garnishes that complement them. For example, a sprinkle of fresh herbs can add a pop of green to a pasta dish, while a sprinkle of nuts can add crunch to a salad.
6. Cooking utensils to showcase the cooking process
Cooking utensils are a useful prop for food photography, as they can help show the action and process of cooking. It conveys the idea that the dish was prepared with care and attention to detail, enhancing the authenticity of the image. Some popular cooking utensils to consider include whisks, spatulas, and tongs.
7. Cooling rack to make your recipes look mouthwatering
A cooling rack is a useful prop for food photography, as it can provide a textured, industrial look to your photographs. In addition, it provides context for baked goods, indicating that they have been freshly baked and are in the process of cooling down, enhancing your recipe’s overall appeal.
8. Ingredients from the recipe: A staple food photography prop
Finally, don’t forget to include ingredients from your recipe as props in your food photography. This can help add color, texture, and flavor to your photographs and show readers what goes into your dishes.
Remember, these are just a few suggestions for getting started with food photography props. Don’t be afraid to think outside the box and experiment with different props and styles to find what works best for you and your brand. With a little creativity and attention to detail, you can create stunning food photographs.
What to Consider When Choosing Props for Your Food Photography
When it comes to choosing plates and props for your food photography, there’s no one-size-fits-all approach. This is your chance to set your food blog apart and showcase what makes you unique. While there are a few key factors to consider when selecting your props, there’s no right or wrong way to do it – just choose what works best for you and your brand.
With that in mind, let’s take a look at a few key considerations to keep in mind when choosing plates and props for your food photography.
Neutral vs. Contrasting Food Photography Backdrops
When it comes to choosing props for your food photography, the color palette of your background props and surfaces is an important factor to consider. Your color scheme should complement your branding, but it also depends on the recipe you’re showcasing.
For example, if you’re highlighting a Mediterranean salad, you might want to use props with neutral colors to emphasize the vibrant ingredients in the dish. A white plate or linen napkin can help create a clean and simple look that allows the ingredients to stand out.
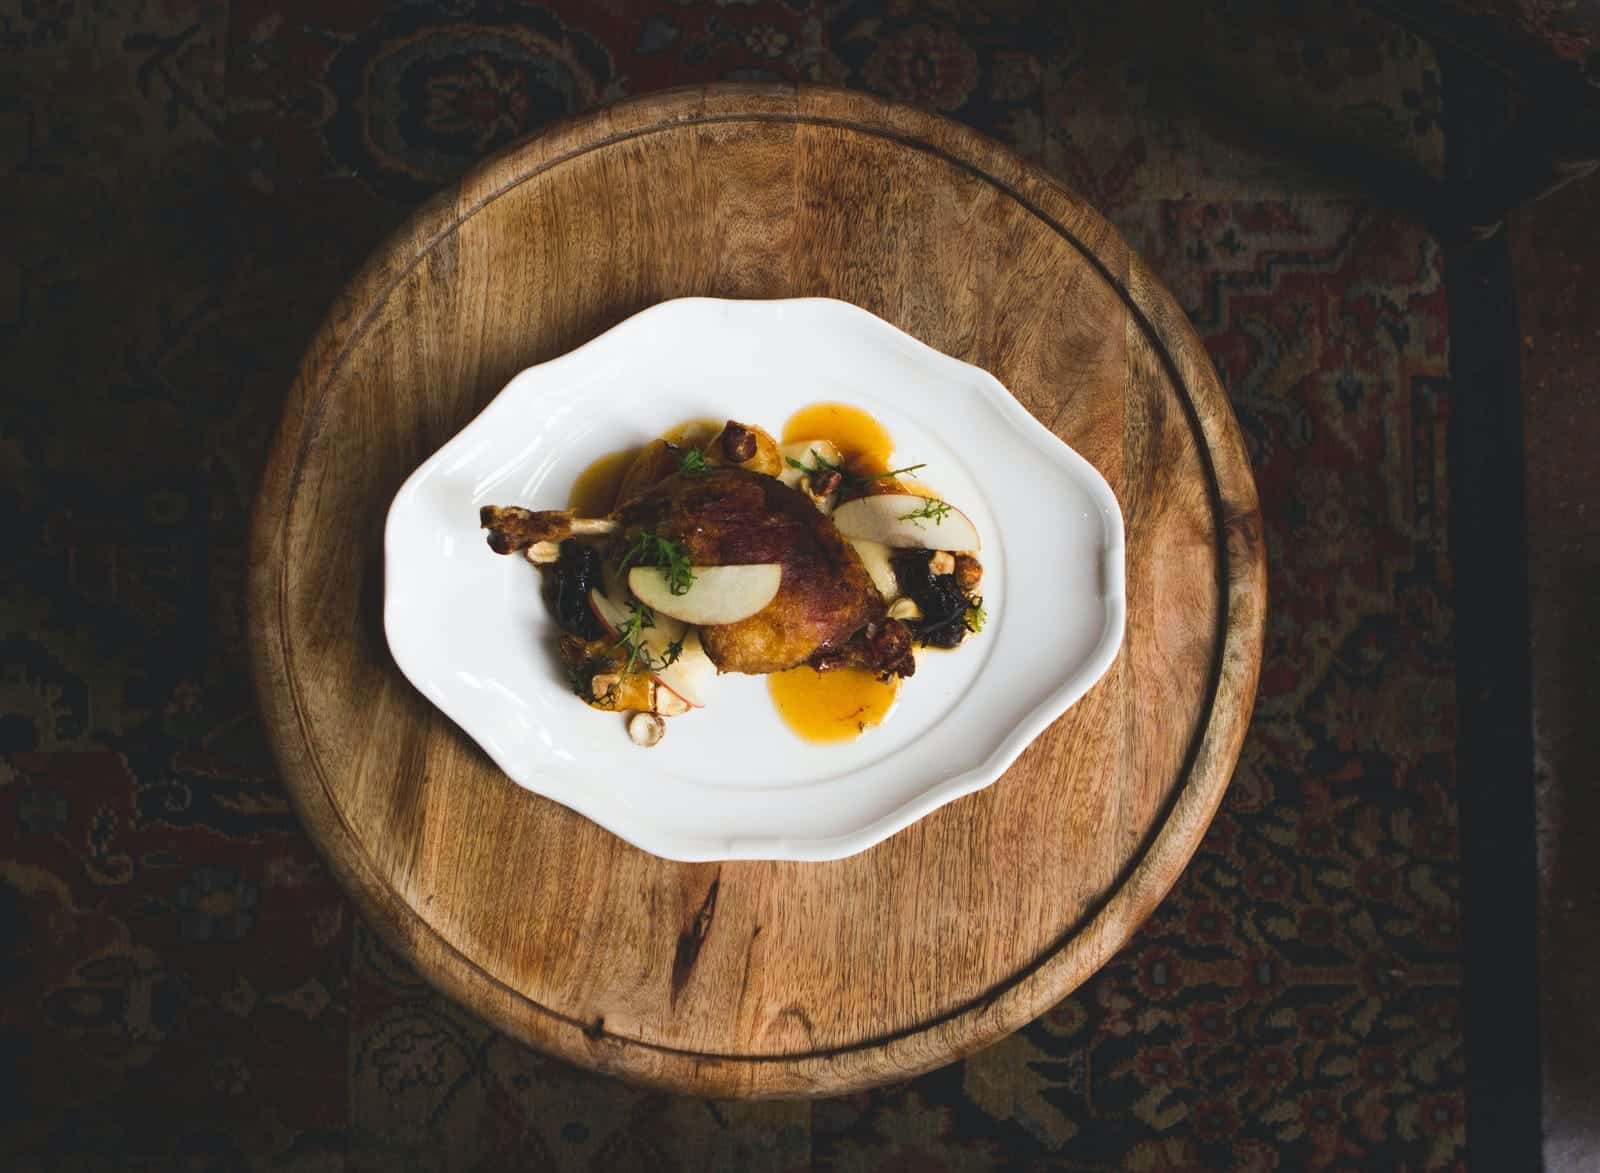
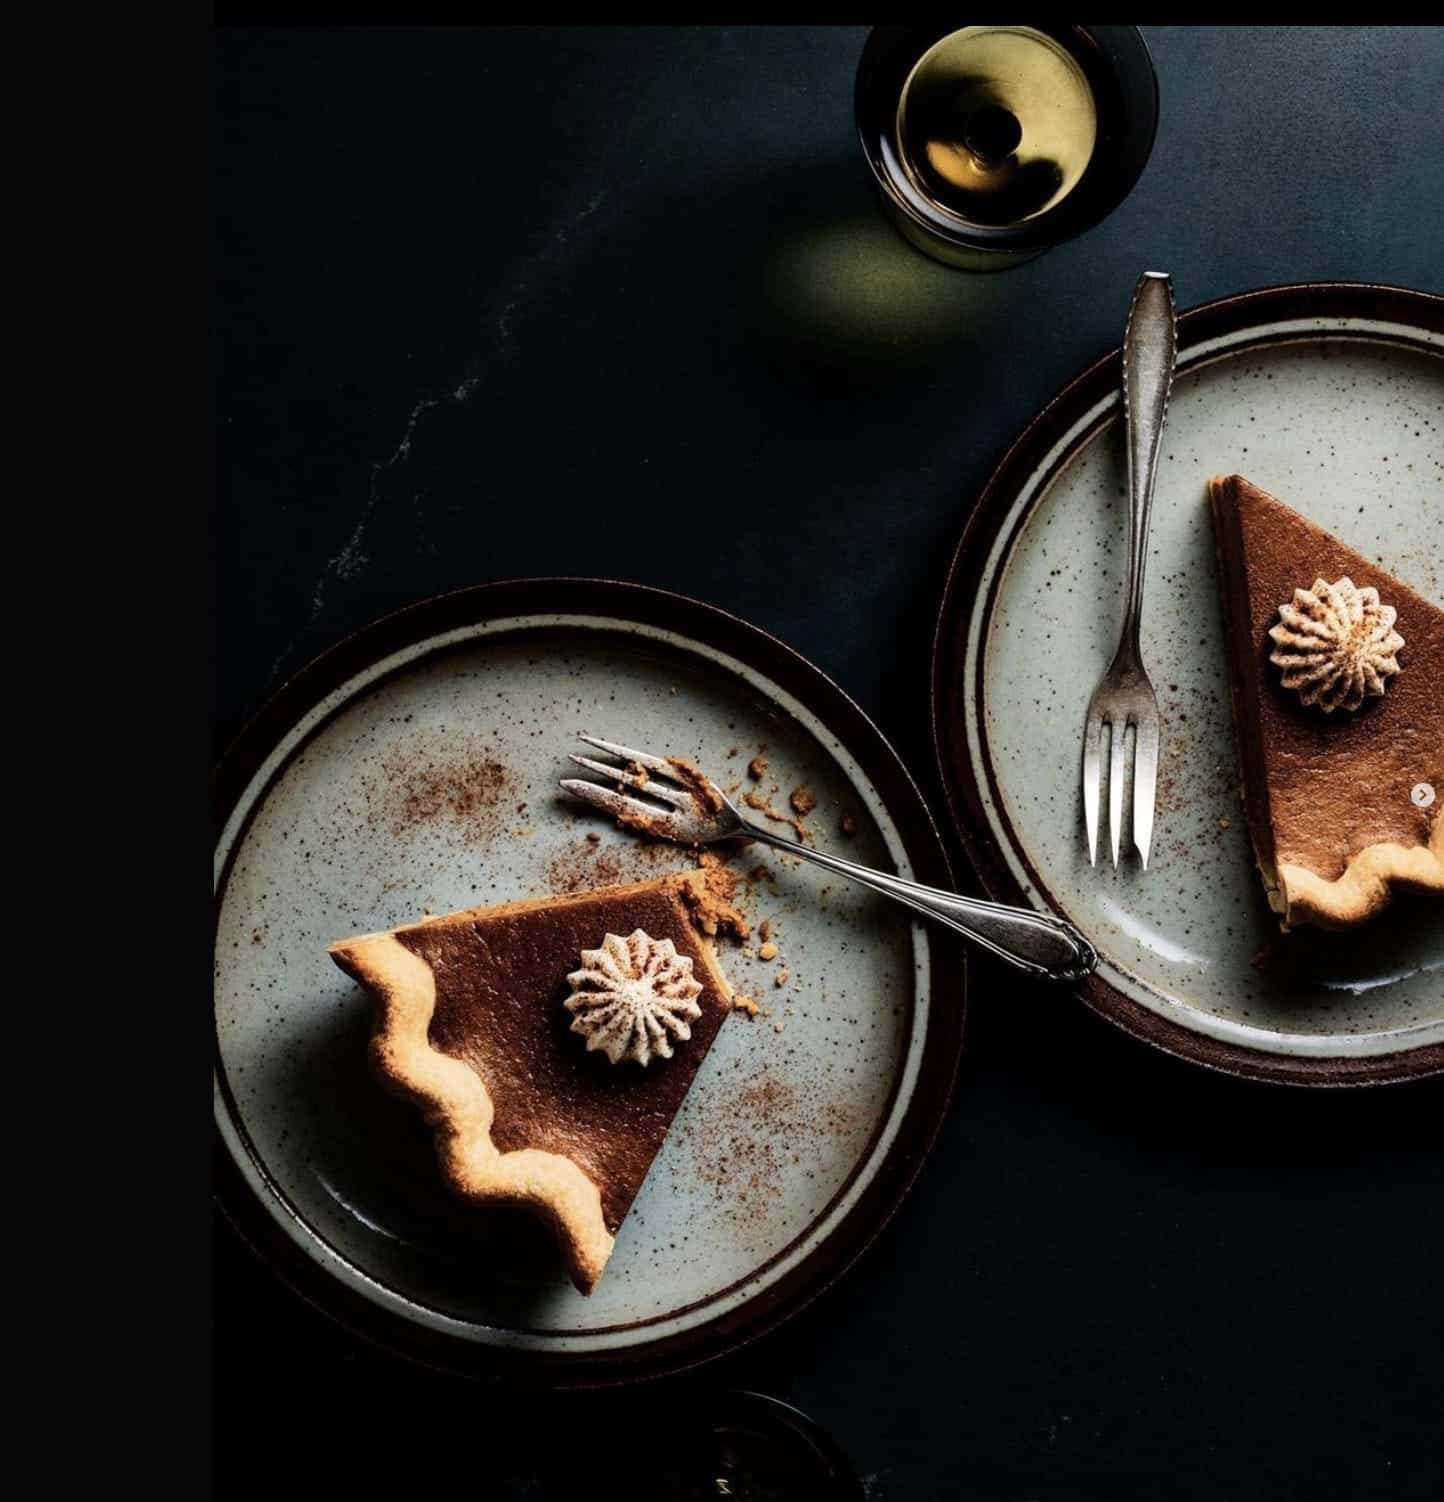
For example, here’s an example of a neutral backdrop as found on the Bread Journey Instagram page. The wooden plate and earth-toned linen create a clean and simple look that highlights the texture and flavor of the dish.

On the other hand, if you’re baking a colorful loaf of bread, you might want to incorporate more interesting color accents in your choice of props. A bold blue bowl or patterned tea towel could add visual interest and depth to your photograph. Consider this example by Nancy Anne Harbord:
While there’s no hard and fast rule about which colors to choose, most food photographers tend to favor neutral shades as a safe option. However, don’t be afraid to experiment with bolder shades if they suit your brand and the recipe you’re showcasing. The key is to find a balance that complements your dish and helps it stand out.
As you can see, both neutral and contrasting backdrops can work well in food photography, depending on the recipe and your desired aesthetic.
Minimalist vs. Maximalist Food Photos
When it comes to choosing plates and props for your food photography, it’s important to consider your desired aesthetic. Do you want to keep things simple and modern, or do you want to incorporate a more traditional feel?
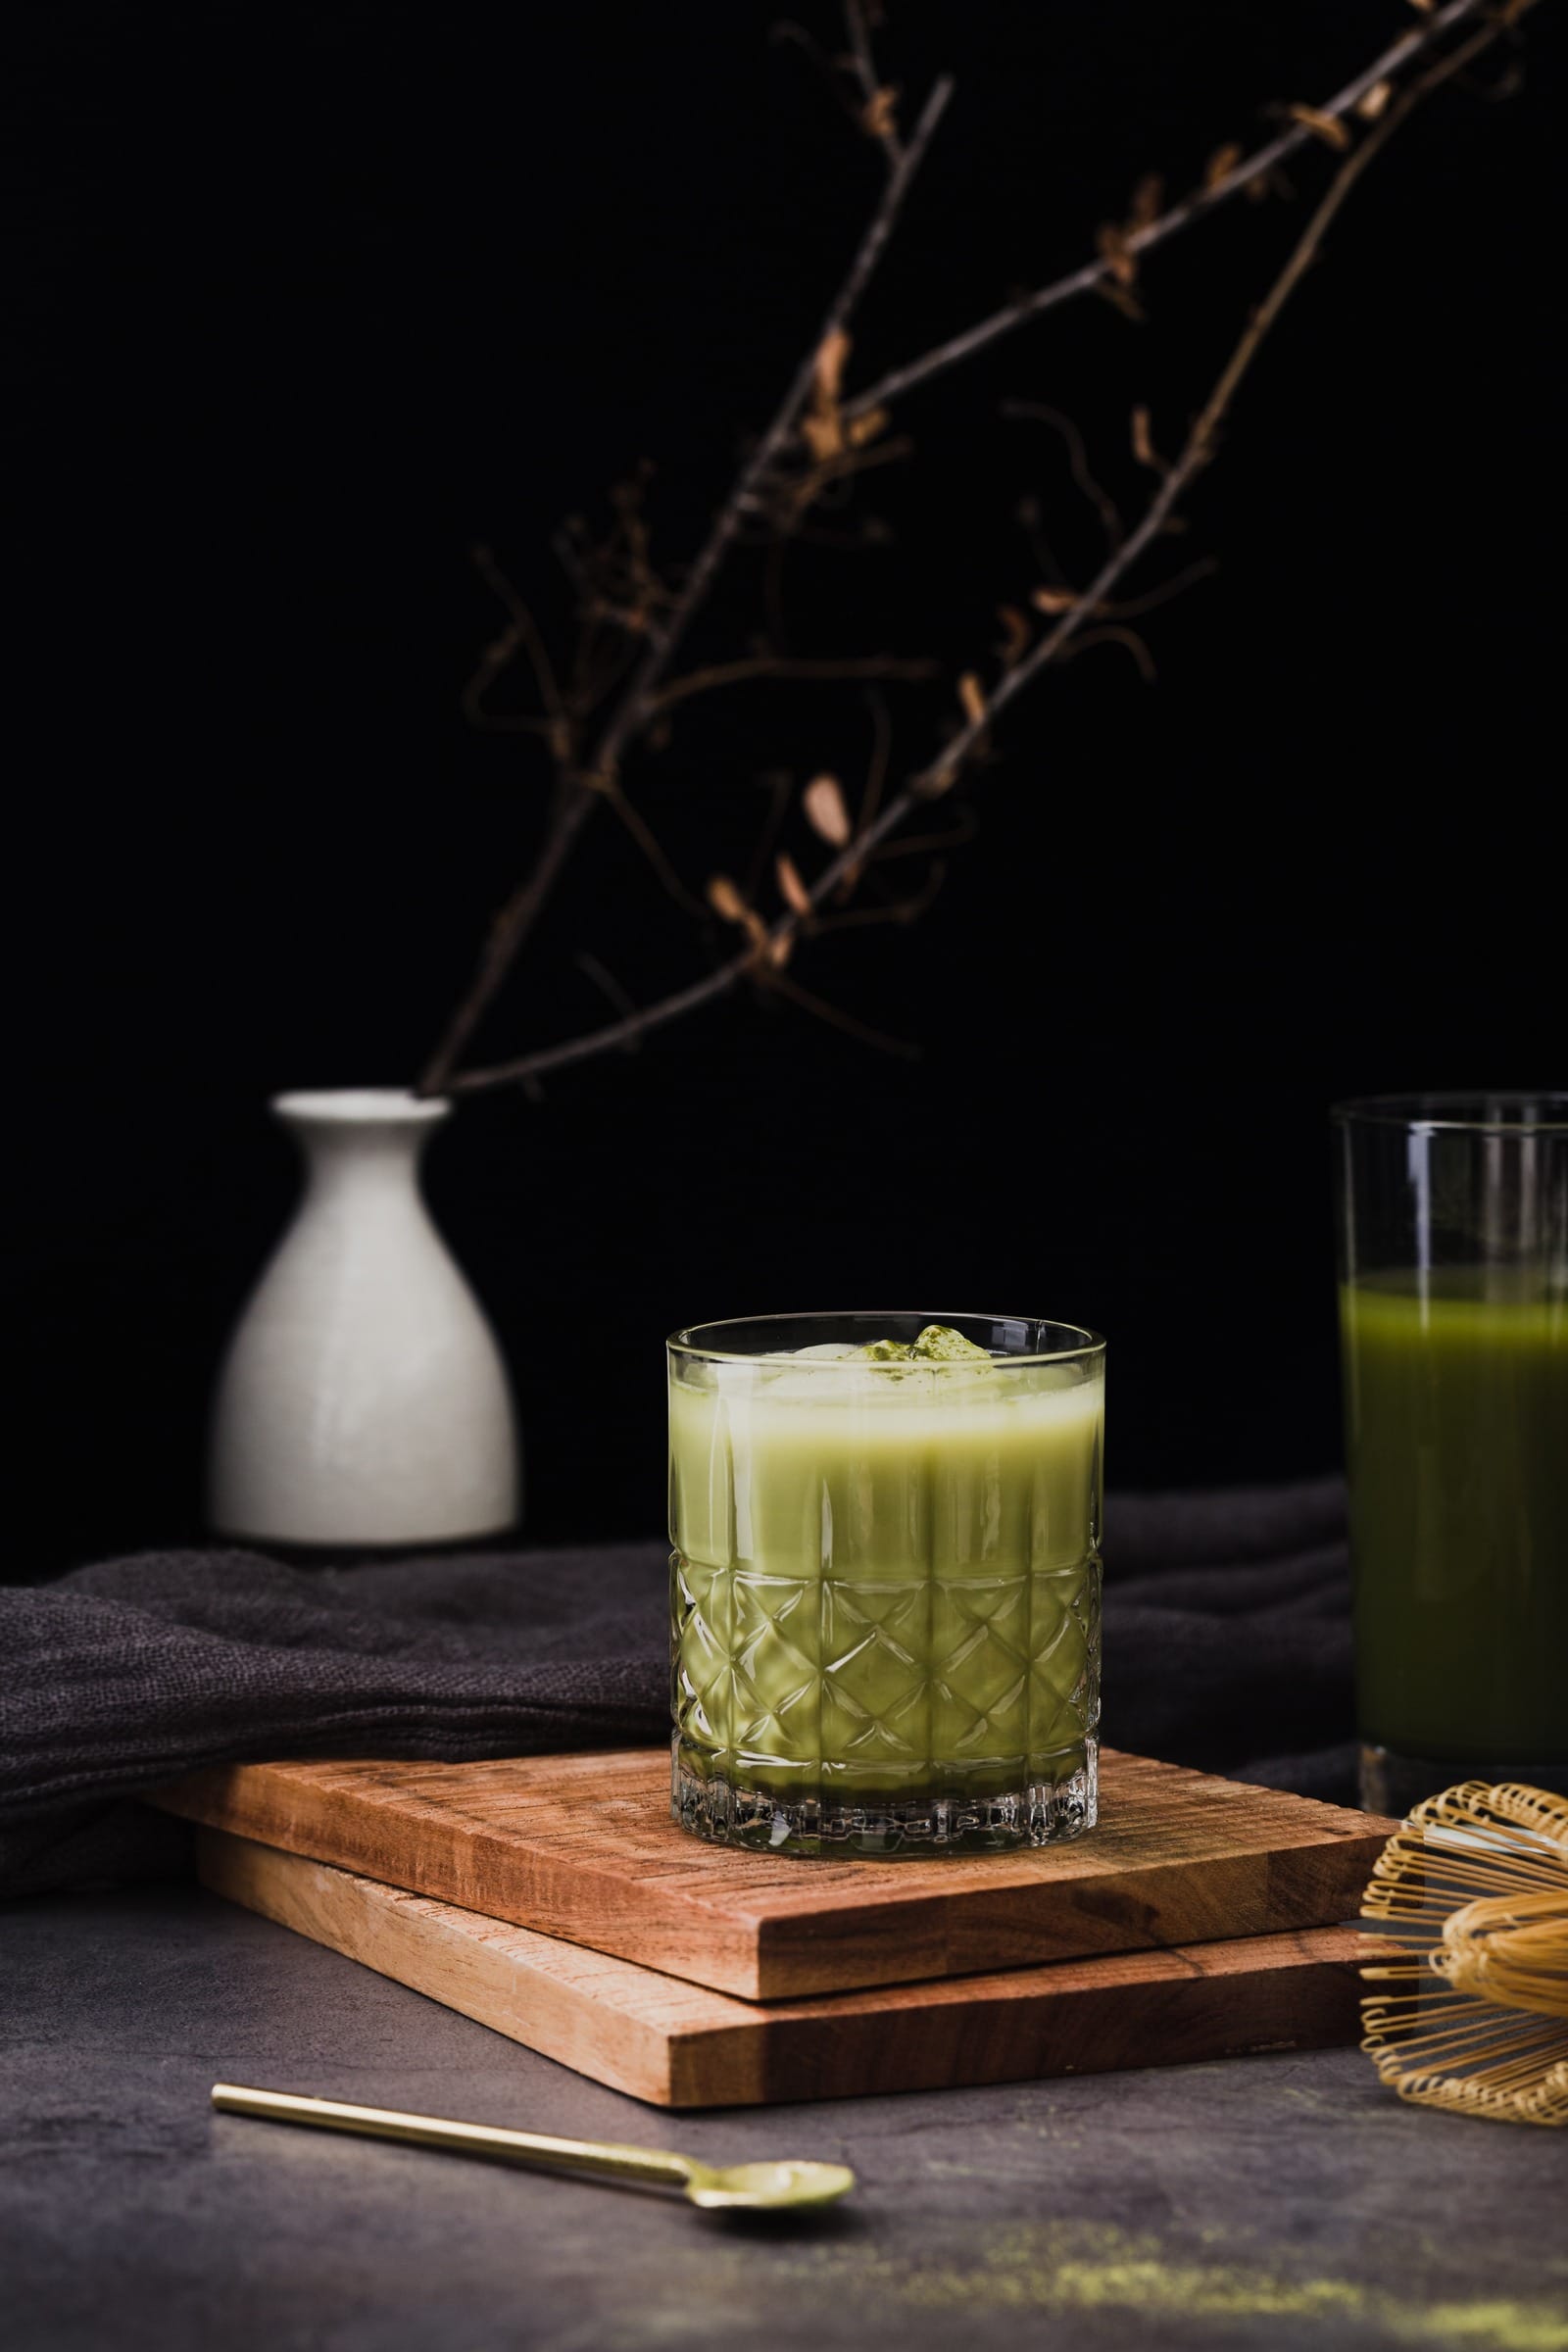
Minimalist food photography is a great option if you want to ensure your finished dish is the main focus. To achieve this look, try limiting the number of props you use and using negative space. Simple white plates, clean linens, and a few well-placed herbs can create a modern and streamlined look that puts emphasis on your food. Here’s an example of minimalist food photography from Rachel Korinek’s Instagram account, which incorporates just a few elements in the photo, including neutral-colored round plates:
If you want to showcase all your ingredients alongside your finished dish, or if you want to create a more traditional feel, maximalist food photography could be the way to go. This approach involves using more props and creating a more complex composition. Colorful patterns, textured fabrics, table decorations, and multiple ingredients can all help create a maximalist aesthetic.
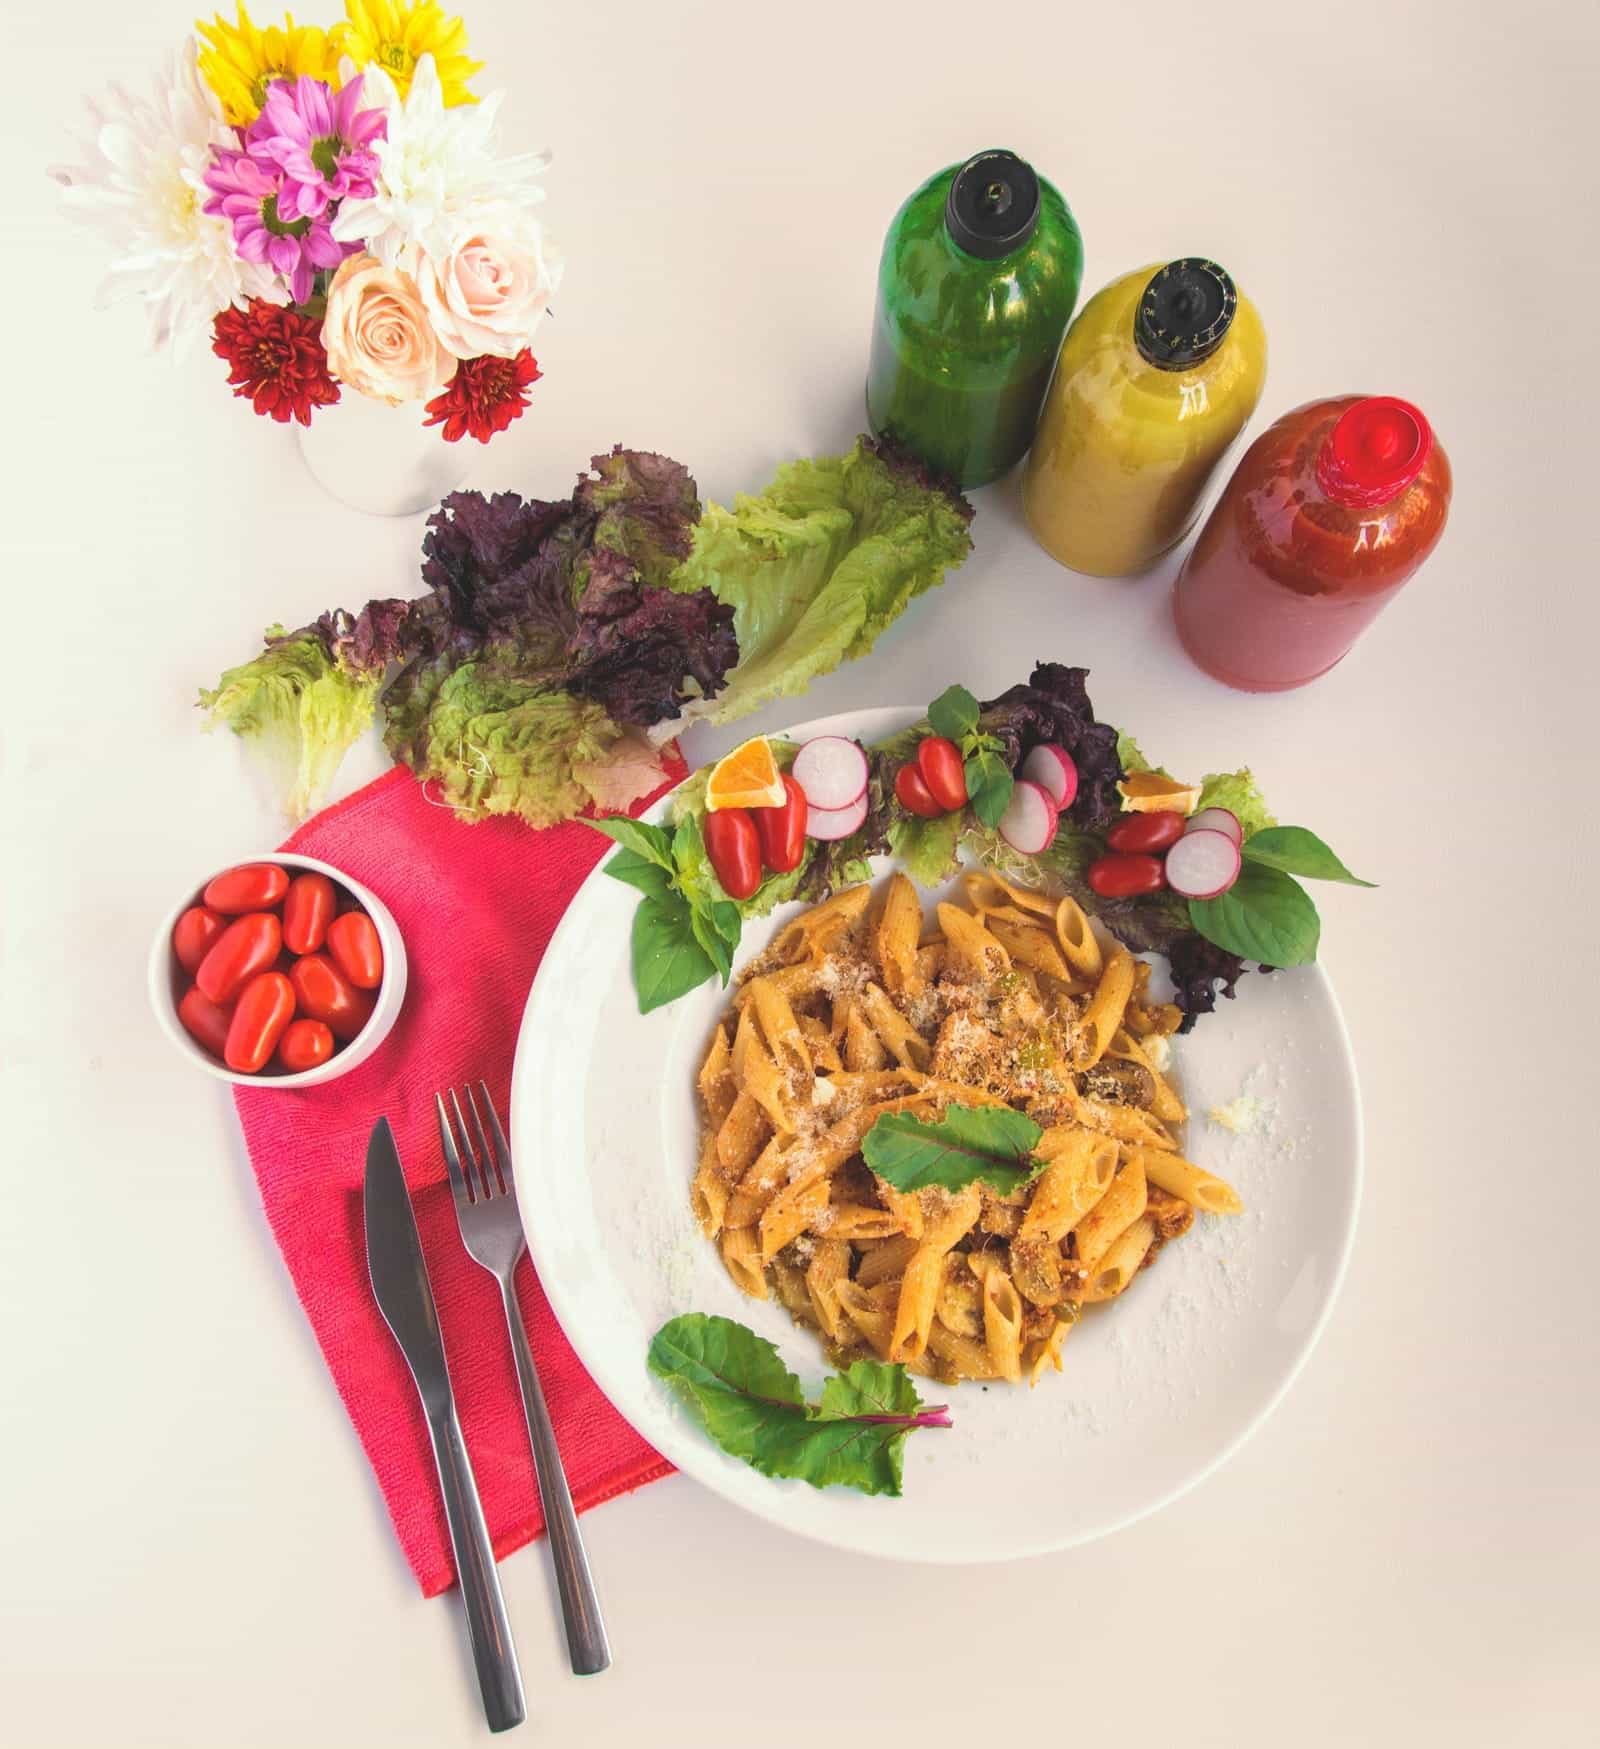
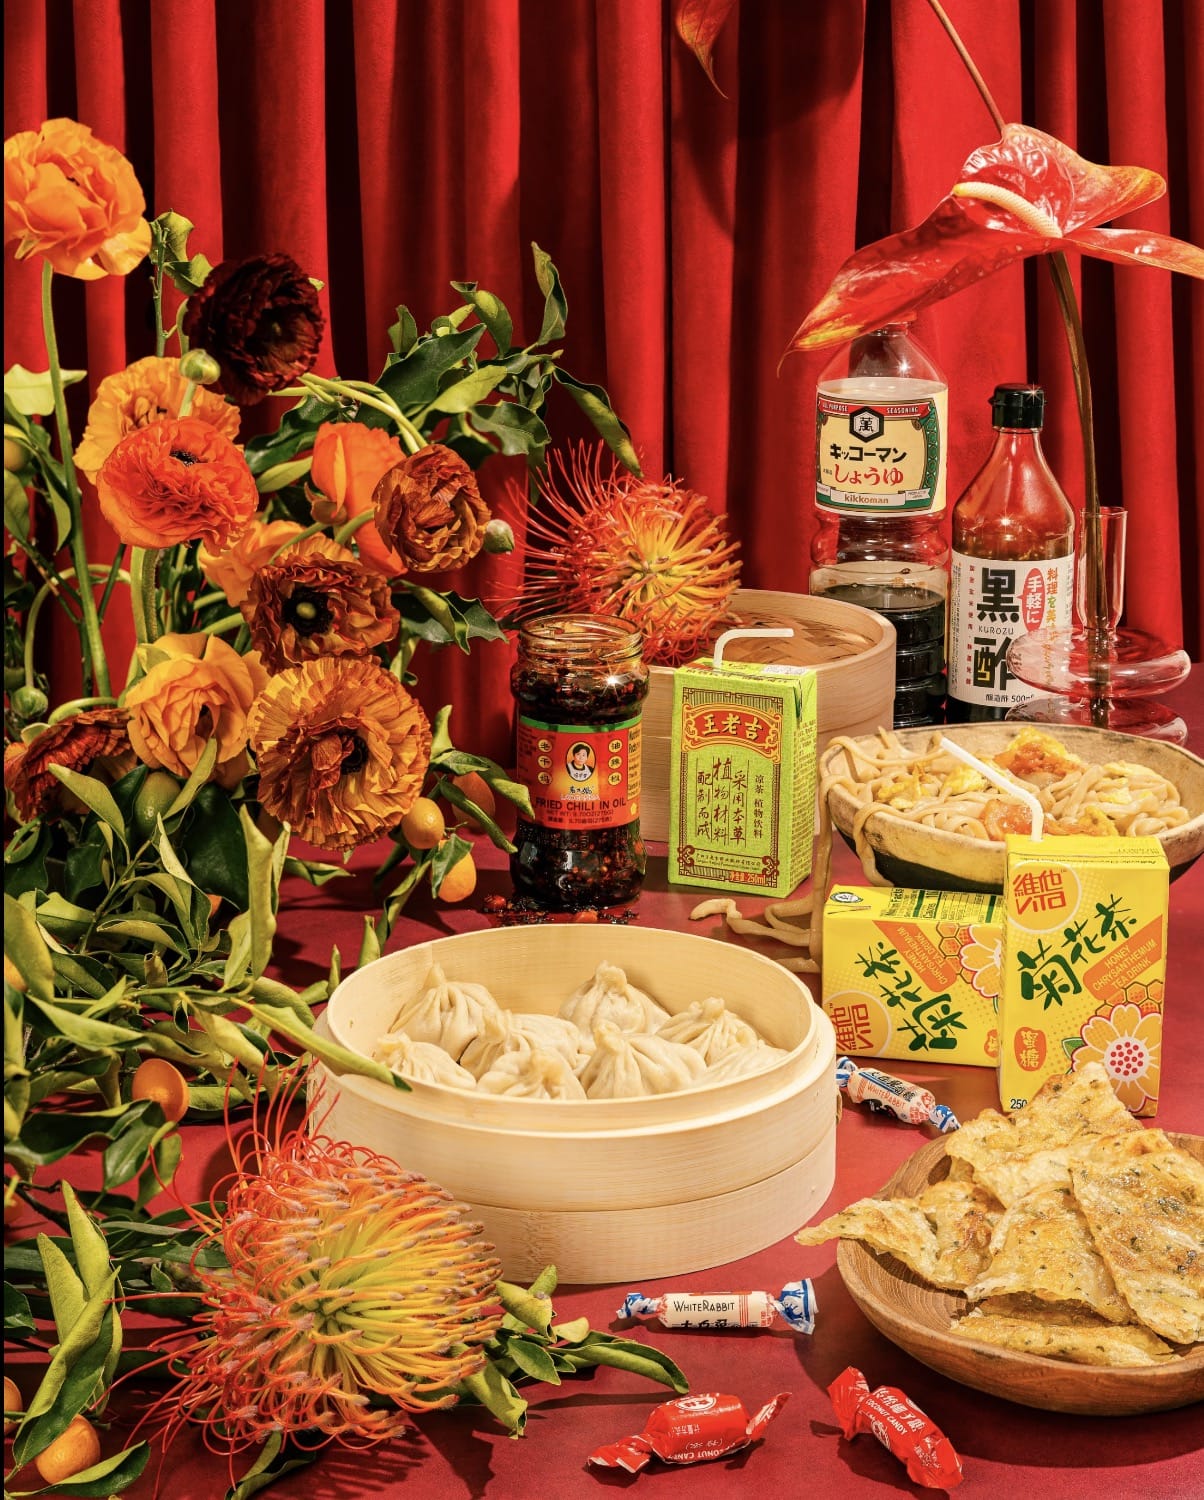
Here’s an example of maximalist food photography from a shoot titled Maximalist San Gabriel Snack Adventure, for WorkingNotWorking.com.
To achieve a successful minimalist or maximalist look in your food photography, there are a few key things to keep in mind:
- Minimalist:
- Use a limited number of props and make use of negative space
- Choose simple and clean props, such as plain, neutral-colored plates and untextured surface
- Pay extra attention to lighting and composition to make the dish stand out
- Maximalist:
- Incorporate multiple props and ingredients into the composition
- Choose colorful and textured props, such as patterned tablecloths and decorative serving dishes
- Choose textured linens, colorful dishes, and decorative serving pieces
- Be mindful of balance and composition to avoid clutter
Food Photography Style and Prop Selection
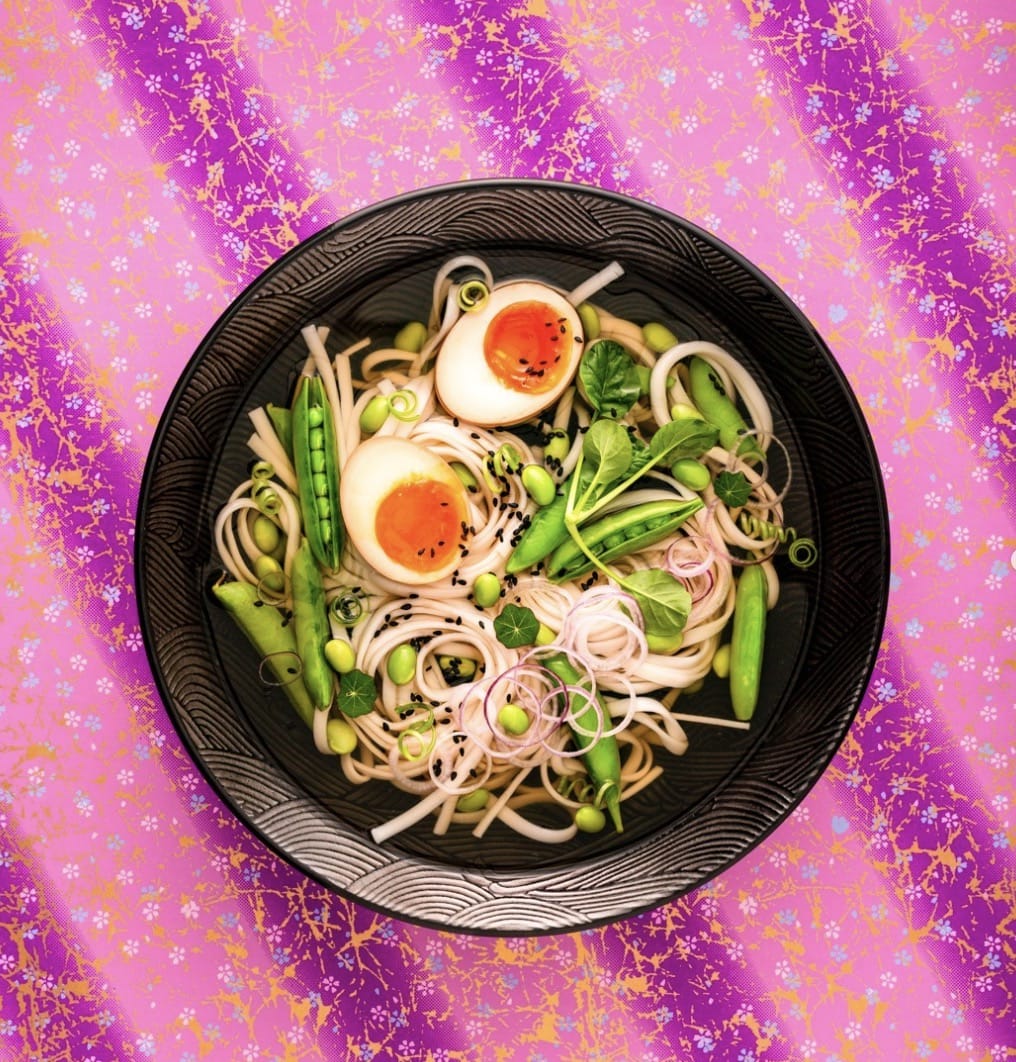
Depending on how you like to shoot your recipes, certain props may work better than others. For example, if you prefer to shoot from a bird’s eye view (these food photography angles work well with foods like soups, pizzas, etc.), you may want to stick to plates, flatware, and other props that don’t have much height. This will help create a balanced composition that doesn’t distract from the dish. Here’s an example of food photography shot from a bird’s eye view:

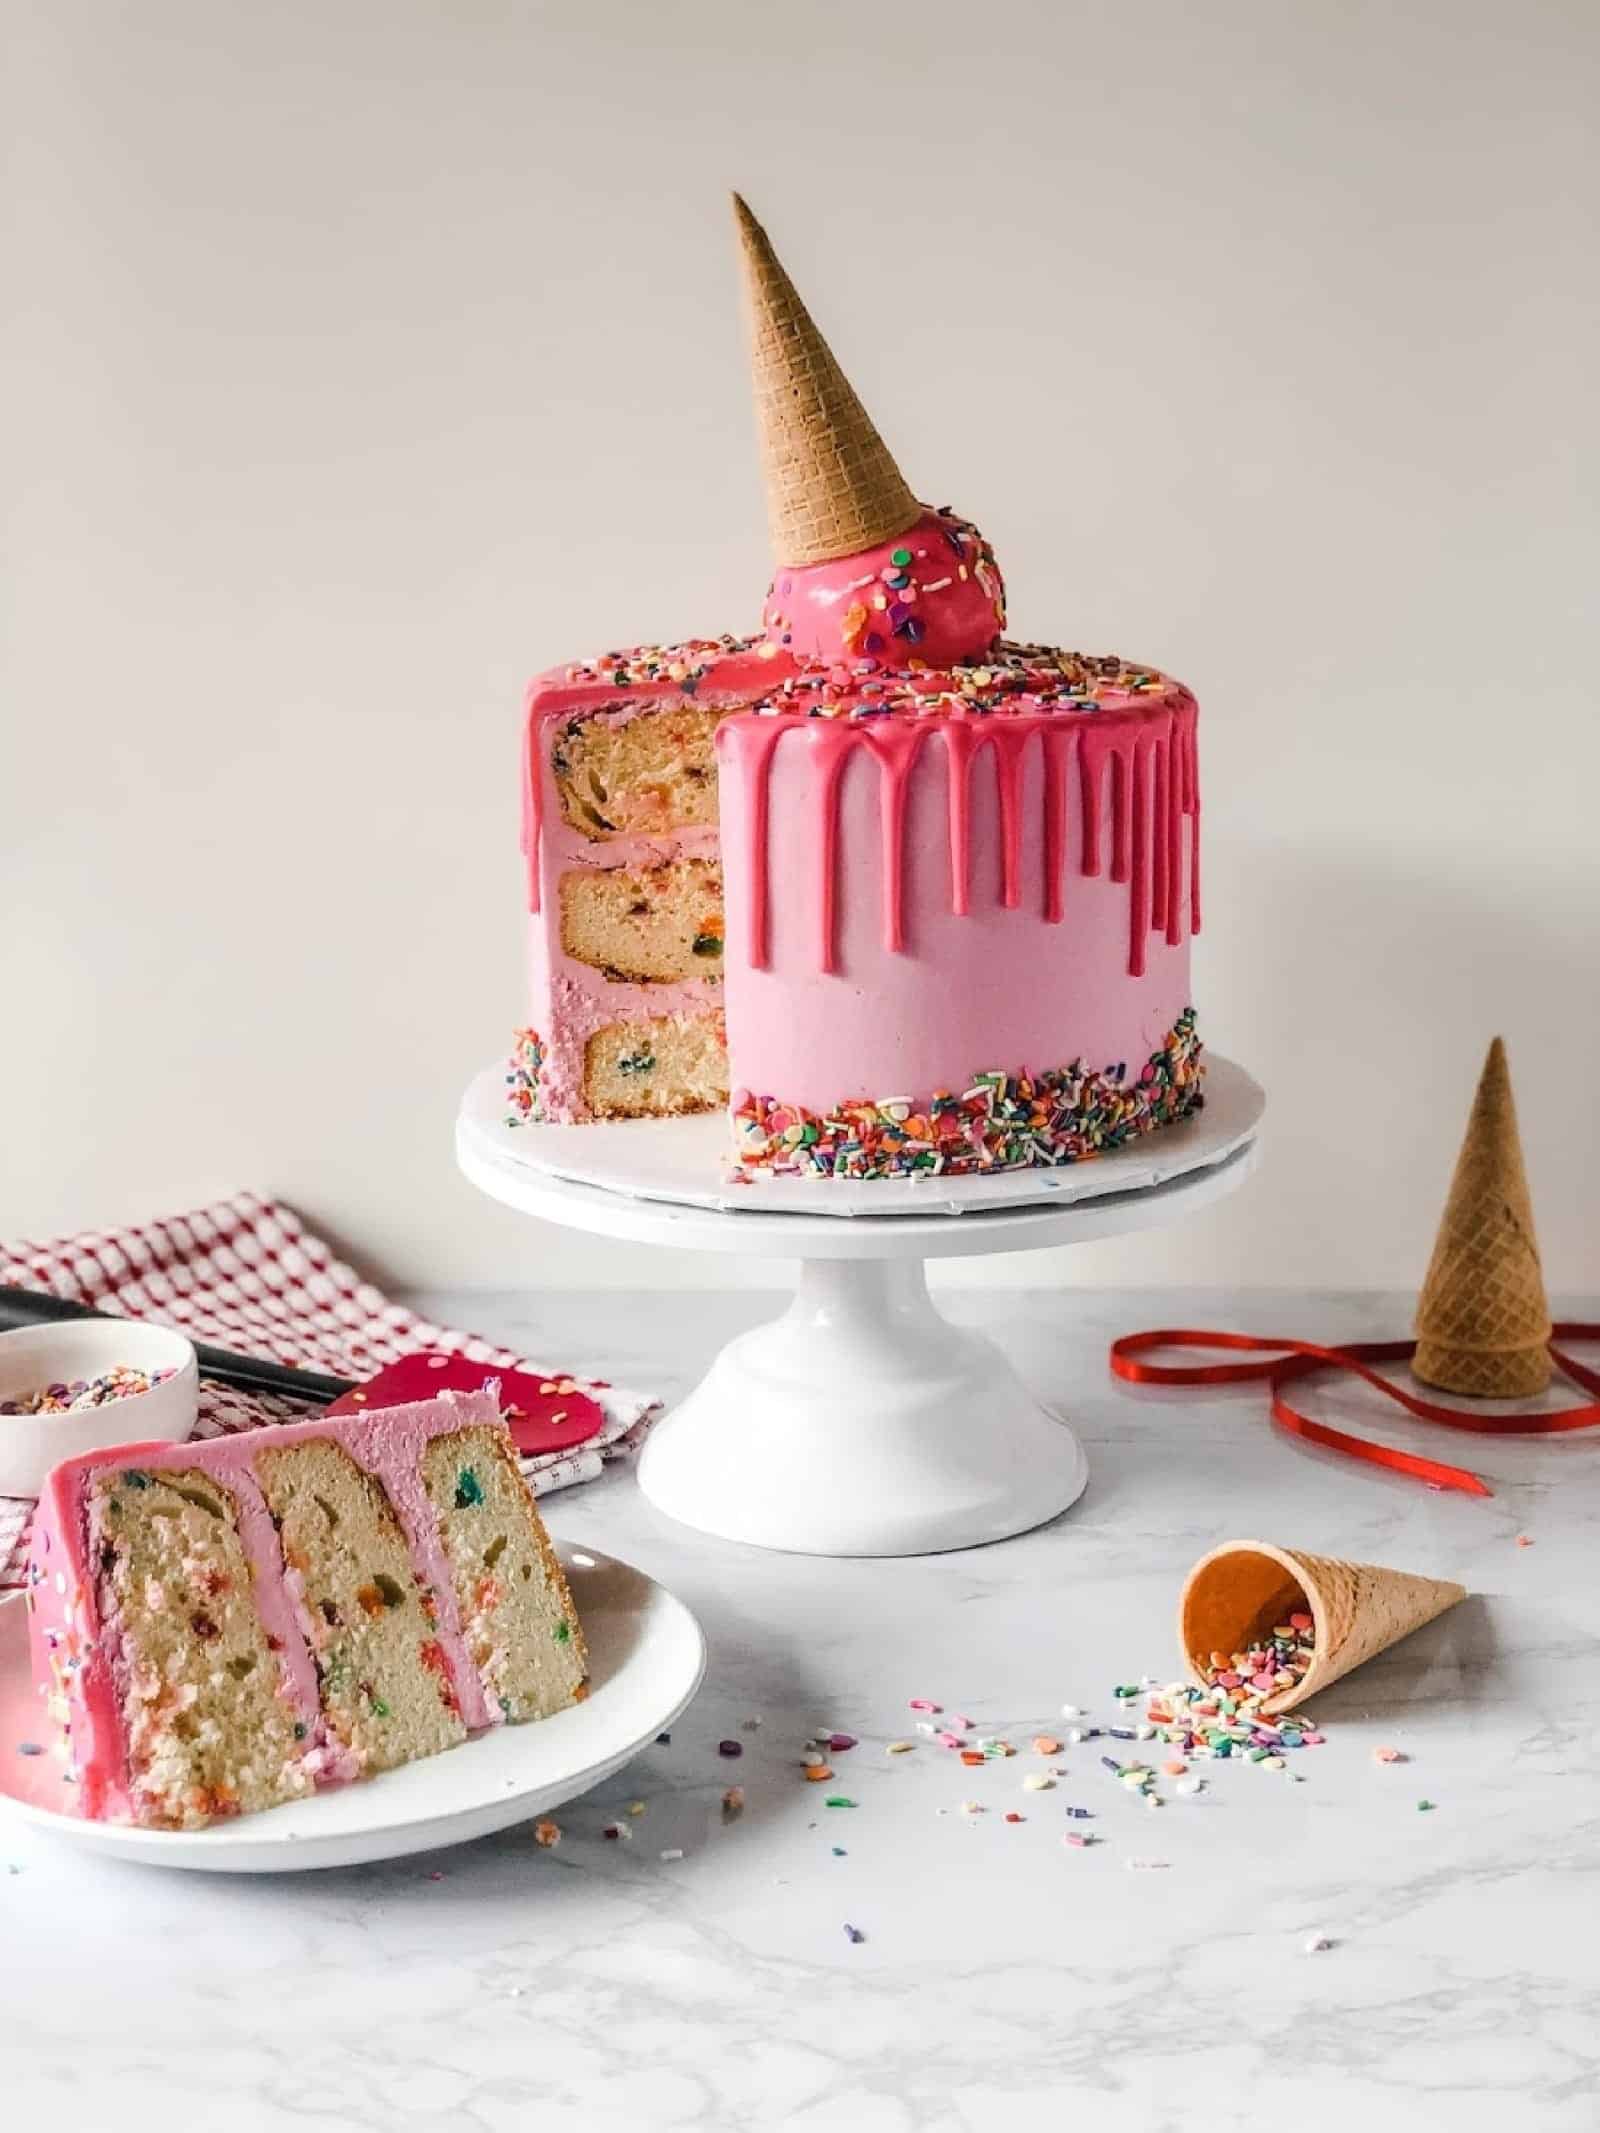
On the other hand, if you’re shooting your recipes head-on or from a 45-degree angle (this works well with pancake stacks, layer cakes, etc.), you may want to add props with height, such as a vase of flowers or tall glasses. This can help add depth and dimension to your photographs. Textured tablecloths, colorful dishes, and decorative serving pieces can all help create a maximalist aesthetic. Here’s an example of a food photo shot from a head-on angle:
In addition to considering your photography style, it’s also important to choose props that complement the style and theme of your food blog. This can help create a cohesive look across your photographs and reinforce your brand identity. For example, if you have a rustic, homey vibe, you might want to use natural, textured props like wood cutting boards and woven baskets. On the other hand, if you have a sleek, modern aesthetic, you might want to opt for more minimalist props so that you can create a background that’s easy on the eye while giving prominence to the dish itself.
Props to Avoid in Food Photography
While there are many great props that can enhance the quality of your food photography, there are a few types of props that may reduce the quality of your photos. Here are a few props to avoid:
- Shiny surfaces: Shiny surfaces, such as bright white plates, can reflect unwanted light and create distractions in your photographs. Instead, opt for matte props that won’t reflect light and will allow your dish to be the main focus.
- Plastic cutting boards: If you use plastic cutting boards when cooking, you’ll likely have knife markings on them, which can be distracting in your photographs. Instead, consider using cutting boards made of wood or other materials that won’t show knife marks.
- Cheap, low-quality props: Cheap or low-quality props are likely to break or wear out quickly, which can be frustrating and costly in the long run. Instead, think of quality over quantity and invest in props that will last and enhance the quality of your photographs.
- Props that are out of scale: It’s important to choose props that are in proportion to the size of your dish. Avoid props that are too small or too large for your dish, as they can look out of balance and distract from the dish.
Where to Source Your Food Photography Props
When it comes to sourcing plates and props for your food photography, there are many options to consider. Here are a few tips to help you find the perfect props for your needs:
1. Find props in your own kitchen cupboards: You might be surprised by what you find. Chances are, you already own some plates and props that can work well for food photography.
2. Source food props online: There are many retailers that sell plates and props for food photography, including Amazon, Etsy, and dedicated cookware stores. You can find a wide range of options to suit every budget and style.
3. Eco-friendly and second-hand websites: If you’re known for sourcing ethically sourced, organic, or fair trade ingredients, it’s important to extend this to your props as well. Consider shopping for props that align with your values and branding, such as eco-friendly or second-hand options, which you can find on eBay, Facebook Marketplace, and more.
4. Tell your audience where to source their cookware: If you’re looking to monetize your food blog, consider including affiliate links to your featured props, such as plates, cooking equipment, and other items. This can be a great way to generate income while sharing products that you love and use in your own food photography.
By considering these factors, you can find the perfect plates and props for your food photography needs, while staying true to your branding and values.
How to Showcase Your Food Photography
Once you’ve taken stunning photographs of your dishes, the next step is to share them on social media and your food blog. But how do you effectively showcase your recipes in a way that is appealing and easy for readers to follow?
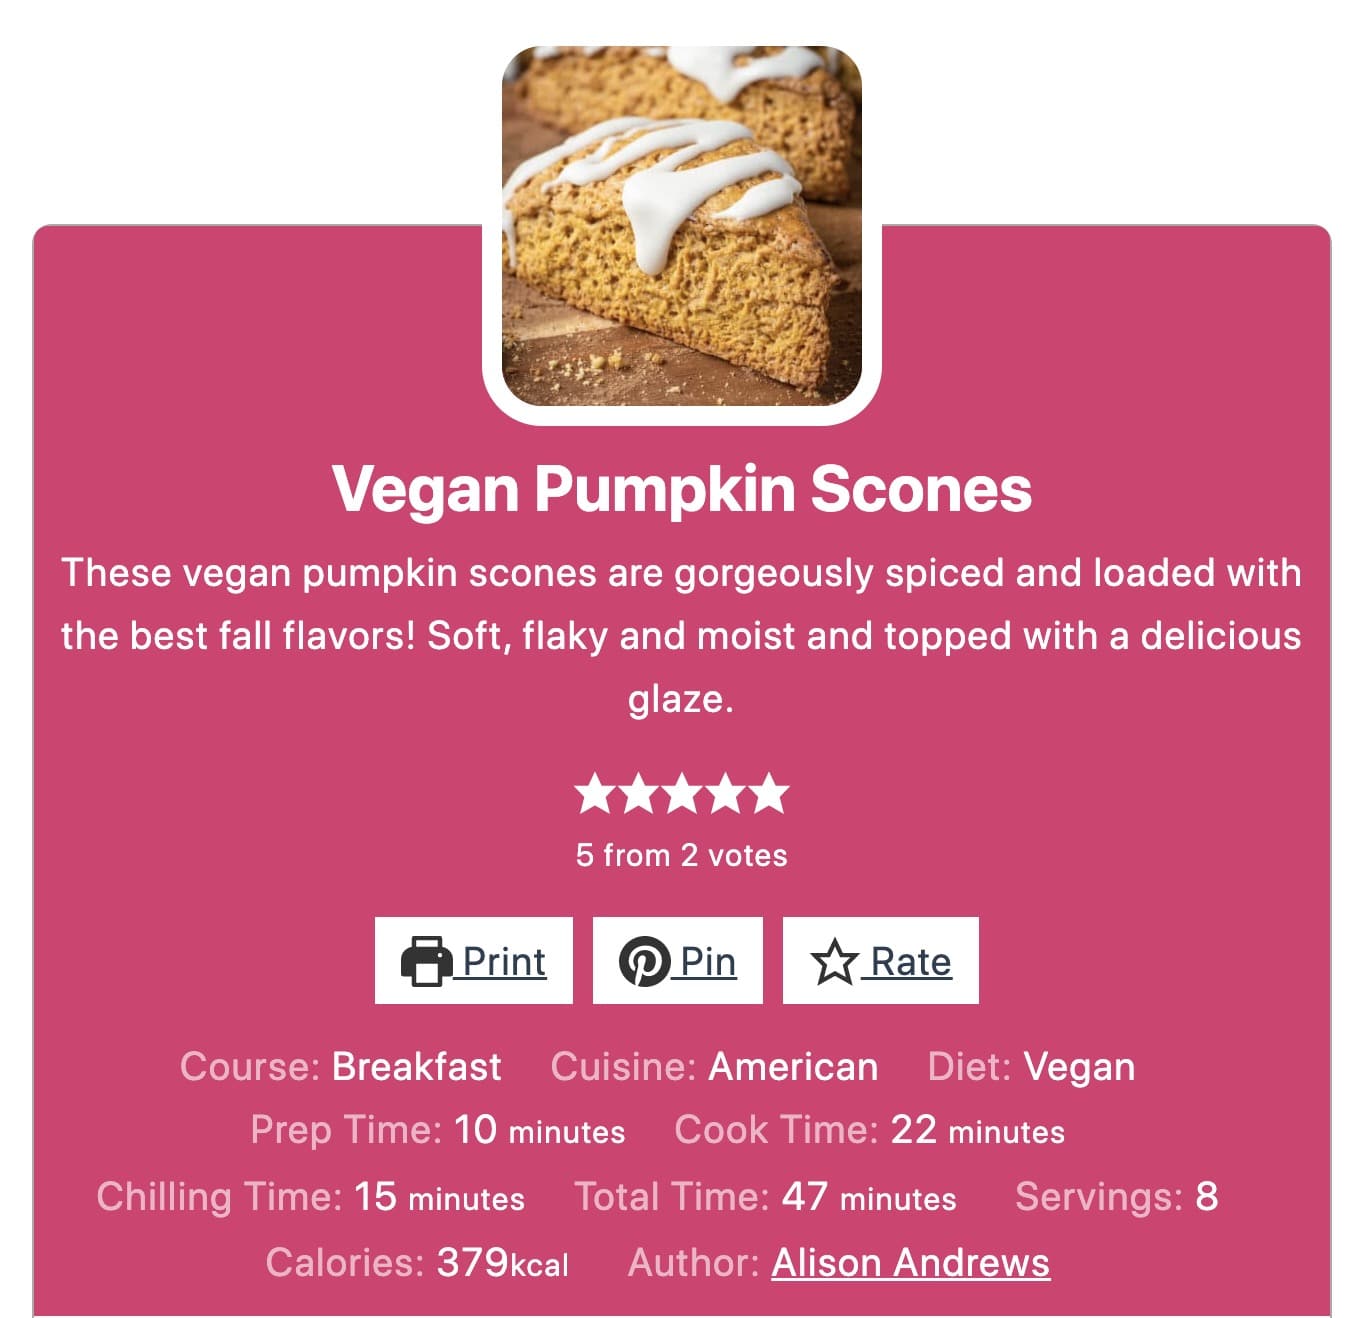
One of the best and most convenient ways to showcase recipes on your food blog is with the WP Recipe Maker plugin. WP Recipe Maker is a powerful tool that allows you to easily create and publish fully customizable recipe templates on your WordPress website. With automatic SEO optimization, social share buttons, and other useful features, WP Recipe Maker makes it easy for food bloggers to succeed.
One of the key benefits of WP Recipe Maker is that it allows you to add photographs showing the step-by-step process alongside your cooking instructions. This makes it easier for readers to follow along and recreate your dishes at home. You can also add a feature photo of your finished dish and present it in multiple formats in your recipe cards. You can also include images for each step of your recipe to help readers follow along and understand how the dish should look at each stage of the process.

With WP Recipe Maker, you can easily showcase your recipes in a professional and visually appealing way, helping you to attract more traffic and engagement to your food blog.
Take the Next Step Towards Stunning Food Visuals
Choosing the right plates and props for your food photography is essential to creating appealing content that stands out from the crowd. High-quality photos help showcase your recipes in an appealing way, which in turn helps you get more traffic and sales. The right choice of plates and props can also help elevate your photography and establish your brand’s unique aesthetic style.
When it comes to showcasing your recipes on your food blog, WP Recipe Maker is the best tool for the job. With fully customizable recipe templates, automatic SEO optimization, and social share buttons, WP Recipe Maker makes it easy for you to share your recipes in a professional and visually appealing way.
By following these tips and using WP Recipe Maker, you can create stunning food photographs and showcase your recipes in a way that captures your audience’s attention and helps your food blog succeed.