
Food photography is an essential part of any food blog or website. It helps you showcase your recipes in a visually appealing way, which can, in turn, help you increase traffic and sales.
The right backdrop or surface can make a huge difference to your photos – it makes them look professional and attractive, which will help you get more views and shares. But with so many options for backdrops and surfaces, how do you choose the best ones for your food photography?
In this post, we’ll explore the different options for backdrops and surfaces, their pros and cons, and show you how to choose the best one for your food photography. Whether you’re just starting out as a food blogger or you’re a seasoned pro, this post will provide you with the information you need.
The best backdrop and surface options for food photography
There are many different types of backdrops and surfaces that can be used in food photography, each with its own unique characteristics and the ability to create a different look and feel for your photos.
In this section, we’ll take a closer look at some of the most common options for backdrops and surfaces in food photography, including examples of each type.
1. Lightboxes
Lightboxes are a popular option for food photography backdrops, especially for those who want a clean white background but don’t have access to good natural light. A lightbox is essentially an enclosure with a white background designed to mimic a studio environment. It’s a great option for food bloggers and photographers who are just starting out and don’t have access to a dedicated studio space.
One of the main advantages of using a lightbox is that it provides evenly distributed lighting, which can help to create a professional and polished look in your photos. It is also a portable and easy-to-store option, as it can be folded away when not in use. Here’s how you can use a lightbox to enhance your background when taking photos of food:
- If you are shooting a dish with a white or light-colored sauce, using a lightbox can help to create a clean and professional look. This allows you to achieve a “studio” effect for your photos. The even lighting and white background will help to make the food the star of the photo, highlighting the colors and textures of the dish.
- If you are shooting a dish with darker colors, it’s still possible to use a lightbox effectively. However, you may need to play around with the lighting and positioning of the food to avoid shadows or harsh highlights.
Lightboxes do have some limitations. They are not the most durable choice of backdrop, and you may have to replace them over time. In addition, the limited amount of space in a lightbox can restrict the number of props you can use around your food and may limit your creativity. Finally, there is the potential for reflection from the artificial lighting, which can be an issue if not addressed properly.
2. Paper backdrops
Paper backdrops are a popular choice for food bloggers looking for a cheap and easy-to-use backdrop solution. They usually come in rolls, so you can use as much or as little as you like depending on the size of your setup and the type of food you are photographing. You may need a backdrop stand for this option, depending on the angles of your photography and the size of the paper.
One of the main advantages of using paper backdrops for food blogging is that they are easy to use and store. Simply lay the paper on a table or flat surface and start taking photos of your dishes. There is also a wide range of colors and patterns available, so you can choose the one that best fits your style and the mood you want to create in your photos. But – if you spill anything or need to clean them, you will probably need to set up your background again with new paper.
3. Fabric backdrops
Fabric backdrops can be a great way to introduce additional texture and interest into your photos, and there is a wide range of fabrics you can choose from, including different textures, patterns, and tablecloths.
Obviously, fabrics can be reused. Fabrics can be washed and don’t tear easily, making them a cost-effective and eco-friendly choice for food bloggers. They can also be a more cost-effective choice in the long run, as you won’t have to keep repurchasing new backdrops.
Reusing fabrics is obviously an eco-plus, but stains such as pasta sauce may be difficult to remove, which can be an issue if you are photographing messy or saucy dishes. It’s probably worth the hassle for the environment!
4. Slate boards
Slate boards are a unique option for food photographers looking to add texture and contrast to their photos. These boards are made from natural slate and come in a range of colors, such as black, gray, and green, making them perfect for creating unique backgrounds. For example, a charcoal-colored slate surface would look great against a strawberry cheesecake, adding depth and contrast to the photo.
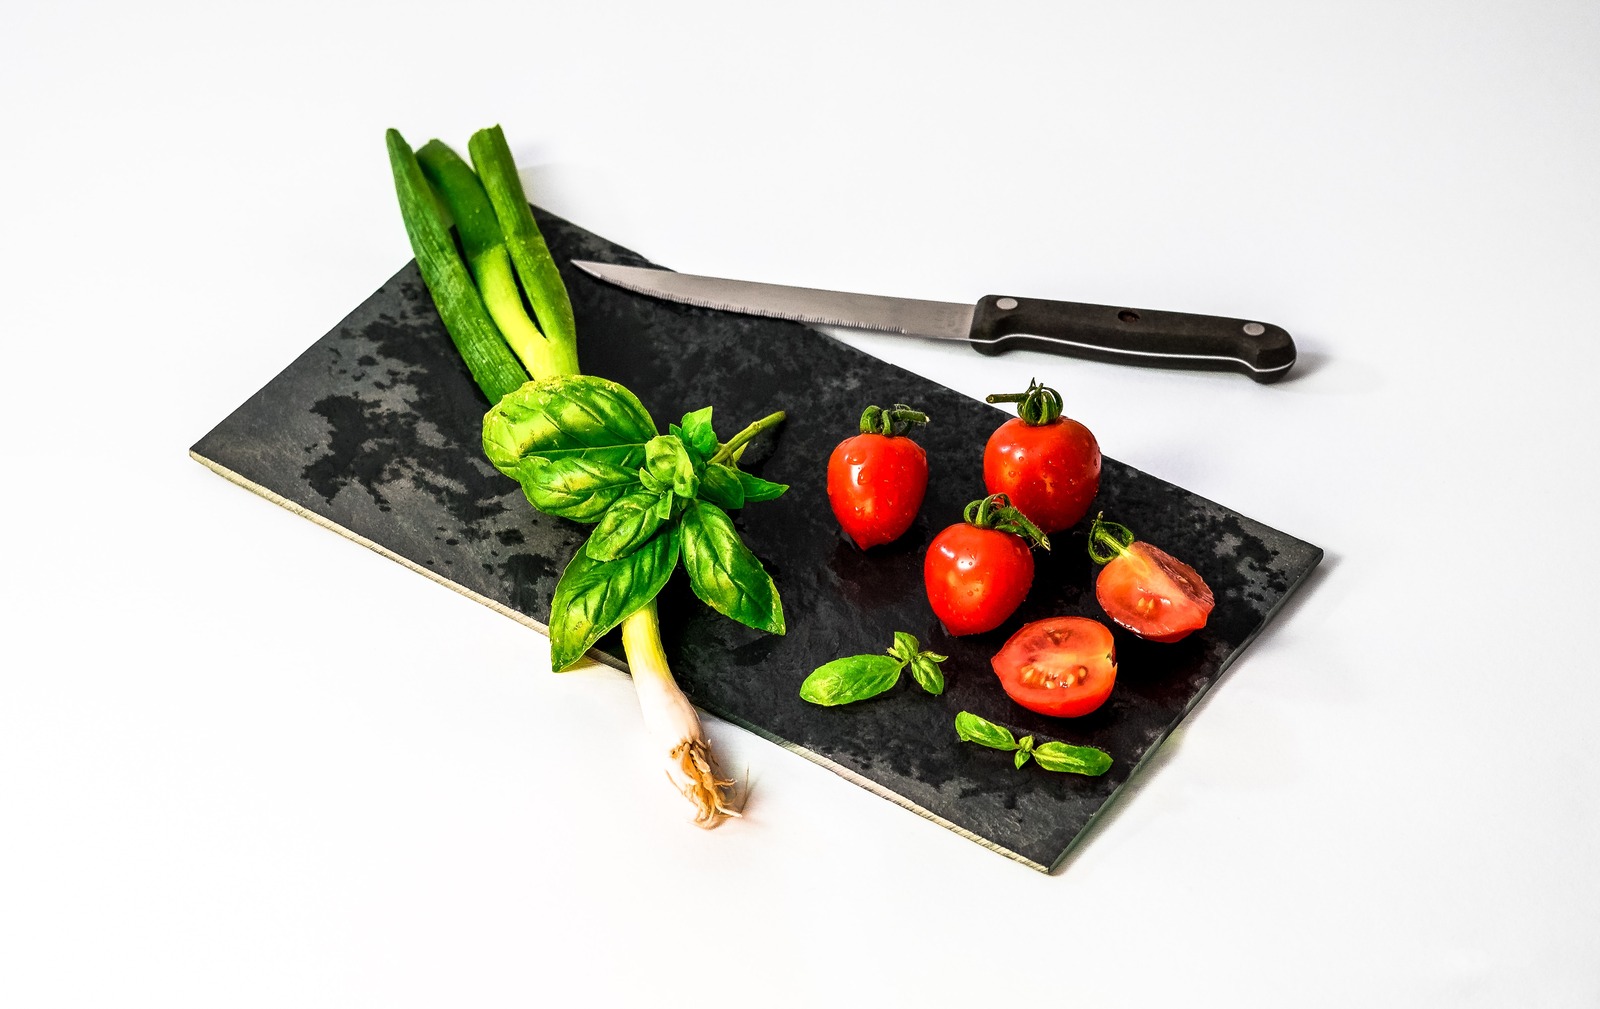
Slate boards can add a rustic or earthy vibe to your photos, although they can be prone to chipping and shattering so they may not be the most durable option.
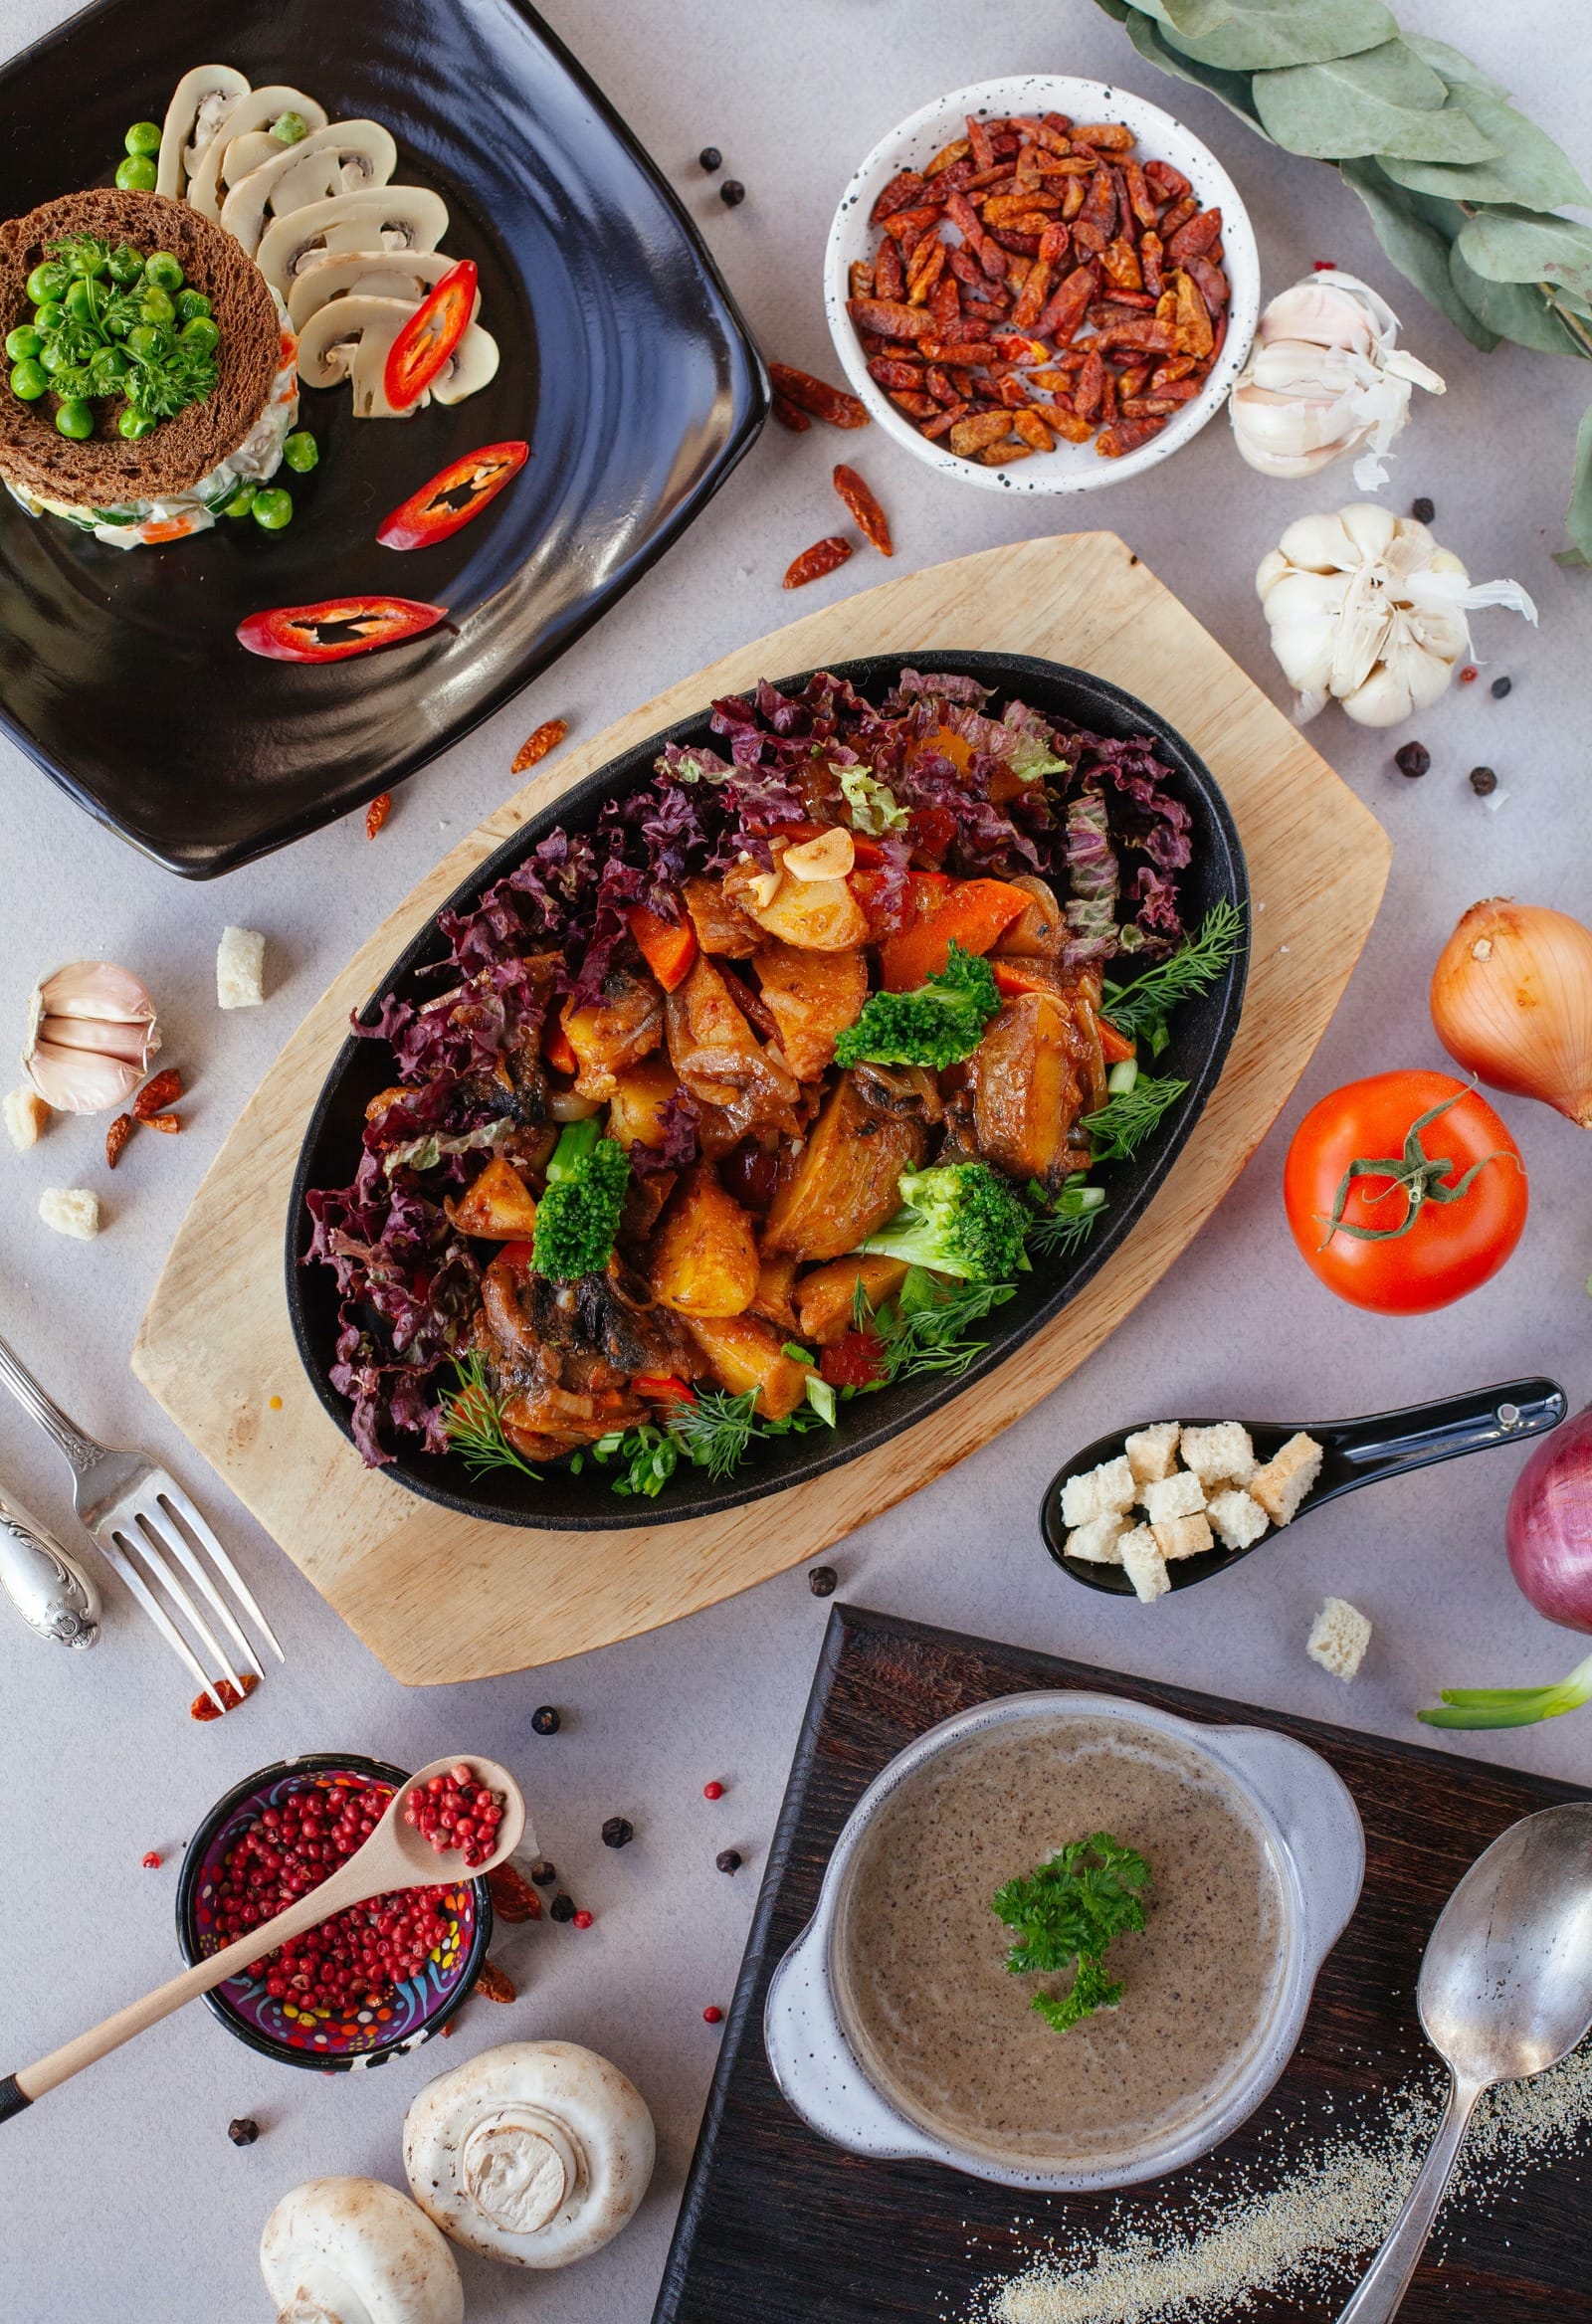
5. Foam boards
Foam boards are a popular choice for food photographers, particularly for those who are just starting out or working on a budget. White foam boards are a great option for flat-lay photography, which is a type of photography where the subject is photographed from above, usually with a wide-angle lens. This can create an interesting and unique perspective for food photography, and foam boards are a useful tool for creating a clean and even background.
One of the main advantages of using foam boards for food blogging is that they are cheap and widely available in different sizes. They are also lightweight and easy to work with, making them a convenient option for food bloggers. Foam boards are also versatile, as they can double up as a light reflector to alter the shadows and contrast of your photos.
Your foam board backdrop shouldn’t stain if you spill soups or messy foods on it, but you’ll have to be quick with the cleanup – and careful you don’t break the board when doing the cleanup.
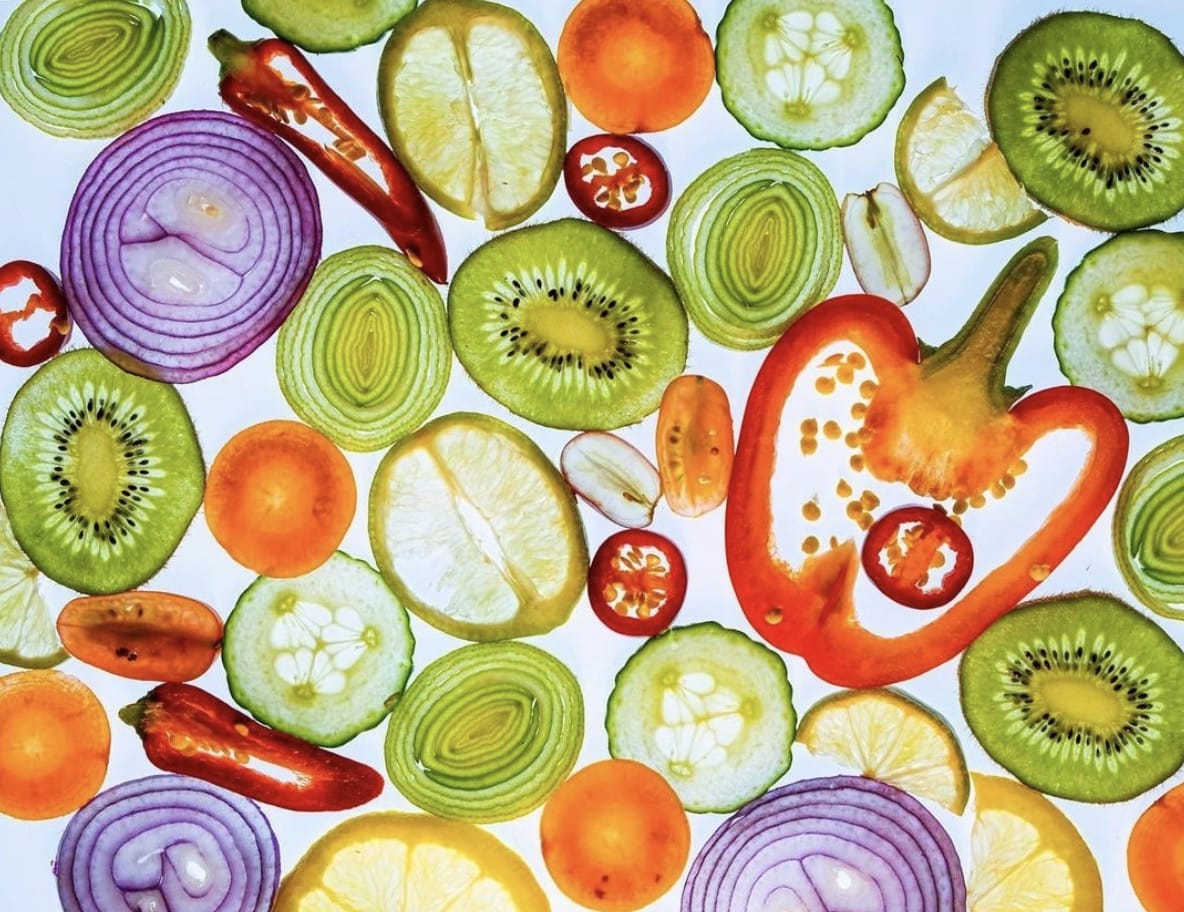
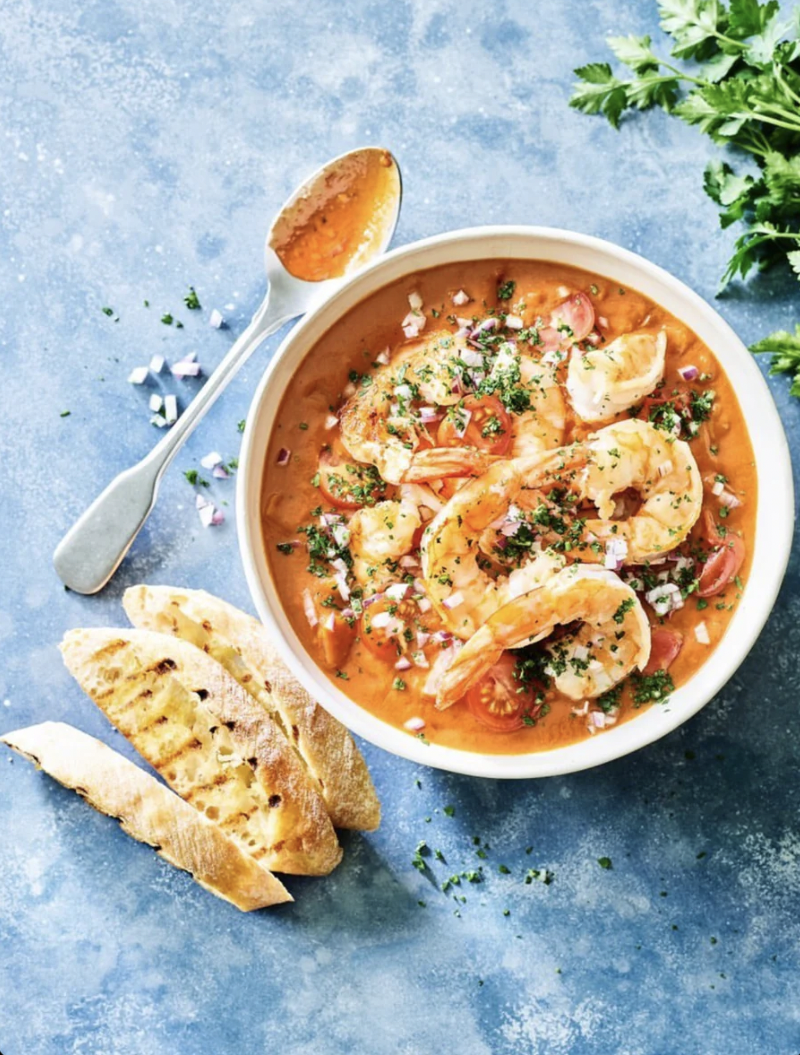
6. Glass surfaces
Glass surfaces are another option for food photographers looking for a low-maintenance and modern-looking backdrop. These surfaces are great for creating a light and airy feel in your photos, and they work well for shooting lunch recipes or other dishes where you want a clean and modern look.
One of the main advantages of using glass surfaces for food photography is that they are easy to use with any kind of dish. Any spillages can easily be wiped away, making them a low-maintenance choice. Glass surfaces are also great for photographing dishes where you want reflections rather than solid colors or textures in the background. This can add an interesting and dynamic element to your photos and create a sense of depth and movement.
However, there are also some drawbacks to using glass surfaces for food photography. They can be difficult to position correctly without getting reflections from other objects in the background appearing in your final image, which can ruin the effect you were going for. This can be especially challenging if you are working with a lot of props or other elements in your photography setup.
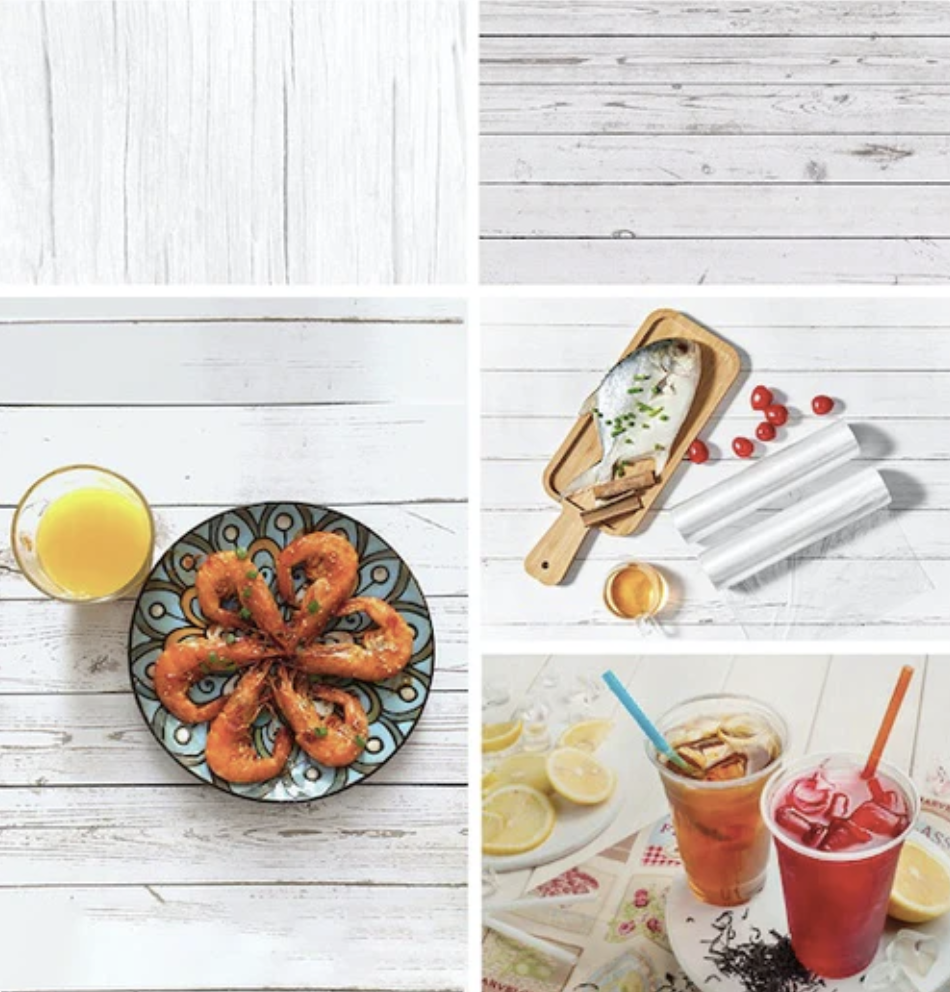
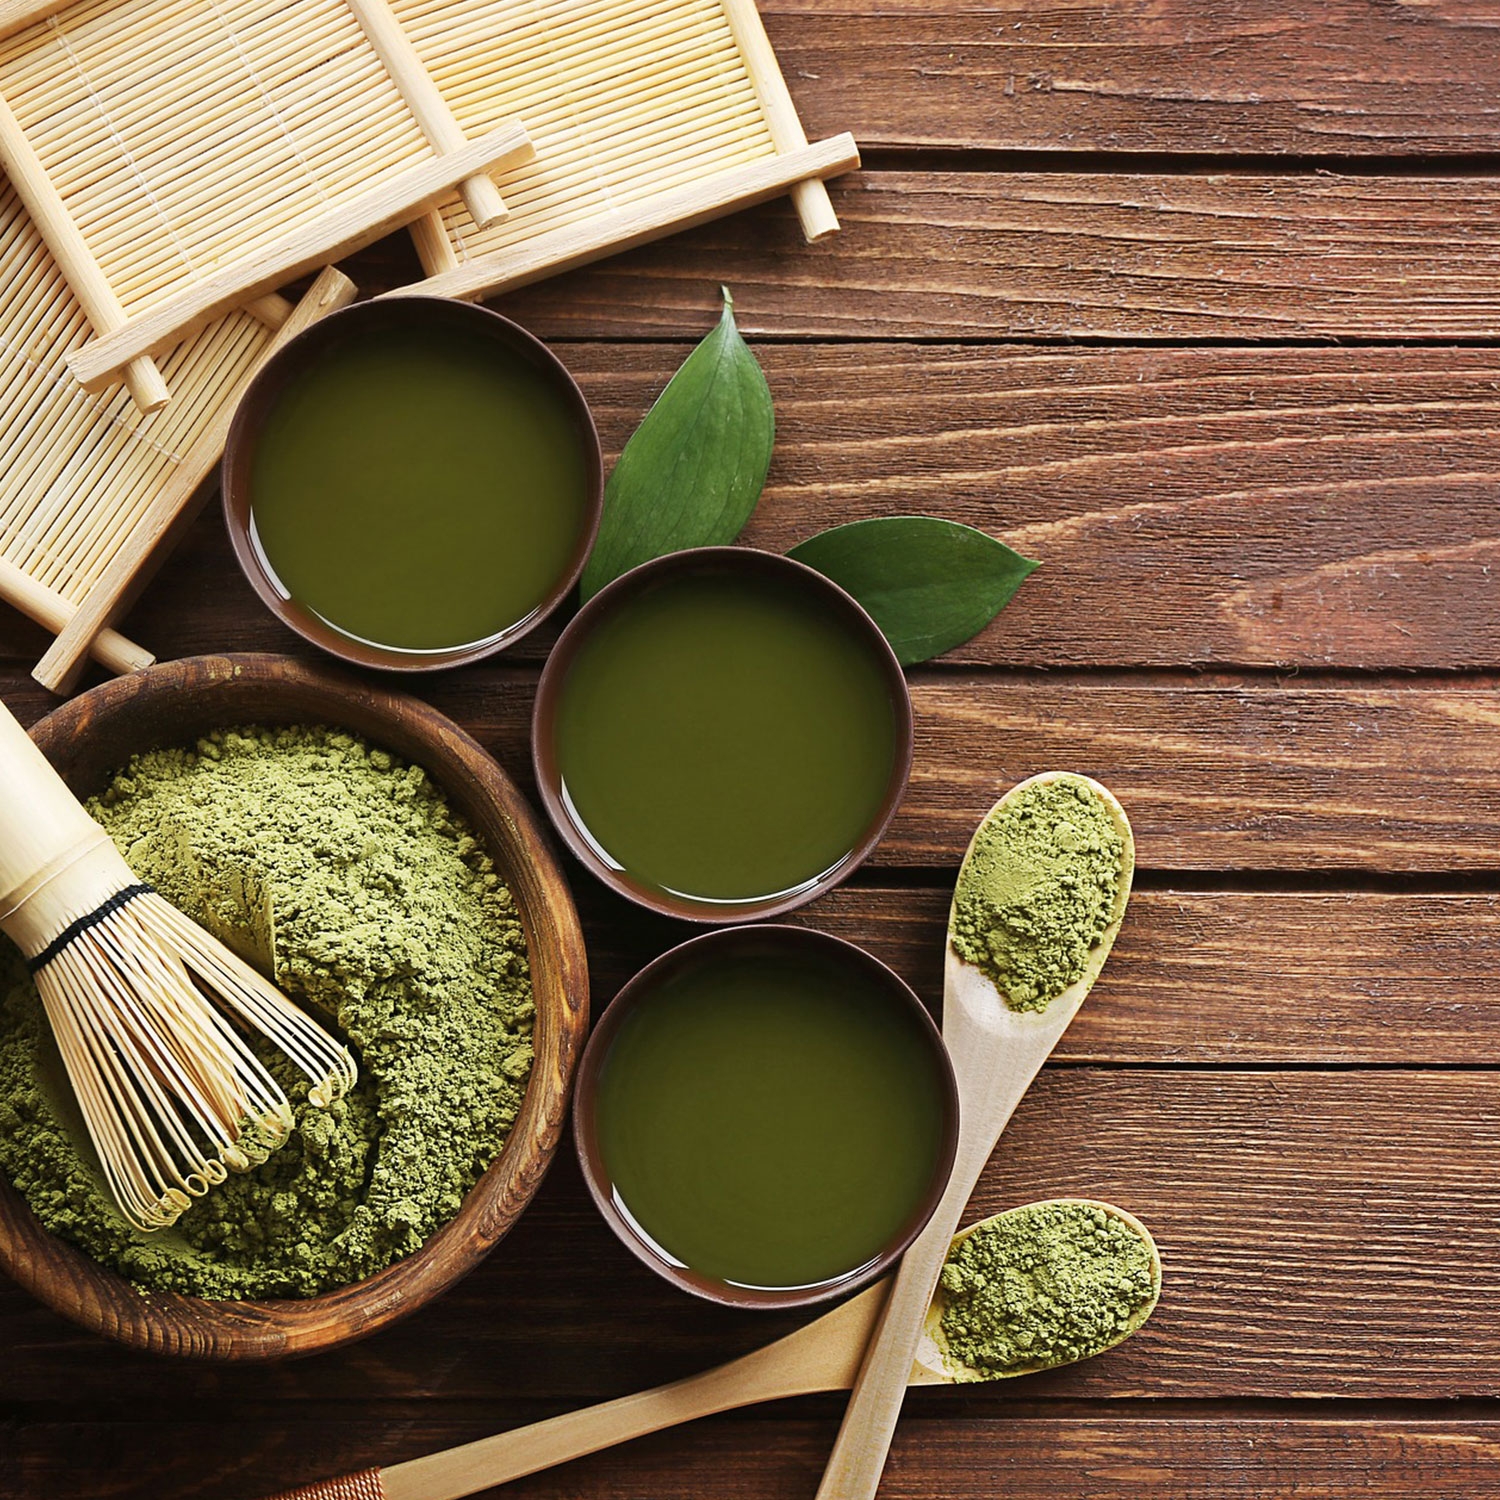
7. Wooden blocks
Wooden blocks are a particularly popular material for food photography, as they create a rustic and natural look that works well for a wide range of dishes. Wooden blocks are particularly well-suited for bread, cakes, cheese, and other dishes that lend themselves to a rustic or homemade aesthetic.

Wooden backdrops are also easy to clean and durable, which makes them a low-maintenance and long-lasting choice.
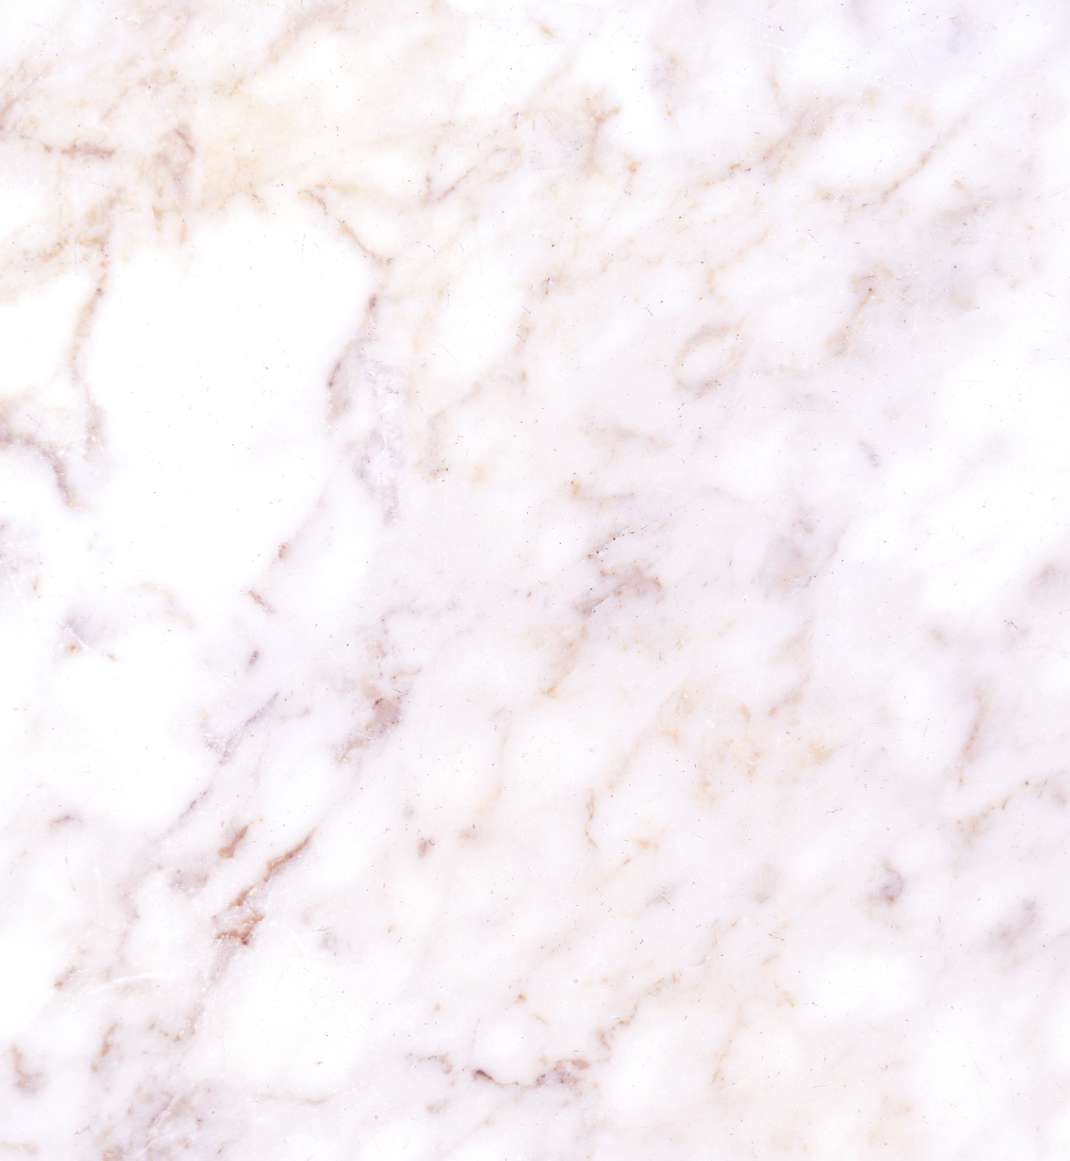
8. Marble boards
Marble boards are a classic go-to for many food photographers, and they are an ideal choice if you already have marble kitchen countertops to make use of. Marble surfaces have a timeless and elegant look that works well as a backdrop for any recipe, and with the right care, they can last a long time.
However, there are also some drawbacks to using marble boards for food photography. Marble surfaces can be heavy, which can make them less portable or convenient for photographers on the go. They are also prone to staining easily and can get damaged by placing acidic or wet foods on their surface, so they may require more careful handling and maintenance. Additionally, marble surfaces can cause unwanted reflections, which can be an issue if you are trying to achieve a certain look in your photos.
9. Vinyl backdrops
Vinyl backdrops are a great option for food bloggers who want to regularly switch up their photography backgrounds without investing in every kind of surface. These backdrops are available in a wide range of colors and textures, so you can find exactly what you need for your food photography. For example, you could get a marble look at a fraction of the price and without the downside of unwanted reflections that you might get with a real marble surface. Vinyl backdrops are also easy to wipe, clean, and store, which makes them a convenient and low-maintenance choice.
However, it’s important to remember that vinyl backdrops may have some drawbacks. One potential issue is that they can look inauthentic. Darker color vinyl may also have a slight sheen, so it may be worth looking for matte options where possible to avoid this issue.
Where to buy the best photography backdrops
There are many places where you can source your photo backdrops. eCommerce sites like Amazon and Etsy are great options, as they offer a wide range of backdrops at affordable prices, and you can easily browse and compare different options from the comfort of your own home.
Some of our favorite food photography backdrops include:
1. Best budget-friendly background: Double-Sided Paper Backdrop Wood from Kate Backdrops
- Plastic film covering this backdrop stops any splashes from dishes from staining
- Double-sided gives you a cost-effective choice of two backgrounds
2. Best modern background: Pink Marble Backdrop from Capture by Lucy
- Stunning Swiss marble backdrop with delicate pink-toned veining
- Custom sizes available upon request
- Grey block-out material for professional and studio photography with no visible texture in the vinyl
3. Best mini background: Food Photography Backdrops from Baby Prop Shop
- Printed on versatile PolyFabric material, combining the look and feel of fabric with plastic properties
- PolyFabric wipes clean easily, has minimal glare, non-slip back, and doesn’t crease easily, making it ideal for food photography
4. Best high-end background: ‘Cromer’ Hand-painted Photography Background Board from Woodrow Studios
- Hand-painted photography background board in blue-grey, featuring dusty blues with cloud-like paint washes and exposed wood accents
- Constructed with high-grade ply and sealed for durability, providing a wipe-clean surface
Brick-and-mortar craft and photography stores are also a good choice if you want to see your backdrop in person before buying or if you prefer to shop locally.
How to create your own food photography backdrop
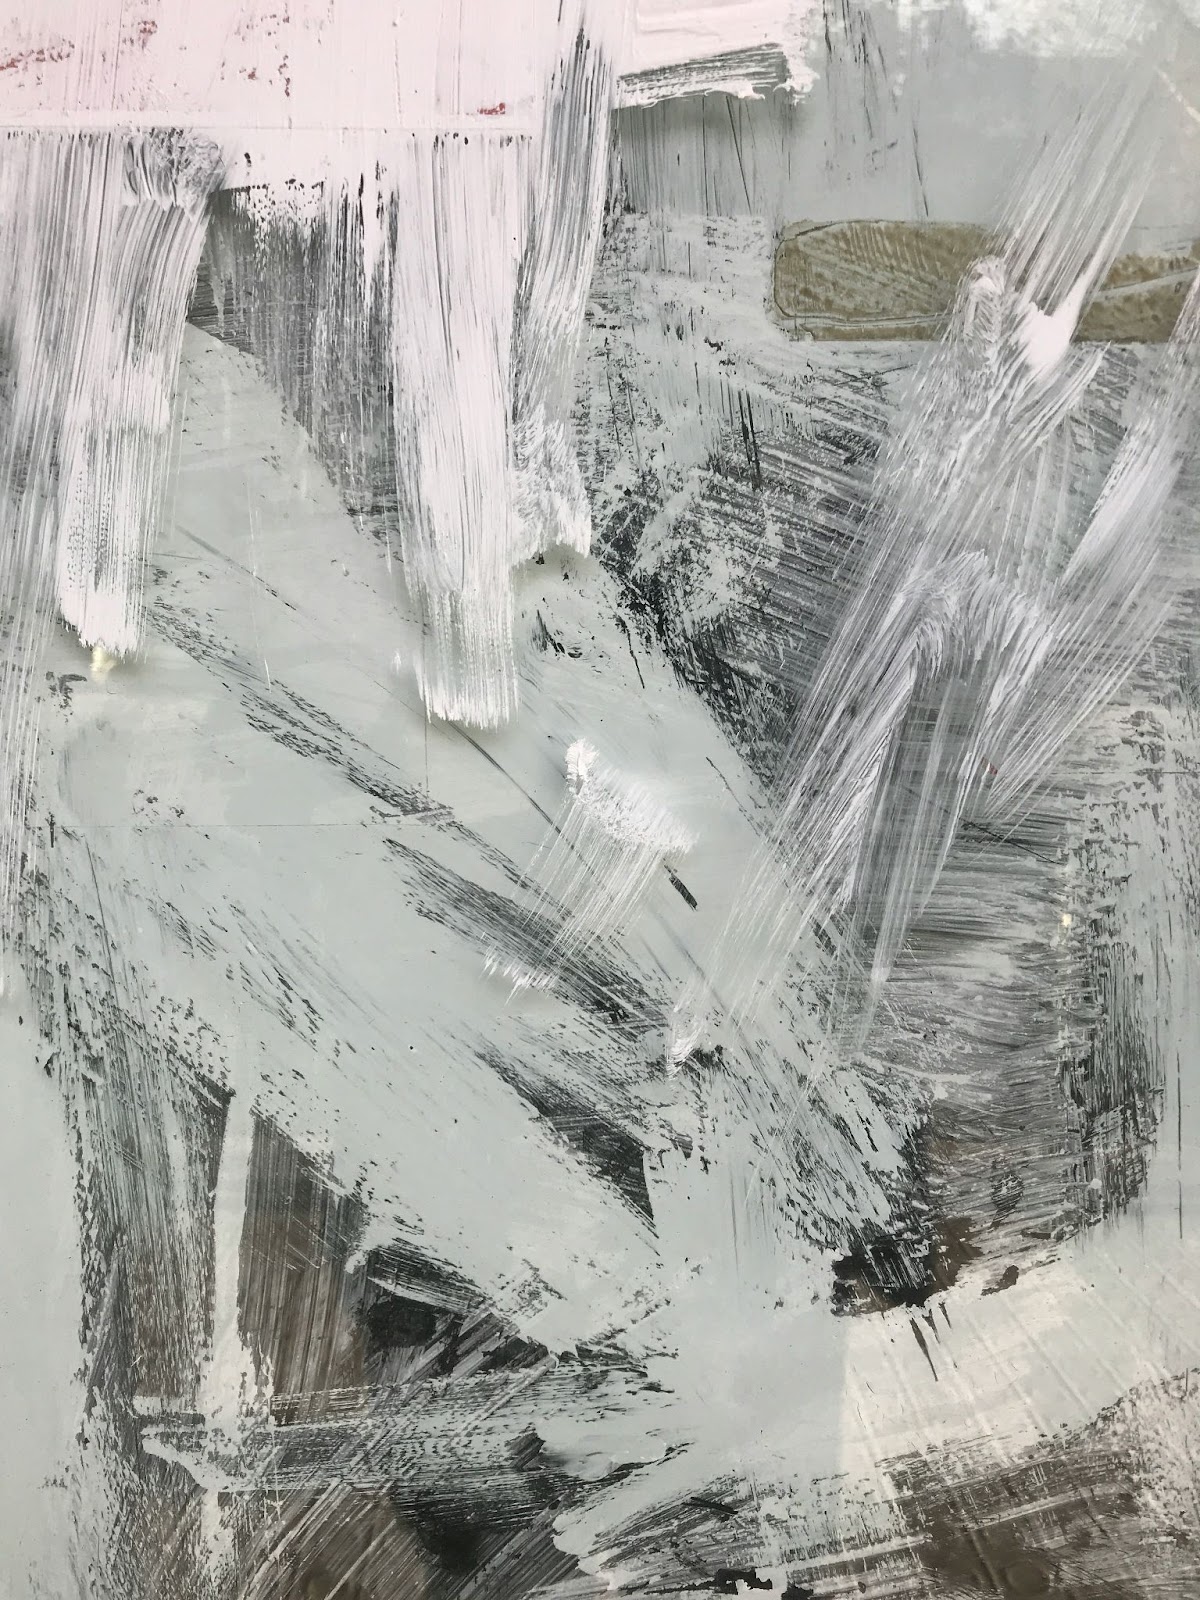
You may already have some materials around your home that you can use as backdrops, such as fabrics, wooden boards, or other surfaces. This can be a great way to save money and get creative with your food photography. So if you’re on a tight budget or are feeling particularly creative, making your own food photography background is the best option.
Here’s how you can get started:
Materials needed:
- MDF board
- Joint compound and putty knife
- Paints for DIY food photography backdrops
- Matte sealing spray
Step-by-step instructions:
- Start with a clean MDF board. Ensure it’s free from any dust or debris.
- Use a putty knife to spread a thin layer of joint compound onto the backdrop board. Smooth it around, adding more compound as needed.
- To create texture, drag the putty knife across the surface, press towels or found objects into the drying compound, or create criss-cross patterns with a clean knife.
- Allow drying for 24 hours before proceeding to the next step.
- Use a sponge or brush to apply a base layer of paint to the board. Choose a lighter color than your intended final board color.
- Drizzle paint directly onto the surface, move it around using brushes or sponges and layer different colors to achieve the desired effect.
- Experiment with techniques like cross-hatching, blending, and splashing water onto the surface.
- Allow the paint to dry between layers and steps.
- Make adjustments to the color or texture by adding more layers of paint or experimenting with different techniques.
- Seal it with a matte sealing spray to protect the surface and minimize glare.
How to take the best food photos using your backdrop
After you’ve chosen or created the right backdrop for your food photography, it’s important to get everything set up and ready for your photoshoot. Here are a few food photography tips for you to consider before your session:
1. Set up your camera: You can take some lovely photos using your smartphone, or you could take it up a notch with a DSLR camera. The advantage of using a more professional camera is that you can experiment with different settings to see what works best for your dishes and your backdrop. You can adjust the ISO, aperture, and shutter speed to get the right exposure and depth of field. By using a camera with a wide aperture, you can make sure your dishes are in focus and that the background is blurred out appropriately.
2. Think about your angles in advance: While you can experiment with different angles and compositions during the shoot, planning them in advance will be helpful. For example, if you want to shoot from above, then you may need a tripod for your camera. Your shots will help you set up your backdrop more effectively to bring out the right elements at all angles.
3. Getting your lighting right: Good lighting is crucial for food photography, as it can affect the way your dishes look in the final photos. Consider the direction and intensity of your lighting and whether you need to use natural light or artificial light sources. Experiment with different lighting setups to see what works best for your backdrop and your dishes.
4. Choosing your props: Photography props are important, as they can help to add context and interest to your images. Be selective with your props, and choose items that complement your dishes and your backdrop.
5. Food styling: Food styling involves arranging and presenting your dishes in an appealing and appetizing way. Consider the colors, textures, and shapes of your dishes and how you can use these elements to create a visually appealing image.
6. Edit your photos: After you have taken your photos, you may want to edit them to make them look their best. You can use photo editing software like Adobe Lightroom or Photoshop to adjust the exposure, color, and other settings to improve the overall look of your photos.
Elevate your food photography with beautiful backgrounds
As a food blogger, the right background and surfaces for your food photography are essential for showcasing your recipes in the best possible light. By choosing the right backdrop or surface, you can add texture, color, and depth to your photos, helping them look professional and attractive.
There are many different options for backdrops and surfaces, each with their own pros and cons. Some options, like light boxes and paper backdrops, are great for beginners or those on a budget, while others, like fabric backdrops and slate boards, offer more durability and versatility. No matter which option you choose, it’s important to consider the effect you want to create, the type of food you are photographing, and the style you want to go for.
To make the most of your food photography, it’s also important to have a tool that can help you showcase your recipes on your blog in the best possible way. WP Recipe Maker is a powerful and user-friendly plugin that makes it easy to add and display your recipes on your WordPress website. With features like ingredient images, equipment images, and step-by-step photos, WP Recipe Maker is the perfect tool for managing your recipes and elevating your food photography to the next level.