Want to leave your followers hungry for more with your food photography? It all starts with the lighting. Well, it starts with good food – and then lighting.
Food photography is a beautiful way to highlight dishes and pair them with online recipes or post them on social media. One of the most important aspects of capturing stunning food photos is the lighting setup. The right lighting can make all the difference in making colors and textures pop!
In this guide, we’ll show you the essential elements of a food photography lighting setup.
Starting out: The basic gear needed for food photography
Having the right equipment can elevate your online content and drive more traffic to your blog. The good news? You don’t need to break the bank to get started, as there are solutions for every budget.
Choosing the right camera and lens

Whether you’re using a high-quality smartphone, a DSLR, or a mirrorless camera, each has its merits in food photography.
| Pros | Cons | |
| Smartphones | Convenient and always at hand | There are limitations in manual control options and sensor size. |
| DSLRs | Larger sensors, manual control options, and a variety of compatible lenses. | Bulky and heavy when carrying around. |
| Mirrorless | Compact, with excellent autofocus and manual control options. | Limited lens options in some systems. |
Lens types
Choosing the right lens is very important. For close-up shots, a macro lens works wonders, while wide-angle lenses are perfect for capturing overhead shots and creating a sense of context around a table, for instance.
Tethered shooting
You may want to find a camera that supports tethered shooting. This allows for live-view features, enabling precise composition and focus. Immediate feedback means you can make on-the-fly adjustments.
📸 Bonus tip: Check out our full guide on choosing a camera for food photography.
Picking out the perfect tripod
A tripod provides stability for your camera, allows for longer exposure times without camera shake, and ensures consistency in shot framing. Here is what you need to look out for:
- Height: Choose a tripod that complements your shooting style and the type of shots you frequently capture.
- Stability: Look for a sturdy build to support your camera and prevent wobbling during longer exposures.
- Head type: Opt for a head that suits your needs, whether a ball head for flexibility or a pan-and-tilt head for precise adjustments.
- Portability: Consider the weight and foldability for on-the-go photography.
- Budget: There are tripods for every budget, so find one that aligns with your financial considerations.
📸 Bonus tip: Check out our full guide to choosing a tripod for food photography.
Perfecting your scene: Positioning and backdrops
Creating the perfect backdrop means really setting the scene for your viewers: Do you want them to feel at home? Or on vacation? Scenes involve mastering the nuances of positioning. Here’s how you set up your own scenes:
Master table and light source positioning
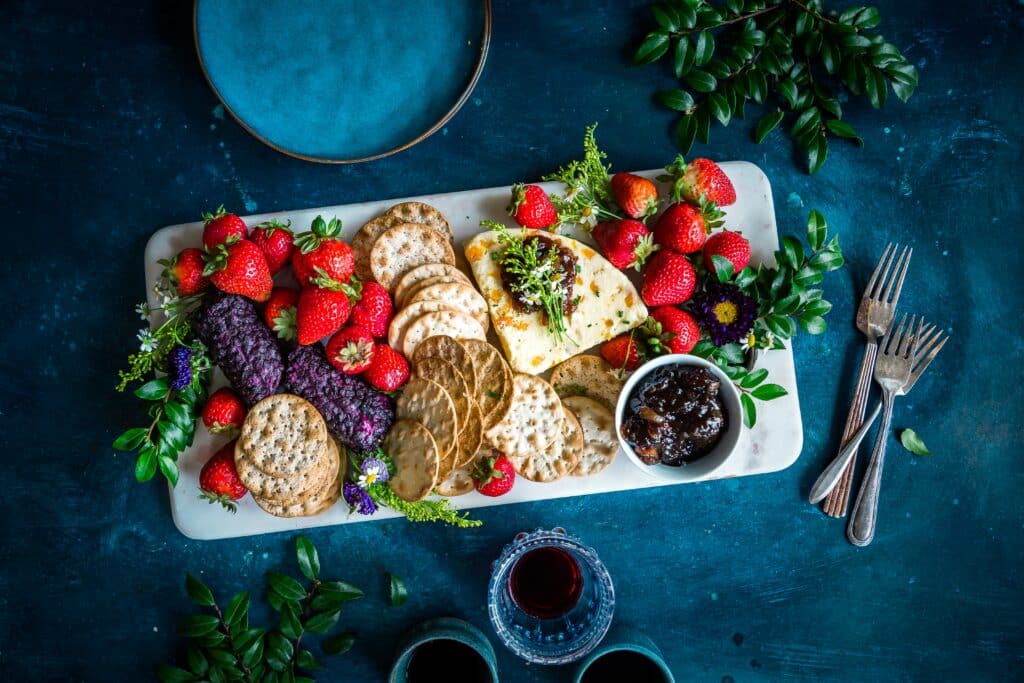
Setting the table at the right height and angle is important for your photos. Adjust the positioning based on the specific food you’re photographing. A lower angle might show the intricate details of a dessert, while a higher angle could complement an aesthetically plated dish.
Whether using artificial or natural light, experiment with angles to find the most flattering illumination. Understanding the interplay of light and shadows is key to creating dynamic and visually striking images.
📸 Remember: Skillful use of shadows can elevate your photos by creating texture. Experiment with different light angles to find the perfect balance.
Natural light varies throughout the day, influencing the mood of your photos. Morning light tends to be softer, creating a gentle atmosphere, while the golden hour before sunset offers warm, dramatic tones. Understand how the changing daylight affects your scene and adjust accordingly.
? Bonus tip: Check out our more in-depth tips on lighting in food photography.
How to choose the best backdrops for your shoot

Adding a backdrop to your food photography setup adds atmosphere and depth and, when used consistently, contributes to your brand style:
- Diversify your backdrop choices for different effects: Use materials like wood, marble, textured paper, fabric, or even simple colored backgrounds. Each option lends a distinct character to your photos, allowing you to tailor the backdrop to the specific vibe you want to convey.
- Match your backdrop to the dish’s essence: When choosing a backdrop, think about the mood you want to create and the type of food you’re photographing. Dark, rustic backdrops may enhance the richness of a hearty stew, while a clean, light surface could be ideal for desserts.
Shaping light like a pro: Basic light modification
Let’s look at why mastering lighting is essential and explore techniques to elevate your photographs.
Importance of correct light modification
Mastering light modification is a common pain point for many aspiring food photographers. The play of light can make even a plain dish look tasty. Highlighting textures, colors, and details is important, and with the right balance of light, your photos will always look visually appealing.
Soft light is a food photographer’s best friend
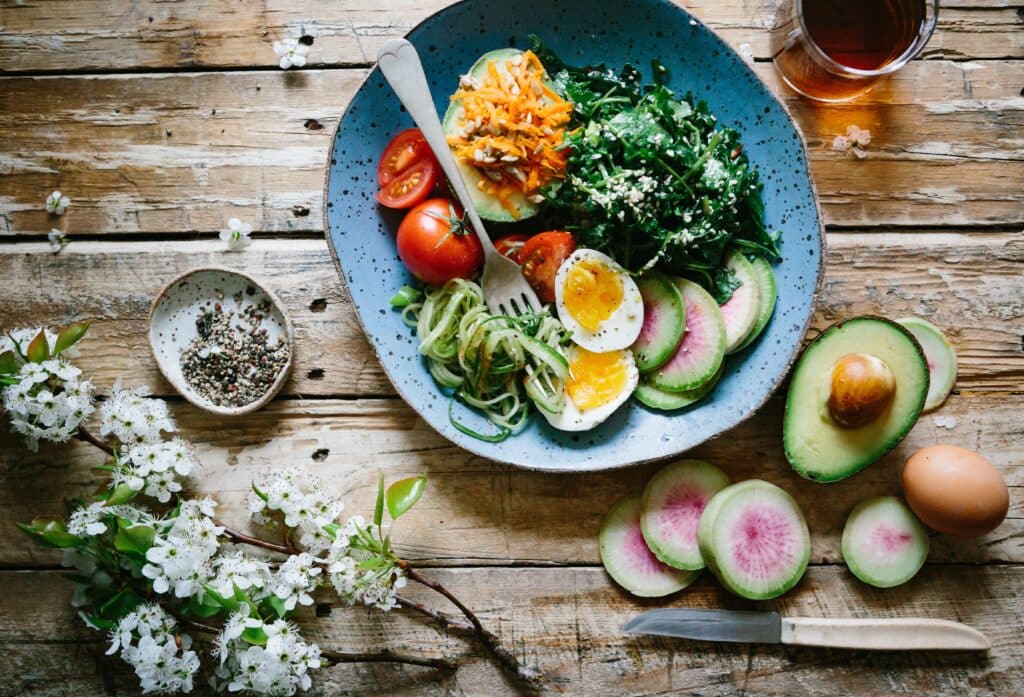
In food photography, soft light refers to diffused, gentle illumination that minimizes harsh shadows and highlights. It wraps around your subject, creating a subtle, even glow. The benefits of soft light are:
- Diffused shadows: Soft light reduces sharp shadows, ensuring a more natural and pleasing look.
- Highlighted textures: It accentuates the textures of your dishes, making them look more enticing and appetizing.
?Secret sauce: To understand the impact of soft light, look at examples on cooking blogs or food magazines. Notice how the absence of harsh shadows and gentle light elevate the overall visual appeal of the dishes.
Tips for making artificial light look natural
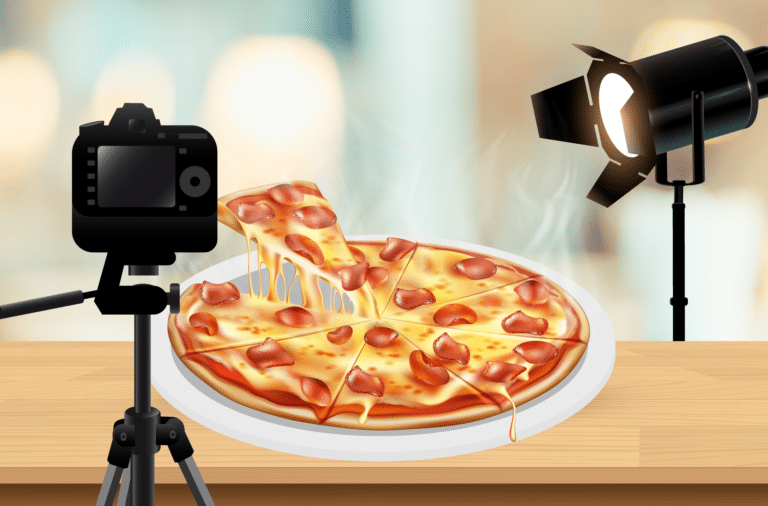
While natural light is preferred, it’s not always available, which is where artificial light comes to the rescue. These circumstances usually involve indoor shoots, capturing items from multiple angles, or when you’re on a tight deadline and can’t afford to wait for the sun to be in the right position.
Types and uses of artificial lights:
- Continuous LED lights: Offer a steady, constant light source suitable for video and still photography. Ideal for maintaining a consistent look.
- Studio strobes: Produce powerful bursts of light, great for freezing motion and creating a dramatic effect. Perfect for controlled studio settings.
- Ring lights: Produce even, shadow-free illumination, reducing harsh shadows. Excellent for close-up shots.
To make artificial light look more natural, incorporate light modifiers:
- Softboxes: Diffuse and soften the light, reducing harsh shadows.
- Diffusers: Scatter and soften the light, reducing the intensity and creating a gentle glow.
- Reflectors: Bounce light back onto the subject, filling in shadows and adding dimension.
Experiment with combinations of these modifiers. Softening and diffusing artificial light mimics the characteristics of natural light, ensuring your food photographs look inviting and authentic.
How to display food photography on your blog
Now, it’s time to show off your photos on your blog in the most visually appealing way possible. To do this, use a powerful plugin like WP Recipe Maker. This plugin is a game-changer for food bloggers, boosting the overall impact of your photos and creating an immersive experience for your audience.
Let’s take a look at why WP Recipe Maker is a great solution for displaying your food photography:
Interactive recipe cards
One of the great features of WP Recipe Maker is its ability to generate interactive recipe cards. These visually appealing cards not only display your food photography beautifully but also engage your audience with detailed recipe information. Users can easily print or save recipes for future use, creating a valuable and shareable resource for your blog visitors.
SEO optimization
Along with enhancing the visual appeal of your food blog, WP Recipe Maker is designed with search engine optimization (SEO) in mind. The plugin helps improve your recipes’ discoverability on search engines, driving more traffic to your blog. This means that your carefully crafted food photography can reach a wider audience and leave a lasting impression.
WP Recipe Maker in action
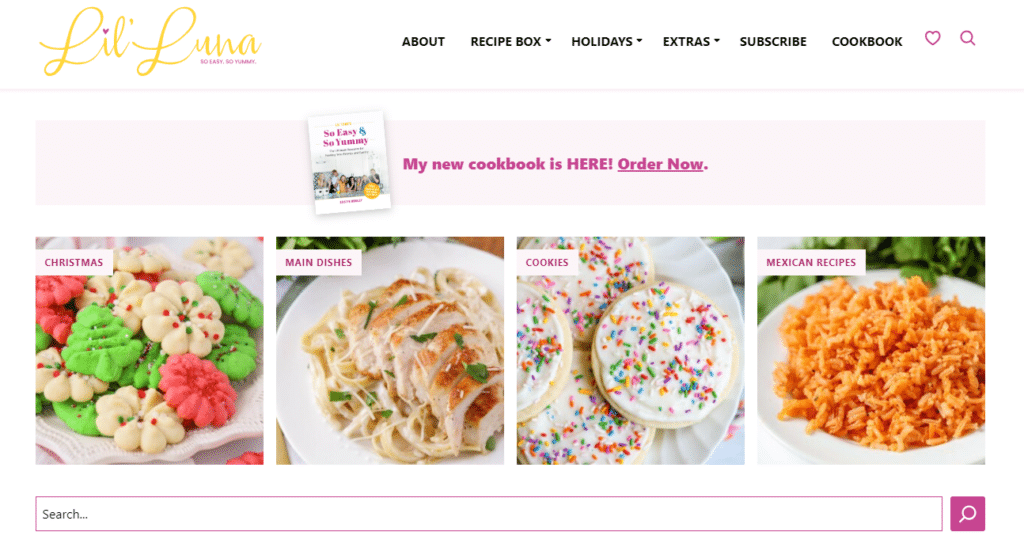
A great blog example is Lil’ Luna. Lil’ Luna uses WP Recipe Maker, the most popular recipe plugin for WordPress. Some of the plugin’s incredible features include:
- User-friendly recipe creation: WP Recipe Maker simplifies the process of crafting enticing recipes. Its user-friendly interface ensures that even complex recipes are effortlessly presented.
- Captivating visuals: Enhance the visual appeal of your recipes with customizable templates. Show your creations with featured images and step-by-step photos, captivating your audience at every scroll.
- Pinterest integration: Recognizing the importance of social media when blogging is so important, and WP Recipe Maker integrates perfectly with Pinterest. Users can easily save and share your images, expanding the reach of your blog.
Your action plan for better food photography
Food photography is as much about creativity and storytelling as it is about technical skills. By mastering the art of lighting, you can bring your foods to life and capture the attention of your audience with mouth-watering images.
Remember, once your photos are ready, you need a place to share them. WP Recipe Maker allows you to maximize the impact of your meticulously crafted food photography on your blog. With effective integration, interactive recipe cards, and SEO optimization features, this plugin is a must-have for food bloggers looking to elevate their visual storytelling.
So grab your camera, set up your lighting, and get ready to serve up your delicious photographs with WP Recipe Maker.


