The perfect pizza photos can make mouths water with just one glance. Yet, creating appealing pizza pictures involves more than just taking a quick snap with your iPhone. It all comes down to the construction of the pizza and the way that the image is styled, lit, and photographed.
Hiring a food photographer can get pricey, and may be out of some site owners’ budgets. However, with a few tips and tricks, you can learn how to take photos that do your delicious pizzas justice.
If you run a pizzeria or food blog, this is the article for you. We’ve put together a comprehensive guide full of expert tips and tricks that will help beginners take their food photography to the next level.
Crafting the perfect pizza for photos

You can’t take a visually appealing photograph of pizza if the pizza isn’t visually appealing in the first place. This means great food photos start with the actual construction of the pizza. Some top tips for putting together a pizza that looks amazing in photographs include:
Use mozzarella
Mozzarella cheese is the go-to cheese of choice for pizza photography because of its appealing stretch and its gooey texture when melted. Use high-quality, low-moisture mozzarella for the best results.
Make sure toppings are evenly distributed
Ensuring that the toppings are distributed evenly across the pizza will help result in a balanced image. Each slice should be just as appetizing and well-presented as the next.
Use less sauce than usual
More tomato sauce is great when eating a pizza, but when you’re making a pizza for food photography purposes, it’s best to use less than you usually would. An overload of sauce can create a messy visual and overshadow other ingredients.
Start with a par-baked crust
Using a par-baked crust will give you more control over the texture and color of the crust. The goal is to have a crust that has a golden-brown appearance.
Brush the edges with oil
You can accentuate the visual appeal of the pizza crust by lightly brushing the edges with melted butter or vegetable oil before placing it in the oven. The result will be a beautiful, shining golden crust that makes your photographs pop.
Add texture
Plain cheese pizzas might be a staple, but it’s not much to photograph. Using a variety of ingredients that feature engaging textures, such as fresh basil leaves, thick pepperoni, and juicy tomatoes can help to make the pizza more visually appealing.
Styling your pizza with backdrops and props

You can help set the scene and enhance the visual appeal of your pizza photos by spending some time styling the scene. Two handy tips for arranging your pizza photo shoot are:
Choose a complementary background
Your photography backdrop can help evoke the right ambiance, especially for flat-lay pizza photographs. Try to use one that complements the pizza’s colors and style, such as a pizza stone, clean marble countertop, or rustic wood surface.
Using props for context
Props are a great way to tell a story about the pizza you’re shooting. For example, you may include a pizza cutter, a glass of wine, or a variety of fresh ingredients placed around the edge of the pizza, all of which can add realism and depth to the photograph.
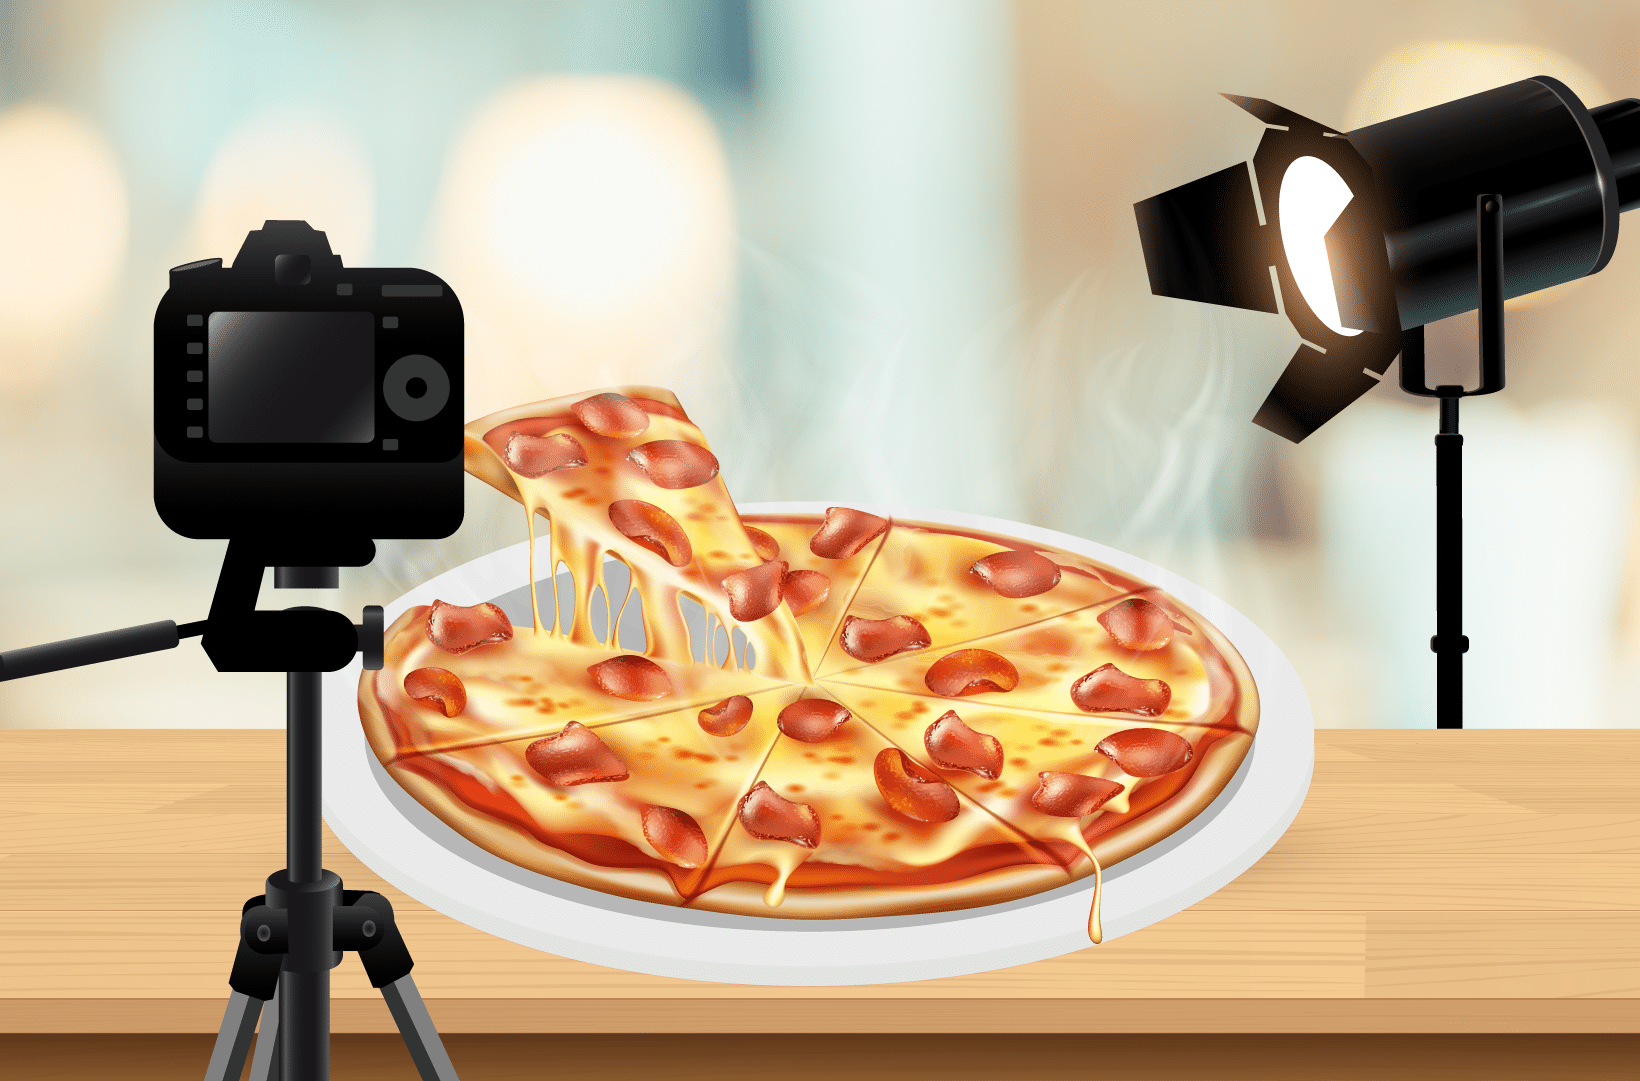
Choosing the right lighting and setup

You’ve made a photogenic pizza and you’ve set the scene, but the quality of your photos hinges on your lighting and camera setup. These two factors have a significant impact on the mood and atmosphere of the final result, and the two big factors to consider are the type of light source and the lighting and camera angle:
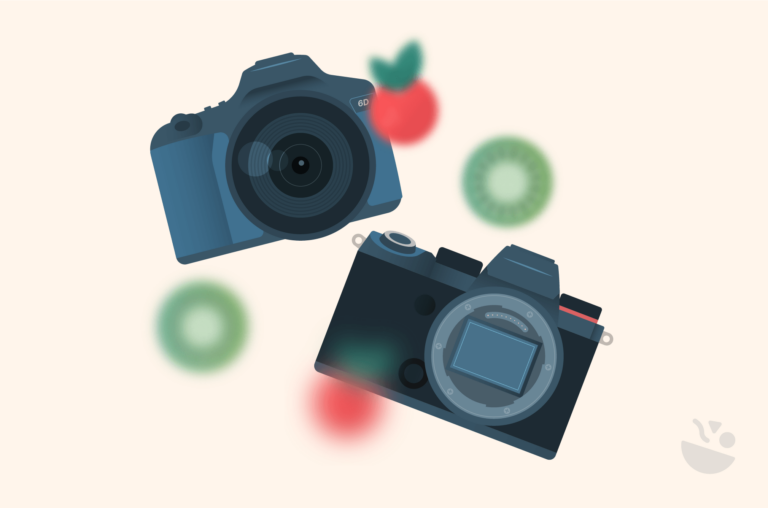
Natural lighting vs. artificial lighting
Your first decision will be whether you use natural lighting or artificial lighting. Both have their advantages, and it all comes down to the effect you’re trying to create, as well as how much control you need to have over the lighting.
Natural lighting creates a more organic look and feel, while artificial lighting gives you greater control over the setup. Unless you have a dedicated lightroom, it’s important to think about how natural lighting will impact the outcome of the photograph.
Even if you’re largely using artificial lighting, ambient lighting will play a role. It’s best to shoot near a window, or even outdoors, during the early morning or early evening, for soft, even lighting. Try to avoid harsh overhead lighting and turn off the camera’s flash, as they’ll both create unflattering shadows and hot spots.
Sidelighting vs. backlighting
You can use both sidelighting and backlighting when shooting pizza, but most professional food photographers prefer sidelighting. This process involves angling the light source at a 45-degree angle from the camera lens since it helps to highlight the pizza’s textures and ingredients.
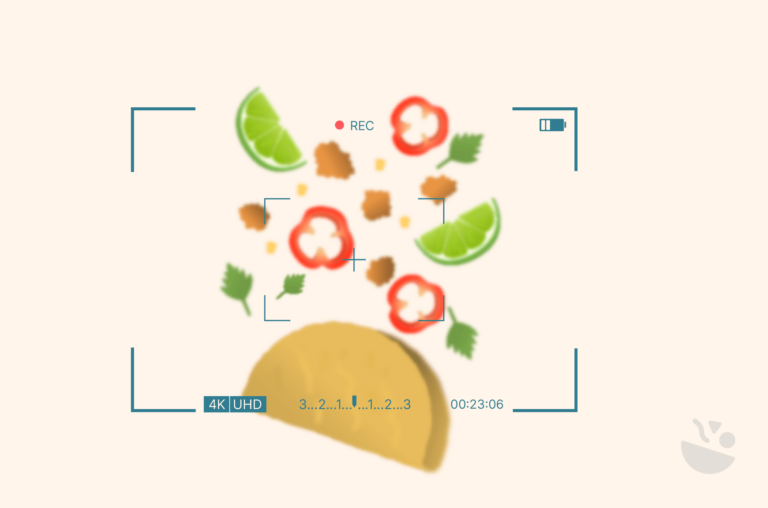
Taking mouthwatering shots of your pizza

With your pizza crafted to perfection, the scene artfully set, and the lighting meticulously arranged, it’s time to focus your lens and capture the essence of culinary delight. Some essential tips for creating the perfect pizza shot include:
Shoot while the pizza is fresh
Pizza doesn’t just taste best when it’s fresh out of the oven; it also looks its best at this time, too. It’s best to have your setup ready to shoot, so you can snap some photographs as soon as the pizza is ready.
Preparing several pizzas at once and staggering their entry into the oven gives you several chances for the perfect shot. It’s best to shoot when the pizza is still steaming, but if you want to get a little more shooting time out of each pizza, a small water spritzer can be used to mimic steam.
Get the cheese pull
All pizza adverts use the ‘cheese pull’ shot, and with good reason — it captures the pizza’s awesomeness in all its glory. Take photographs of your pizza when the cheese is gooey and stretchy.
To get the coveted cheese pull shot, slice the pizza when it’s fresh out of the oven. Allow it to rest for just a moment so the cheese on top melts back into itself, and then gently lift a slice of pizza.
Experiment with angles
You’ll get significantly different outcomes depending on the angle you use to take your photographs. Eye-level shots, top-down shots, and 45-degree angle shots all produce different looks and feels, so it’s best to experiment with a variety of angles to see which ones offer the most appealing perspective.
A top-down shot will capture the whole pizza, while the 45-degree angle photograph will highlight toppings and give depth to the image. In general, you should be aiming to capture the pizza’s texture and crust.
Keep your camera in focus
Not all parts of the pizza are created equal, from a photographic perspective anyway. It’s best to focus the camera on the parts that matter the most, such as the delicious toppings or gooey cheese. A sharp focus on those all-important zones will help to make your photograph more visually appealing and enticing.
Experiment with depth of field
A shallow depth of field will keep the pizza in sharp focus while blurring the background, helping to direct the viewer’s attention to the pizza. You can use a wide aperture (low f-stop number) setting on your camera to achieve this effect, which is perfect for close-up shots of slices or ingredients, and anything where the background provides no additional context.
A wide depth of field, however, is more appropriate for top-down shots of the pizza, especially those staged with context props. With a wide depth of field, your whole image will be crisp and in focus, making the most of your gorgeous background.
Editing your pizza photos
If you’re learning how to take food photos, then you should also learn how to use post-processing software, such as Photoshop. Use these tips to add a touch of magic to your pizza shots:
- Adjust brightness and contrast: Experimenting with brightness and contrast adjustments can elevate the presence of your pizza in the frame. This step enhances its appeal without sacrificing essential highlights, shadows, or intricate details.
- Balance colors: The process of capturing images can sometimes introduce color imbalances. Rectifying these color casts is vital to ensuring that your pizza appears both inviting and authentically appetizing.
- Sharpen the image: Subtle sharpening of your image accentuates the pizza’s textures, ultimately making it all the more tantalizing to the viewer. The crispy crust and gooey cheese will practically jump off the screen.
- Edit with subtlety: While it’s easy to get overboard when editing photographs, it’s best to take a “less is more” approach to ensure the image looks natural.
Display your pizza photos on your website with WP Recipe Maker
Once you’ve taken your amazing pizza pictures, you’ll want to share them with the world. There are a number of ways you could do this. If you’re an aspiring food influencer, then you’ll share them on Instagram. If you’re trying to make it as a food photographer, then you might sell these pictures to interested food publications.
However, if you run a food blog, then you’ll want to incorporate these pictures into your recipes, and that means using a tool like WP Recipe Maker.
This WordPress plugin allows you to create stunning recipe cards that grab your readers’ attention. The plugin includes various templates for presenting your recipes (with more included in the paid plans), but if you can’t see what you’re looking for, then you can use the in-built template editor to customize your recipe cards.
Here’s what a pizza recipe looks like on an actual WordPress food blog that uses WP Recipe Maker, www.TheCountryCook.net.

This is just the beginning of WP Recipe Makers’ handy capabilities. You can include a featured image of the final product at the top of the recipe, as well as display photographs that depict different stages of the tutorial.
Use social media sharing buttons to reach a wider audience and the Pin Recipe to let readers save your photos to their Pinterest boards to keep handy whenever they need some inspiration. If you have multiple pizza recipes online, then the useful recipe collections feature lets readers save their favorite recipes for later.
If you’re ready to show off your beautiful pizza photography and turbocharge your recipes, then get started today with WP Recipe Maker.