When it comes to successful food photography, the angle of any shot plays a crucial role. A dish can be delicious and even look appealing in real life, but a bad photo won’t make anyone’s mouth water. The optimal angle for a shot will vary, and as a food photographer, you need to know which angle is going to bring out the colors and key elements of a dish.
There are multiple factors that will help you determine the best angle on a case-by-case basis – the layout of the dish, the light you’re working with, the background or surface, and the style you want for your photos all matter. We’re going to cover some of the most common and effective angles in food photography and the best times to use them.
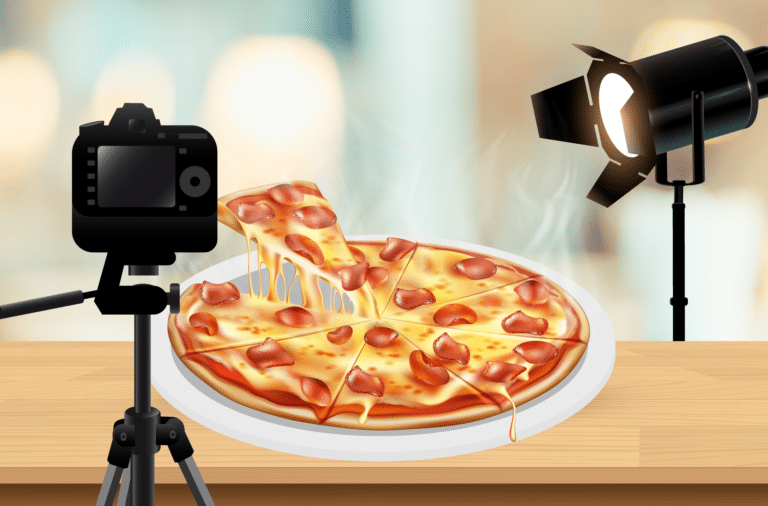
Overhead food photography (90° flat lay)

Overhead photography, or 90° flat lay, is arguably the easiest angle to understand. It involves photographing your dish from a bird’s eye view, i.e., directly above it. You’ll see this angle throughout recipe books, food blogs and magazines, restaurant menus, and all over social media platforms like Instagram and Pinterest.
This is a ubiquitous angle for food photography, but that doesn’t mean it’s always the right choice. So when should you use it? 90° flat lay is excellent for capturing the entirety of a dish, making it a good choice if you have a lot of elements you want to include – in such cases a side view just won’t cut it! It’s also a great choice if you want to add various props or embellishments to enhance the dish. The view from above will enable you to add depth and context to the dish.
Some of the types of dishes that are best suited for flat-lay photography include salads, charcuterie boards, pizza, or donuts. Anything that doesn’t have much height to it is a particularly good candidate for this type of shot.
Getting this angle right isn’t without challenges. There are certain issues you might need to overcome, such as avoiding shadows from the photographer and camera. And, while this is a good angle for “flatter” foods, you also want to ensure it doesn’t look too flat. Ensuring the dish still has volume is an important consideration.
Straight on food photography angle (0°)

Whereas a 90° flat lay shows a dish from straight above it, the 0° angle captures it from the side. The camera is positioned at eye level to get a front-on view of everything the dish has to offer.
This angle is ideal for any time when you want to emphasize height or show off multiple layers in a dish. Similarly, you might have some details you want to highlight from the front that wouldn’t look as good from above or another angle. You might choose to use this angle for something like a layer cake, sandwich, burger, or a tasty lasagne. If it’s a food that’s stacked in layers or has a filling you want to focus on, the straight-on angle is likely to be a good choice. It’s great for picking up details like drips or drizzles too.
The straight-on angle is also an excellent pick for showcasing serving presentations. In addition to the dish itself, it can capture the plate, bowl, or other serving dish. It could also include the layout of the table or other elements you use to create a fantastic presentation. All of this can add more depth to your photos and create a more visually powerful story.
This angle can also have some challenges. It’s not always the right choice, especially for foods that don’t have as much height. It can make some dishes appear flatter than they are. To combat this, it’s important to first ensure you’re choosing the right angle. One way to combat flatness is to go slightly lower than a straight-on shot to emphasize height even more.
The 3/4 angle

When you want to switch things up a bit, the 3/4 photography angle can be a fine choice. The 3/4 angle is slightly off from a simple profile or front view, usually at an angle of between 45° and 75°. There are different times when you might want to use each of these angles to get the best results.
When to use 75°
The 75° angle is slightly down from a flat lay, giving you a shot of the top but also some side view. A 75° is a good pick for any dishes where you want to show the depth or highlight the height of toppings or garnishes. You get both the detail on top of the dish and some of the side, showing more of the dish from above. You might use this angle for anything tall or stacked, where you still want to ensure the top of the dish is in view. It’s also a good choice for photographing beverages.
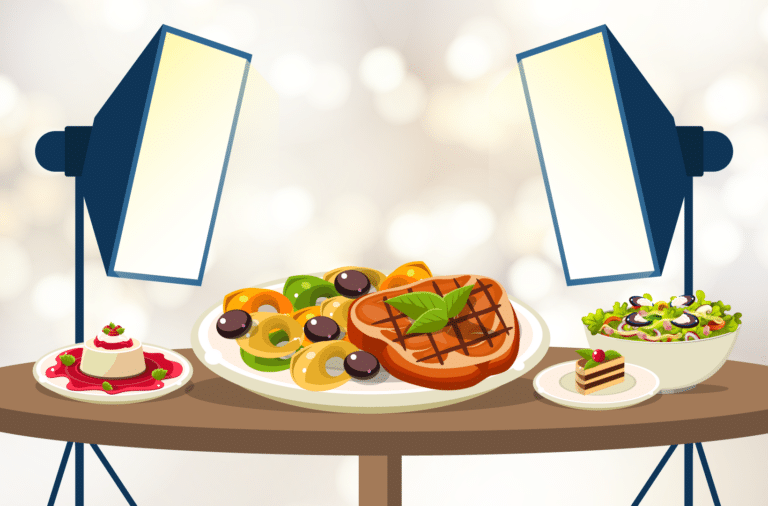
When to use 45°
The 45° is by far the most common choice for commercial food photography – the popularity of this angle is that it allows you to show both the front and surface of the dish as well as the sides. If you’re not sure which angle to go with, using the 45° angle is a good starting point. You’ll get a little bit of everything, so it’s difficult to go wrong.
Another reason this angle is so popular and effective is that it’s the angle people see when they eat their food. It makes the dish enticing because people can imagine it in front of them. This angle can work well for most plated dishes or bowls of food like soup, giving a balanced overall image.
Other notable angles: 25° and 30°

Other photography angles may be less common, but they are still useful to have in your arsenal. 25° and 30° angles are two perspectives that might not seem too different to an untrained eye but can have a notable effect on the appearance of the food and how it’s perceived.
These relatively small angle differences can create subtle shifts in the perspective of the food and the overall composition of the photo. A 25° angle can give the impression of being slightly more centered or present a more frontal view. Meanwhile, a 30° angle can add more depth and dimension by moving away from the direct front view a little more.
When to use 30°
The 30° is a take on the 45° angle. However, it’s a little lower and allows the viewer to see the background behind the dish. So if you want to add some more context to your presentation while capturing the whole dish, it can be an excellent choice.
When to use 25°
If you want to show off layers in a cake or something else that’s stacked or layered, the 25° angle works well and could be a good choice if you find that a straight-on angle isn’t working for your shot. Similar to the 30° angle, it shows more of the background, giving a little peek of the plate or dish.
Leveraging angles to boost your food blog
High-quality photography makes all the difference when you’re trying to make your food blog successful. Quality images will engage the reader and encourage them to bookmark, share and, of course, make your dishes. Your images are the first thing that your visitors will see so photos that draw them in can be the difference between a visitor who leaves quickly and someone who keeps coming back.
So why do camera angles matter in all this? Photography angles are about more than just what view of the food you get. They can spark various emotions in the viewer and even make a difference in whether a dish whets their appetite. Having even a basic knowledge of photography angles and applying them to your images will help you attract and retain readers, as well as boost the popularity and visibility of your blog.
Once you have high-quality photography, make sure you’re creating beautiful blog posts too. Using a recipe plugin like WP Recipe Maker allows you to create organized and professional recipe cards that you can customize and easily add to your WordPress blog posts. You can incorporate photos into your recipe for beautiful visuals with each one. WP Recipe Maker gives you the ability to add both a featured image and further images at any step of the recipe. In addition to making your recipe more visually appealing, it makes the recipe easier to follow.
WP Recipe Maker includes features such as making images clickable for Lightbox, adding ingredient images and equipment images, and allowing visitors to pin recipe images.
Experiment with different photography angles to improve the quality of your food photos. When you have quality photos, make the most of them with WP Recipe Maker to create an enhanced experience for your readers.
Recommended for you: The Best Tripods for Food Photography (5 Best Picks)