
Want to make your food shine on Instagram? Food Reels are the way to go.
If you do it right, Instagram Reels can help you show off your cooking skills and attract more followers. In this guide, we’ll show you step-by-step how to make great food reels. You’ll learn how to pick what to film, set up your shot, and make your video look amazing. We’ll also share some clever tricks to help your reels stand out.
Ready to boost your Instagram game? Let’s dive in!
Why are Instagram Reels important for food bloggers?
Instagram describes Reels as “entertaining, immersive videos where you can creatively express your brand story, educate your audience, and get discovered by people who may love your business.”
Reels are a great way to get discovered by a wider audience and build brand loyalty. Most successful reels are under 90 seconds long, so the trick is to learn how to master short-form content and post regularly.
Reels help you reach a wider audience. They’re not just seen by your followers but can appear on the Explore page, potentially reaching millions of users. As a result, this increased visibility can lead to more followers, engagement, and growth for your food blog.
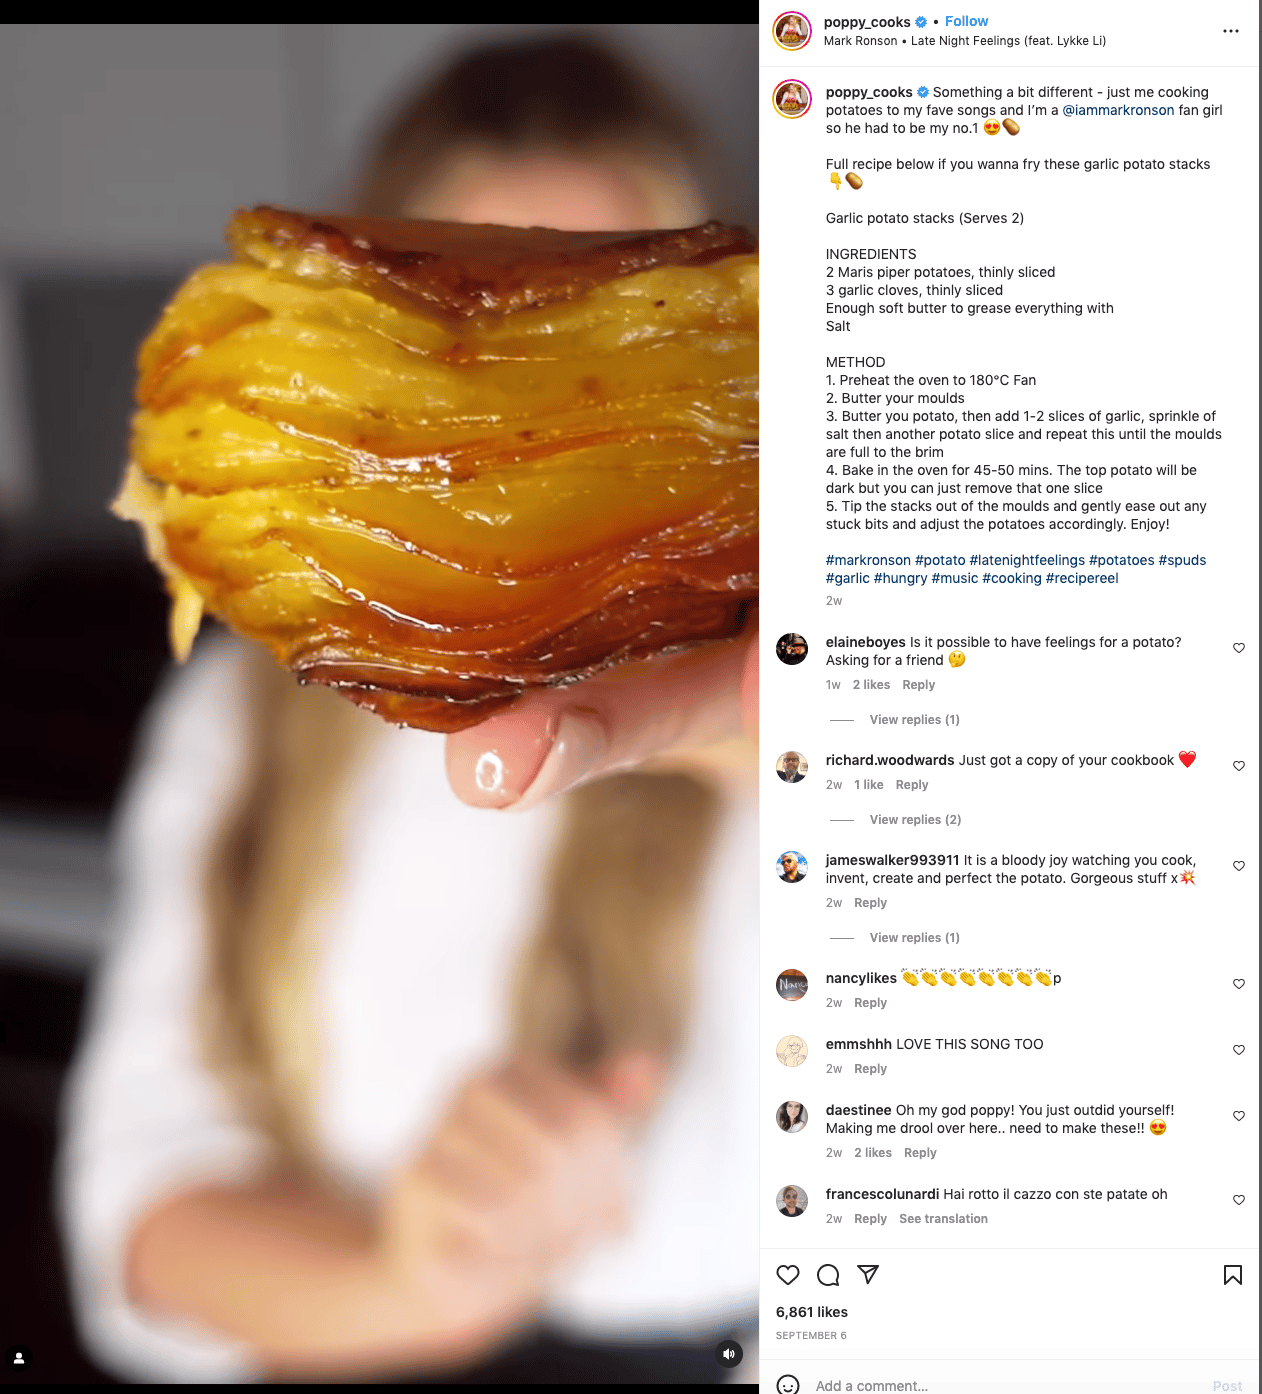
Moreover, Reels don’t replace your blog; they complement it. You can use Reels to tease full recipes, driving traffic to your website where viewers can find more detailed content.
How to make food Reels on Instagram
Let’s break down the process of making compelling Instagram Reels into four simple steps, starting with choosing your topic.
1. Choose a topic
Start by picking a topic for your food Reel. When doing so, consider your selected niche and what your audience wants to see. Are they looking for quick recipes, cooking hacks, or food styling tips?
Also, think about current food trends and seasonal ingredients. A summer fruit salad might perform better in July than in December. If you don’t have any ideas, you can take a look at the top food Instagram accounts to see what they posted recently.
Checking Instagram analytics to see which of your past food Reels have performed better than others can also be valuable when choosing a topic for your next food Reel. While it is a good idea to keep the popular content coming, remember to experiment with new ideas once in a while to avoid being redundant.
2. Set the scene
After deciding on a topic, the next step is to set the scene.
There are three main things you need to consider when setting the scene for your food Reel: Lighting, background, and angle.
For lighting in filming, natural light works best, so try filming near a window during daylight hours. If that’s not possible, set a ring light or softbox to ensure your food looks appetizing.
Secondly, keep your background simple and clutter-free to keep the focus on your food. If you don’t want a plain setting, you can use props when shooting your food Reel. But don’t overdo it – remember, your food is the star.
Thirdly, when it comes to angles, a birds-eye view often works well in food Reels that show cooking processes. For plated dishes, a 45-degree angle can show off the food’s texture and height. Experiment with different angles to find what works best for your particular dish and style.
3. Shoot
Now, it’s time to start filming. The only important rule when shooting is to capture more footage than you think you’ll need. This gives you flexibility during editing. This means that for cooking processes, film each step separately. For plated dishes, take multiple shots from different angles.
Don’t worry about perfection. Sometimes, a bit of messiness can make your food Reel feel more authentic and relatable. Just ensure your main subject – the food – looks appealing.
Also, keep your shots steady by using a tripod or propping your phone against a stable object. If you’re filming yourself, consider using a selfie stick or phone holder.
4. Edit & Share
At this stage, you can use Instagram’s built-in editing tools to trim your clips, adjust speed, and add filters.
You can add music to make your food Reel more engaging or feature a trending song. Suppose you want to add text overlays to explain steps or ingredients. Keep them short and easy to read.
Remember, Instagram Reels can be up to 90 seconds long, but shorter ones often perform better. Aim for 15-30 seconds of engaging content.
Before sharing, write a catchy caption that describes your Reel and choose an eye-catching cover image. Use relevant hashtags to increase discoverability, but don’t overload – 3-5 targeted hashtags are usually enough.
Tips to create amazing food reels
Now that you know the basics of creating food Reels, let’s dive into some tips on how to make them truly stand out. These strategies will help you engage your audience and grow your following:
- Be relatable: Viewers want to connect with the person behind the food. Show your face, use voiceovers, or tell your story. This personal touch helps build a stronger connection with your audience.
- Stay consistent: Find your unique selling point and stick to it. Whether it’s healthy desserts or vegan meat substitutes, you can build your brand by staying consistent in your content.
- Engage with your audience: It is important to connect with your followers to improve their loyalty and engagement. But your followers’ comments and questions can benefit you as well by giving you new ideas for your food Reels.
- Show the process: Instead of only showing the recipes, try walking your viewers through the whole process while sharing useful tips at certain steps. This way, you can make sure you add real value to your followers while boosting engagement.
- Direct traffic to your blog: Food Reels are a great way to build a new foodie audience that you can then introduce to your blog. Combining the two can help you grow your brand. Mention in your food Reel that the full recipe is available on your blog, and include the link in your bio so your viewers can find it more easily.
Grow your food blog with Instagram Reels
Instagram Reels are a powerful tool to attract new followers, but the real magic happens when you convert these viewers into loyal blog readers.
Once visitors land on your blog, it’s crucial to provide an experience that matches or exceeds the quality of your food Reels. This is where a tool like WP Recipe Maker can make a significant difference.
WP Recipe Maker allows you to present your recipes in a visually appealing format and embed your Instagram Reels directly into recipe pages to seamlessly transfer your hard-earned Instagram traffic to your blog.Ready to take your food blog to the next level? Download WP Recipe Maker today and create a seamless, professional experience that turns Instagram visitors into loyal blog readers!