If you have a food YouTube channel, you need to master videography. So many content creators are putting out high-quality content, and this is what audiences are now used to – so creating video content with a comparable level of quality is a must.
However, it can be really hard for beginners to choose the perfect camera or master the correct lighting setup to help their videos look better. To help you out, we’ve created this insightful guide where you’ll find important information about essential gear and editing solutions that will equip you with the confidence to craft engaging videos for your food vlog or cooking channel.
We will also show you how WP Recipe Maker can help you share your tasty creations on your blog, making it a delightful destination for food aficionados.
Essential videography gear for delectable food visuals
Starting your food vlogging journey is exciting but can be a little daunting if you don’t know how to get started. This section guides you on selecting the right gear to help you master the art of creating high-quality food videos.
Choosing the right camera: Tips for food vloggers
If you’re just starting your food vlogging journey or pursuing it as a hobby, high-end smartphones offer a good starting point. Models like the iPhone 14 Pro, Samsung S23 Ultra, and Google Pixel 8 Pro offer great video quality thanks to features like high resolution, wide dynamic range, and advanced autofocus.
If you’re really interested in mastering videography, or if your content begins to return revenue significant enough to justify upgrading your visuals, investing in a DSLR or mirrorless camera becomes a viable option:
DSLR cameras: These cameras offer multiple-lens compatibility and have impressive battery life. However, they are typically heavier, and their mechanical mirror can cause noise during operation, which may be problematic in quiet shooting environments. A great option is the Canon EOS 6D Mark II due to its user-friendly interface, great autofocus capabilities, and a vari-angle touch LCD.
Mirrorless cameras: These are smaller, lighter, more quiet, and provide superior autofocus. However, they offer fewer lens options and may not last as long on a single battery charge. Our recommendation for a mirrorless camera is the Panasonic Lumix S5, as it has 4K 60p video capability and offers enhanced low-light performance, which is perfect if you don’t have ideal filming conditions.
Transitioning from smartphones to these advanced cameras can be a steep learning curve, but it’s rewarding in terms of the versatility and quality they bring to your food videography. It’s also worth considering the availability of second-hand gear for those wanting to upgrade on a budget.
Whether you choose a phone or a camera, ensure you get high-quality audio. If the native audio features aren’t satisfying, you can use an external microphone.
?Tip:For solo food vloggers, a flip screen feature is indispensable, as it lets you see the frame when you are in front of the camera.
Lenses that make your dishes pop
When choosing your lens, keep your style, content, and budget in mind. These are three popular choices among food vloggers:
Lens type
Key features
Ideal use
Considerations
Prime lenses
Sharp, detailed imagery. Excellent in low light due to larger apertures. Fixed focal length for shallow depth of field.
Highlighting food items with a blurred backdrop.
Cannot zoom.
Macro lenses
Great for extreme close-ups. Captures detailed texture.
Close-up shots of food textures.
Requires stable hands or a tripod. Lighting is crucial to avoid large shadows.
Zoom lenses
Offers a range of focal lengths. Allows transitioning from wide shots to close-ups without needing to change lenses.
Versatile shooting, from wide settings to detailed close-ups.
Generally smaller maximum apertures compared to prime lenses. May not perform well in low-light situations.
Stability is as essential as a sharp lens or a good lighting setup – and an invaluable tool to ensure this and achieve professional-looking videos is a tripod.
From video composition to lighting steadiness, a well-selected tripod can significantly improve the quality of your food videos. It lets you experiment with multiple angles, tweak the shot, and adjust as per requirements – all while staying hands-free!
Using a tripod can also enhance the consistency of your videos, resulting in a higher-quality final video that is visually cohesive and pleasing to the eye.
Wondering about the lighting situation for your food shoots? Let’s look at the benefits and constraints of using natural and artificial lights:
Natural light: It’s free, and you can get great results with optimum conditions, but you’re fully dependent on weather conditions and time of day, which can be pretty unpredictable.
Artificial light: It offers a constant and manageable lighting solution, enabling you to shoot anytime, anywhere. However, it requires investment and some technical understanding. Consider options like LED panels or ring lights for better control over brightness and color temperature.
When using artificial light, include tools like diffusers and reflectors. Diffusers help to spread and soften the light, offering a gentle glow to the food, while reflectors can bounce light onto the food from different angles and fill in harsh shadows, making the food look even tastier!
Editing software: The final touch in food videography
Post-production enriches the visual appeal and storytelling quality of your video while also significantly boosting viewer engagement and potential to go viral. The right editing can transform your content into highly shareable pieces.
Adobe Premiere Pro
Adobe Premiere Pro is a reliable choice among seasoned videographers who rely on its advanced capabilities to create stunning visuals. If you’re experienced with other Adobe software like Photoshop, you’ll find its interface vaguely familiar. Adobe also offers a rich collection of educational resources and tutorials to help you navigate the initial learning curve.
Final Cut Pro X
For those who value user-friendliness, Final Cut Pro provides a more intuitive alternative. Its accessibility and one-time purchase cost model make it a popular choice, especially against Adobe’s subscription model. Keep in mind, though, that it’s available exclusively for Mac users.
DaVinci Resolve
Finally, DaVinci Resolve is a free, professional-grade software trusted by beginners and experts. Its industry-leading color-correction capabilities make it a great choice, particularly in food videography, where the vibrancy and accuracy of your dish’s color can drastically influence viewer appeal.
While high-quality video editing is more comfortably achieved on a laptop or desktop, some fantastic mobile alternatives could cater to specific food videographers, such as travel vloggers or creators focusing on short formats for TikTok or Instagram. Options include iMovie (Apple only), Adobe Premiere Clip, and InShot.
Key features of these mobile editing apps can include multi-track timelines, HD support, text overlays, and transitions.
Beyond the choice of software, mastering key features like color correction, audio adjustments, adding text overlays, and transitions are essential for good food videos.
Naturally, there is a significant learning curve for these software platforms. However, with the immense support from user forums, community groups, and comprehensive tutorials available on YouTube, this challenging curve can soon turn into a fun and intriguing learning journey.
Avoiding common mistakes in food videography
Photography isn’t easy, and there are many things that could go wrong. Let’s look at some of the most commonly challenging areas of food videography and how you can handle them.
White balance
Wrongly adjusting the white balance can induce a color cast which is a tint of a particular color, usually not something you did on purpose, that can affect the entire image. That’s why you need to learn how to tweak your camera’s white balance appropriately in relation to your lighting conditions so you can get accurate color representation.
Auto-focus
Auto-focus may seem like a convenient option, especially for beginner videographers, but it has its limitations. It could leave your subject blurred for a moment before the camera determines the appropriate focus. Additionally, an unstable picture jumping from one focus point to another can disrupt viewers’ experience. That’s why mastering manual focus is essential, giving you control over focus accuracy and ensuring a crisp and high-quality video.
Lighting setup
Relying on ambient or overhead lights often produces harsh shadows or an unpleasant orange tinge, making your food look less appealing. For more controllable light sources, consider using natural light or investing in dedicated studio lights. Better still, enhance your lighting by exploring tools like diffusers and reflectors for balanced and softened lighting.
Shot angle and composition
Paying attention to your food setup and framing can make a world of difference in your final output. Continually check and optimize your shot angles and compositions, ensuring your subject remains the prime focus and doesn’t get clipped at the frame’s edges.
Microphone selection
If you’re looking to create ASMR-style food videos or enhance viewer experience generally, you can’t rely on your camera’s built-in mic. Investing in an external microphone can drastically improve your video’s sound quality.
A great option is a clip-on lavalier microphone like the PQRQP Wireless Mini Microphone, which allows directional audio capture and works with phones and laptops.
Video editing
While the post-production process is an essential one, over-editing could end up distracting your viewers. Instead, take your time to develop a consistent editing style, learn how to pace your video appropriately, and focus on representing your food in its most appealing light without forgetting aspects like color correction.
How to maximize the impact of video content on a food blog
To ensure your blog appeals to various audience preferences, consider combining your sparkling video content with detailed written recipes.
It can be combined with a shop so you can sell merchandise and cooking books.
It’s great for Search Engine Optimization (SEO), as search engines favor comprehensive and value-adding content, leading to higher ranks on search results.
It gives your viewers the chance to save and collect your recipes for future use.
“Adding videos to recipe blogs helps to provide a step-by-step, engaging experience that helps audiences better understand techniques and details. This multimedia approach makes recipes more memorable and creates a stronger connection with readers compared to images alone.”
But what if you want to add your video recipes to your blog recipes? WP Recipe Maker is a user-friendly WordPress plugin designed specifically for food bloggers.
It’s packed with useful features like:
The ability to embed videos in articles and the actual recipe card.
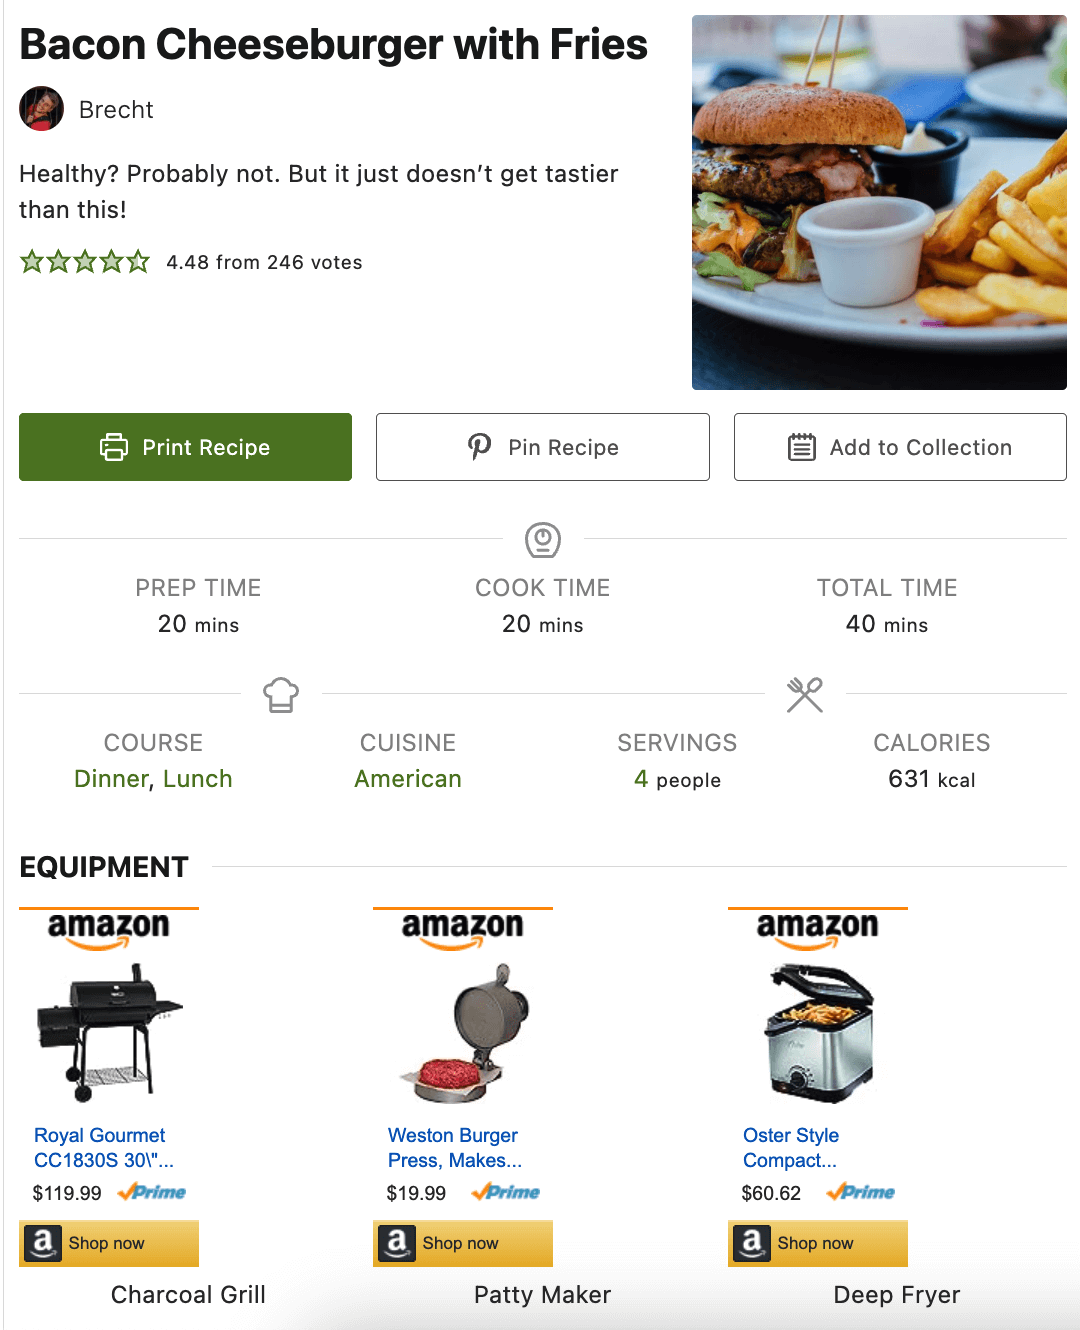
User-friendly recipe cards and a template editor to make them suit your personal brand. Check out this example from Divas Can Cook:
SEO recipe metadata is added automatically, turning every recipe you create into rich Google results with ratings, nutritional information, cook time, and more.
Taking your food videography to the next level
The essentials of captivating video content are simple (not to be confused with easy) – you only need a suitable camera, a sturdy tripod, an awareness of the lighting setup in your filming area, and a sprinkle of editing magic.
Just remember that you don’t have to be perfect from the very beginning. Each new video is an opportunity to experiment, learn, and build your distinctive style. Embrace the thrill of trying something new in each project – perhaps a fresh angle, a different lens, or a unique lighting setup. Remember, the essence of mastery lies in learning from errors and growing beyond them.
Another aspect to consider is pairing your captivating video content with a detailed written blog so you can increase your audience reach. WP Recipe Maker is the perfect tool for any novice food blogger who wants to create professional-looking recipes and share them with people worldwide.
So, why wait? Take your first step towards reinventing your food videography today! Try out WP Recipe Maker and experience how it amplifies the impact of your food videos.
Do you love food, people, and working with a camera? Then you might want to consider starting a food vlog. In recent years, food vlogging has emerged as an engaging way to share foodie experiences, so if you find the idea enticing, this guide is just for you. In this article, we’ll provide you with…
Do you want to take better food photos? If you want your food blog or food business to stand out, then the photography on your website needs to be as captivating as possible. Around half of Americans take photos of their food, so it’s no wonder that social media platforms are saturated with these images….
Starting a foodie account on Instagram isn’t just about posting pretty pictures of your latest culinary creations. It’s a journey that combines your passion for food with the art of visual storytelling. This guide will walk you through the essential steps to launch and grow your food Instagram account. We’ll cover everything from how to build…
Want to make your food blog more engaging? You should add videos to your recipes! People all over the world love to watch food videos on different platforms such as YouTube and Instagram. While you don’t need to ditch your food blog to open a YouTube channel, you should look into adding videos to your…
You’ve probably noticed that many food blogs often begin a recipe with a lengthy story. This is a divisive topic among foodies all over the web. Some people love reading the context behind recipe posts, which usually involves an anecdote about why the blogger loves the dish or may include a historical account of how…