
Are you looking for the best way to share your recipes with the world? Then you should become a food blogger!
Whether you have a stash of family recipes that you’re ready to share with the world, or if you’re constantly experimenting in the kitchen and coming up with brand-new concoctions, then you have a great case for sharing your recipes online. As you add more recipes to your website, you’ll build an online audience, who will discover new delicious dishes they would never have encountered without you.
In this post, we’ll show you how to share recipes on your WordPress website using WP Recipe Maker. In our step-by-step guide, we’ll also show you how to enable share buttons on your recipe cards so that your readers can share recipes too!
6 Reasons to Share Your Recipes
Thousands of recipes are shared every day, whether that’s on food blogs or platforms like Instagram, Facebook, and YouTube. That obviously means that people are interested in this kind of content, but you might be wondering whether it’s worth sharing your recipes when so many other people are doing it too.
We would say it’s definitely worth it. There are many reasons why you would want to share your recipes online, and here are our top seven:
- Preserve recipes. Most families have their own recipes that are passed down through generations. These are often safely guarded, but if you want to make sure that your recipes won’t be lost or forgotten with time, then digitizing them is essential. And if you want to make sure that other people can enjoy the dishes that your family has been making for years, then you should put them on a public platform like a blog!
- Build a loyal following. Sharing recipes can get you brownie points online. If your recipes are a hit then your readers will keep coming back to your recipe website for new ideas. And by making your recipes shareable, your audience can only grow!
- Establish authority. When readers use and enjoy your recipes, they’ll trust your advice and return to your blog for inspiration. They will also share your insights via word-of-mouth, telling their friends and family about everything you offer.
- Attract traffic. Many people search for recipes online. If you provide high-quality SEO-optimized, easy-to-follow, visually appealing content, they’ll stick around to explore the rest of your site. Making your recipes more search-engine-friendly can improve your position in SERPs fast, so it’s worth doing.
- Aid monetization. By partnering with brands or including affiliate links in your content, you can earn money as a food blogger. Sharing your recipes increases ad revenue and drives more leads to your site.
- Put other foodies in the spotlight. As you grow your food blog, you’ll probably take inspiration for recipes from other food bloggers and content creators. It’s perfectly fine to adapt these recipes and make them your own, as long as you give credit where it’s due and explain what you’ve done to change the recipe. This can help you build a network with like-minded food bloggers which can help you boost your presence further!
Where Should You Share Your Recipes?
Right at the start of this article, we said that the best way to share your recipes online is by becoming a food blogger. There are many reasons why we think this is the case:
- It’s easier to build a brand since you have control over your website design from colors, fonts, and styling. It’s really easy to publish recipes regularly and organize recipes into categories.
- If you have a good SEO strategy your content will appear naturally in Search Engine Results Pages (SERPs).
- You can add a store to your website if you want to sell items such as kitchen equipment, cookbooks, and more.
- You can add other pages to tell readers about who you are and what you do.
However, this doesn’t mean that you should stick to one channel. Here’s why you should consider a mix of blog posts, social media platforms, and YouTube:
- Blog posts: These should include detailed recipes and step-by-step instructions, shopping lists, and photos or videos to guide your readers through the cooking process. They shouldn’t leave any room for guesswork. However, they can leave the door open to improvisation.
- Social media: Use social media, including Instagram, Facebook, or Pinterest. By sharing mouth-watering photos of your dishes and linking back to your blog, you can attract new readers and followers. More than 70% of adults use social media to find recipes, so it’s worth doing. Social media is also highly visible, which is ideal for sharing recipes. Users can see your mouth-watering photography, which may inspire them to try your ideas in their kitchens.
- YouTube videos: YouTube lets you showcase your personality and cooking skills while giving your readers an immersive experience. Because it is long-form, you can explain everything in detail and give your audience a chance to get to know you better. You can also link to your blog in the description (under the video) and use the same cooking videos on YouTube on your blog. Just grab the embed code by right-clicking your video on YouTube, and paste it into your site.
Please note that YouTube and social media are supplementary marketing tools for food bloggers. They offer valuable support, but your website will almost always be the primary channel.
What Tools Do You Need to Share Recipes on Your Blog?
Sharing recipes on your food blog is critical to ensure readers can easily access and follow your recipes. One of the best ways to share recipes is to use a recipe plugin like WP Recipe Maker. It makes it easy to create and publish beautifully formatted recipe cards on your WordPress blog. Some of the key features it offers include:
- Customizable recipe templates: Start with one of the pre-built templates and customize it, or build a new template from scratch using the Template Editor.
- Recipe collections: Let customers save their favorite recipes so they’ll never lose track of them.
- Adjustable servings: Allow readers to see suitable ingredient quantities for the number of people they want to cook for.
- The ability to add photos or videos to any step of your recipe: Use different media to make it even easier for readers to follow your recipes and show them what the dish should look like at each stage.
- Shoppable cooking equipment and ingredients: Allow visitors to immediately order the products they need to complete the recipe to a high standard
- Built-in SEO check for your recipe metadata: The plugin automatically handles the recipe metadata for you to make sure your recipes rank.
- Share buttons for readers to share your own recipes: Add share buttons via Pinterest, Facebook, Twitter, email, and text.
In summary, WP Recipe Maker has all the features to share recipes properly and professionally. It has dozens of options for making your recipes more appealing and engaging, reducing how much hard work you need to do. Plus, you can migrate your existing recipes to it from multiple competing plugins, including Yummly, BigOven, and Meal Planner Pro.
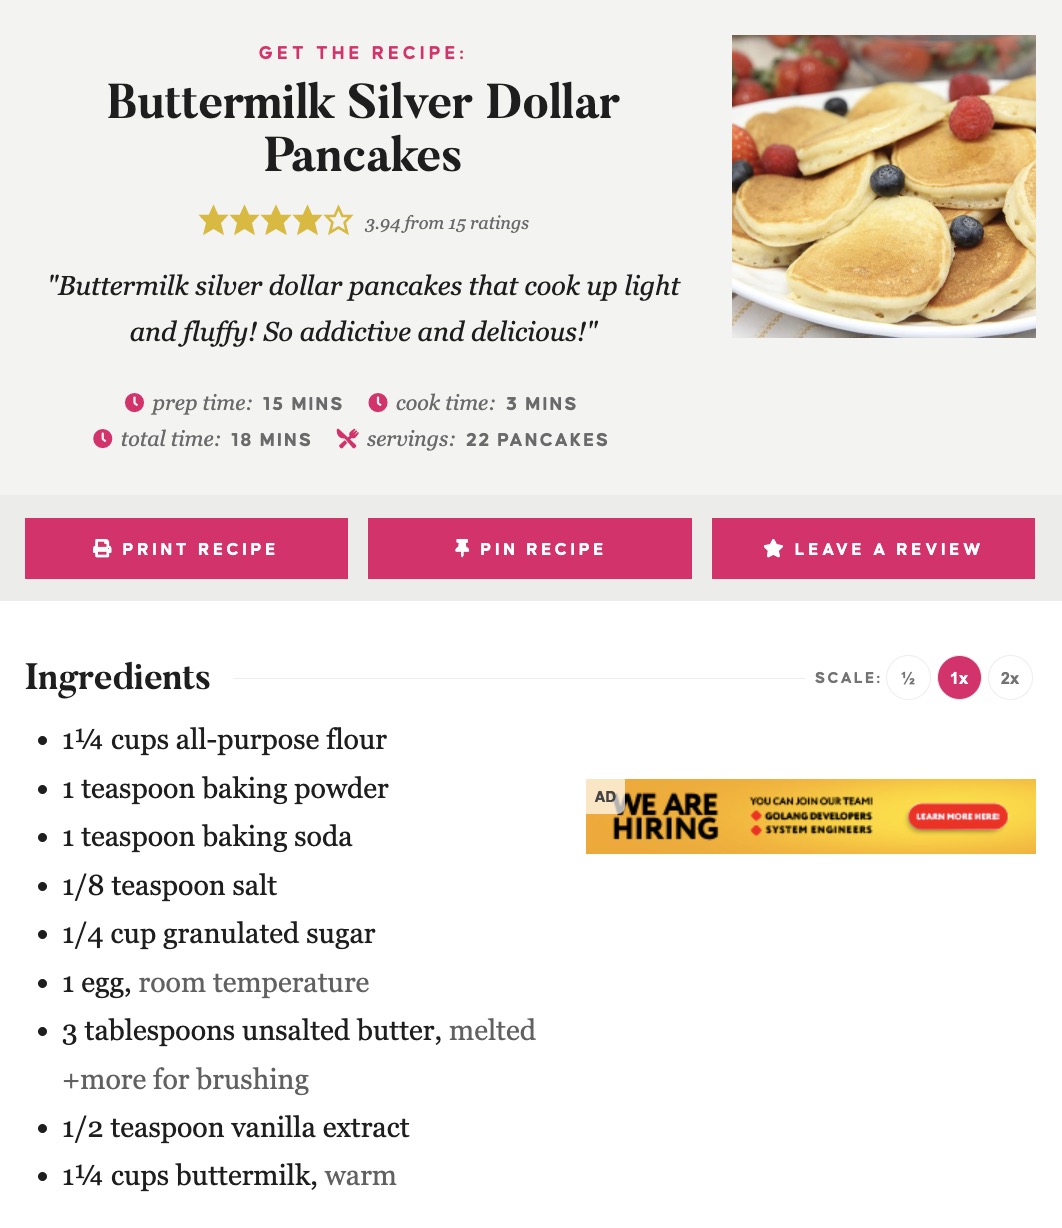
The following image is an example of WP Recipe Maker on the recipe site Divas Can Cook. It provides a star rating for the recipe, a description, prep time information, serving size, the ingredients you need, and instructions (not shown).
Here’s another example from Holy Cow Vegan:
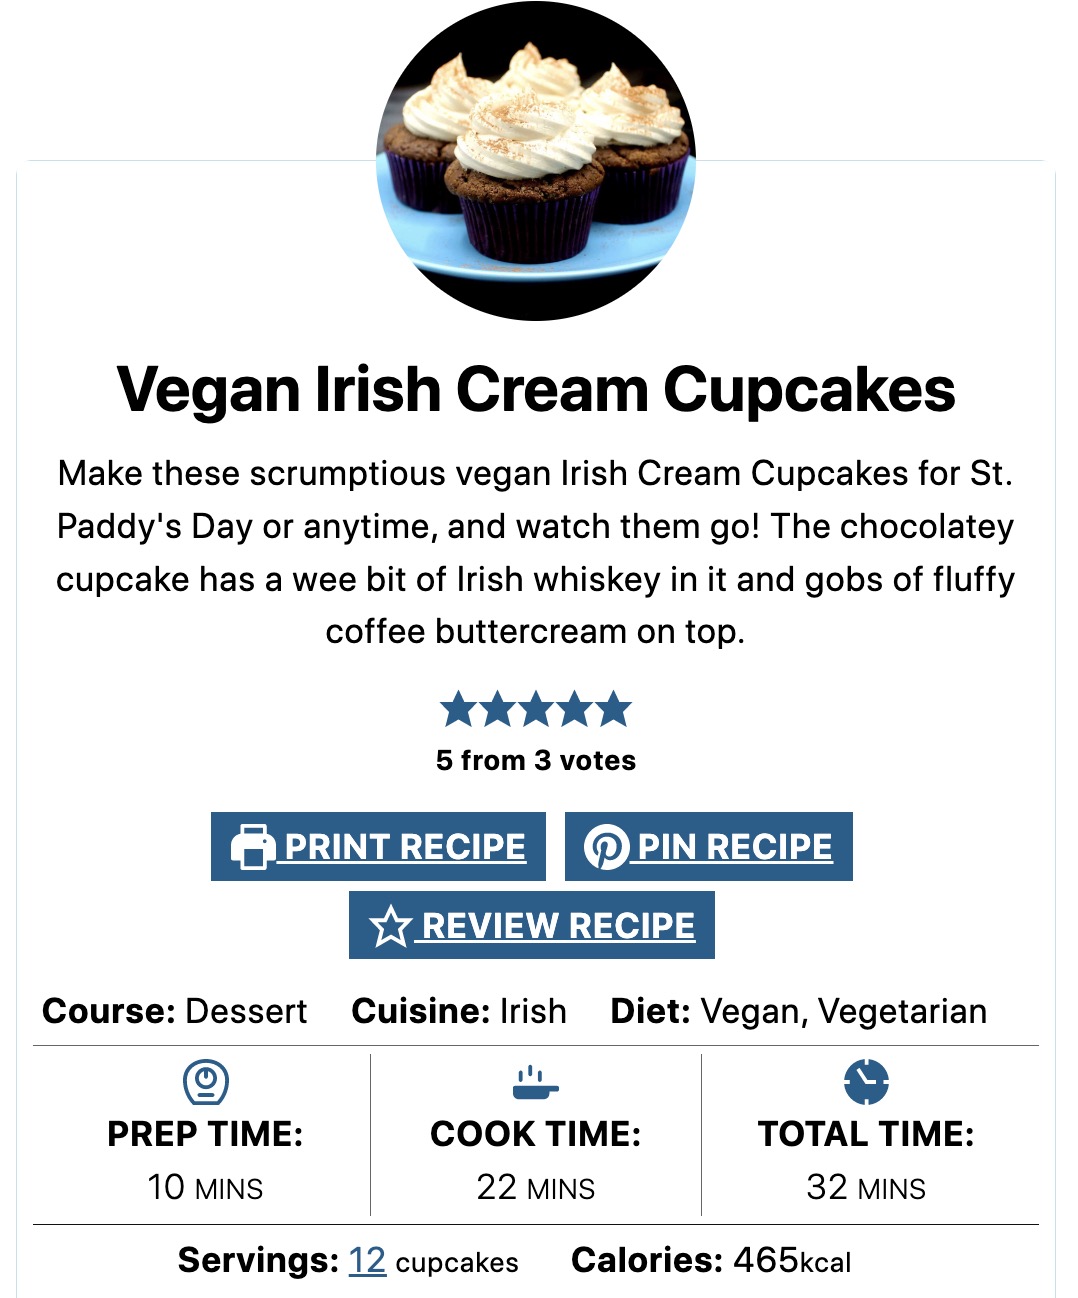
Here, you can see a mouthwatering image, a rating, the cooking time, and the prep time. You can also see the dietary requirements the recipe meets. Cropped from the image are the ingredients (grocery list), equipment required, and instructions.
How to Share Recipes on Your Food Blog With WP Recipe Maker
Adding new recipes to a food blog with WP Recipe Maker is easy. Here, we present a step-by-step guide showing you what to do; and it starts with actually getting the plugin. There are a few pricing plans available for WP Recipe Maker: The Pro Bundle, the Premium Bundle, and the Elite Bundle. We recommend comparing these plans to see which features you need before making a purchase. Once you’ve bought the plugin, follow this guide on installing it on WordPress.
Once you’ve installed WP Recipe Maker, you’ll be ready to share your first recipe:
1. From your WordPress dashboard, select WP Recipe Maker. The screen will pop up with an onboarding process, including your preferred templates. Fill in all the relevant information and choose your template.
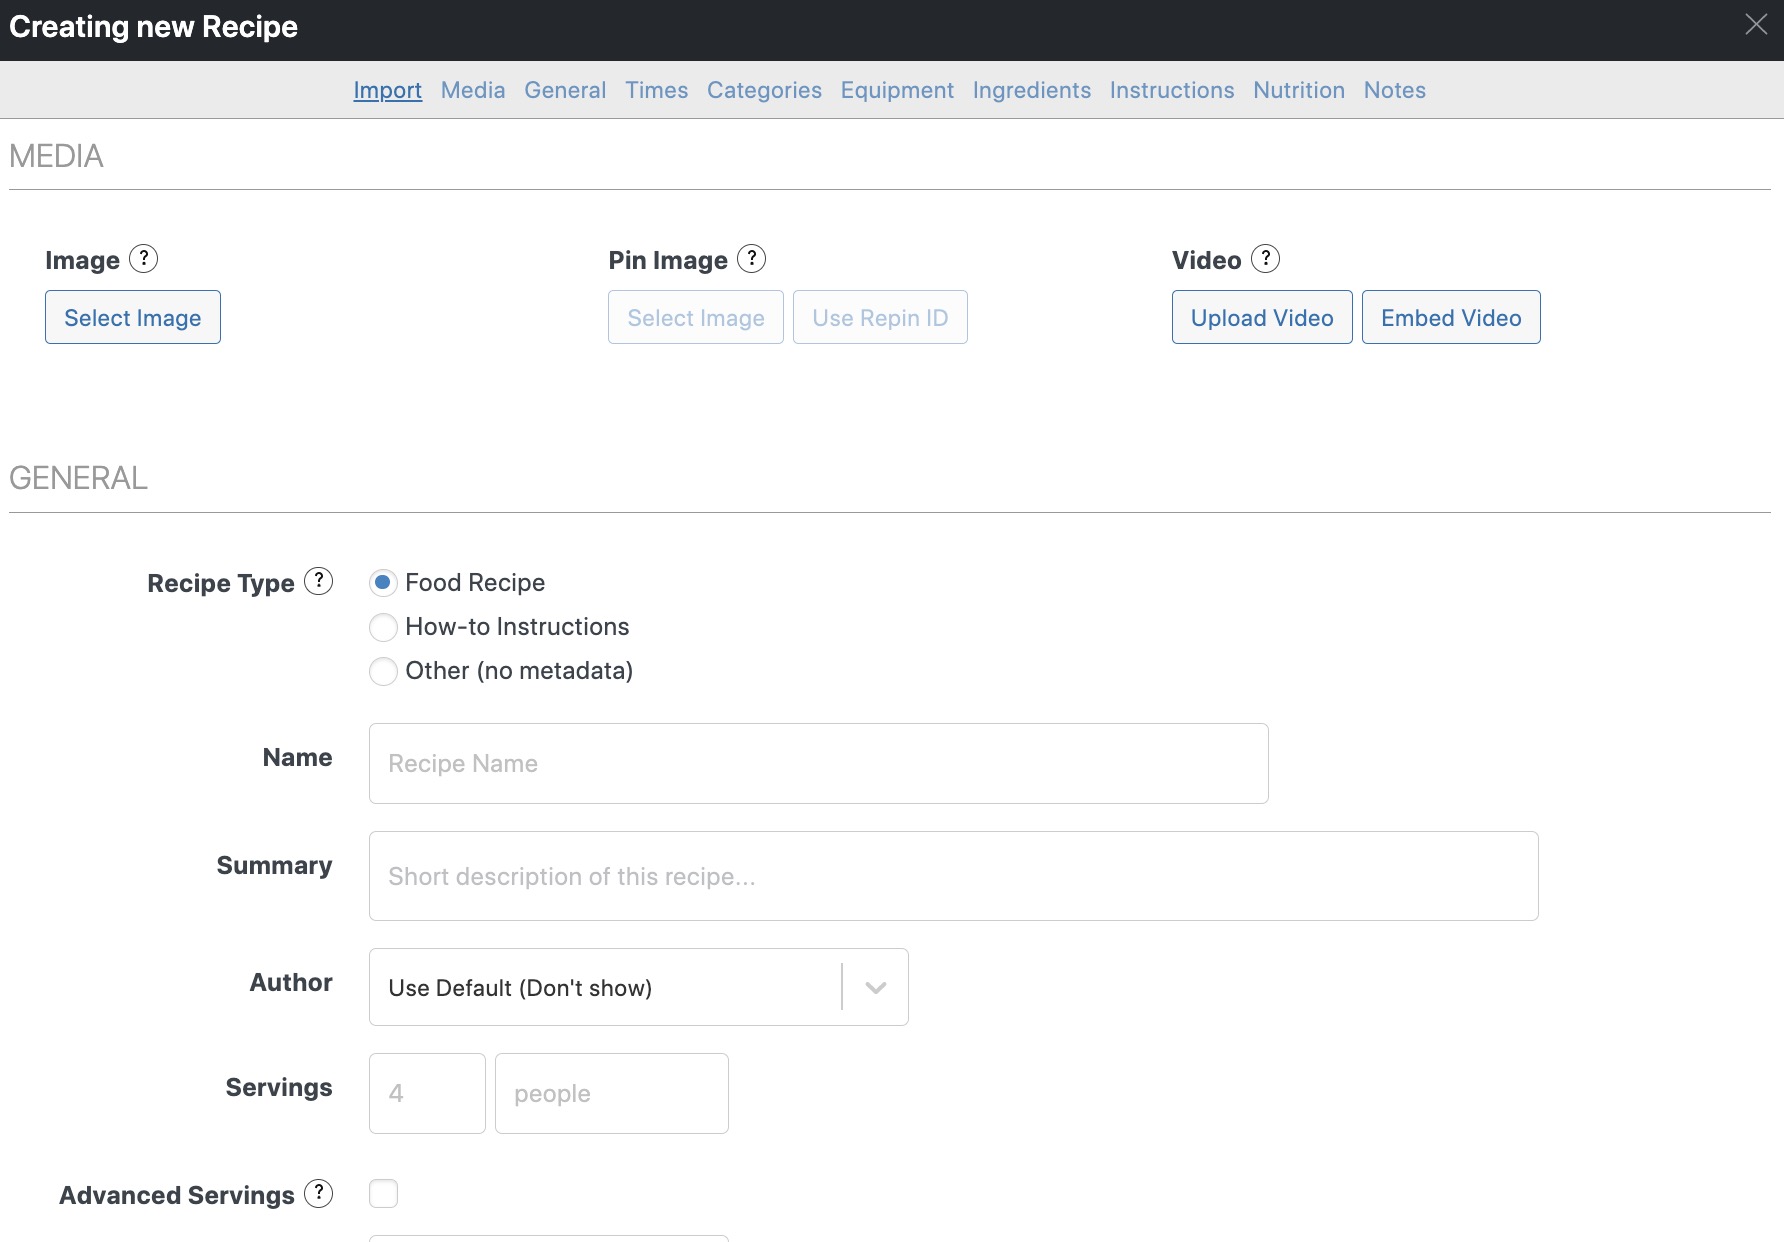
2. To start building a recipe, click on Dashboard from the WP Recipe Maker menu. Then, click Create Recipe.
2. In the window that pops up, add the recipe details into the fields, such as images, the recipe title, cuisine, servings, prep time, ingredients, step-by-step instructions, and nutritional information.
4. To save recipes you make, Click Save & Close.
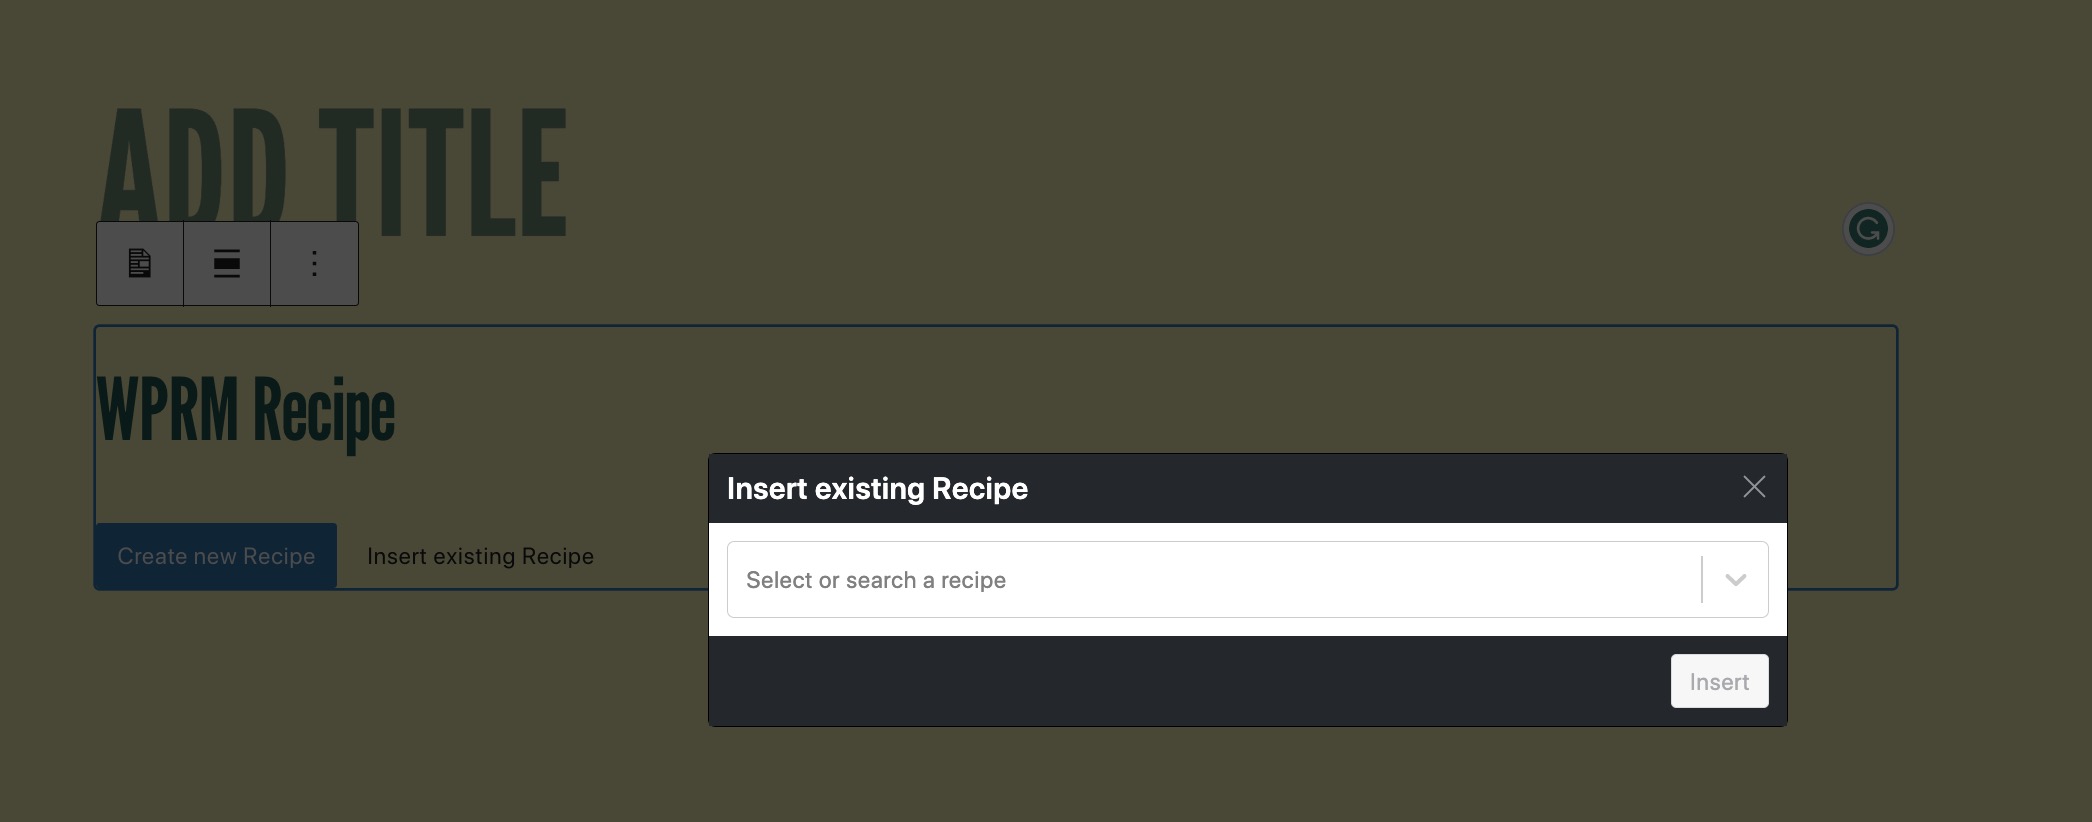
5. To add a recipe to your posts, select Posts > Add New from the WP Dashboard. Add a new block and select WP Recipe Maker. Then search for the recipe you want to insert, and hit publish to share your recipe on your site.
How to Add Share Buttons to Your Recipe Cards
You can make your recipes more shareable by adding social share buttons, which you can add using the Template Editor. To add share buttons (for Facebook, Pinterest, Twitter, Email, share by text) to recipes using WP Recipe Maker, do the following:
- From your WP dashboard, navigate to WP Recipe Maker > Settings > Open the Template Editor.
- Click Recipe Template, then choose the template you want to use. Then, click Clone & Edit Template.

- Name your new template, e.g., “Share Buttons,” then hit save.
- To add share-by-text buttons to your template, on the edit page, click Edit HTML. Then, copy the following code, and paste it at the bottom of the HTML.
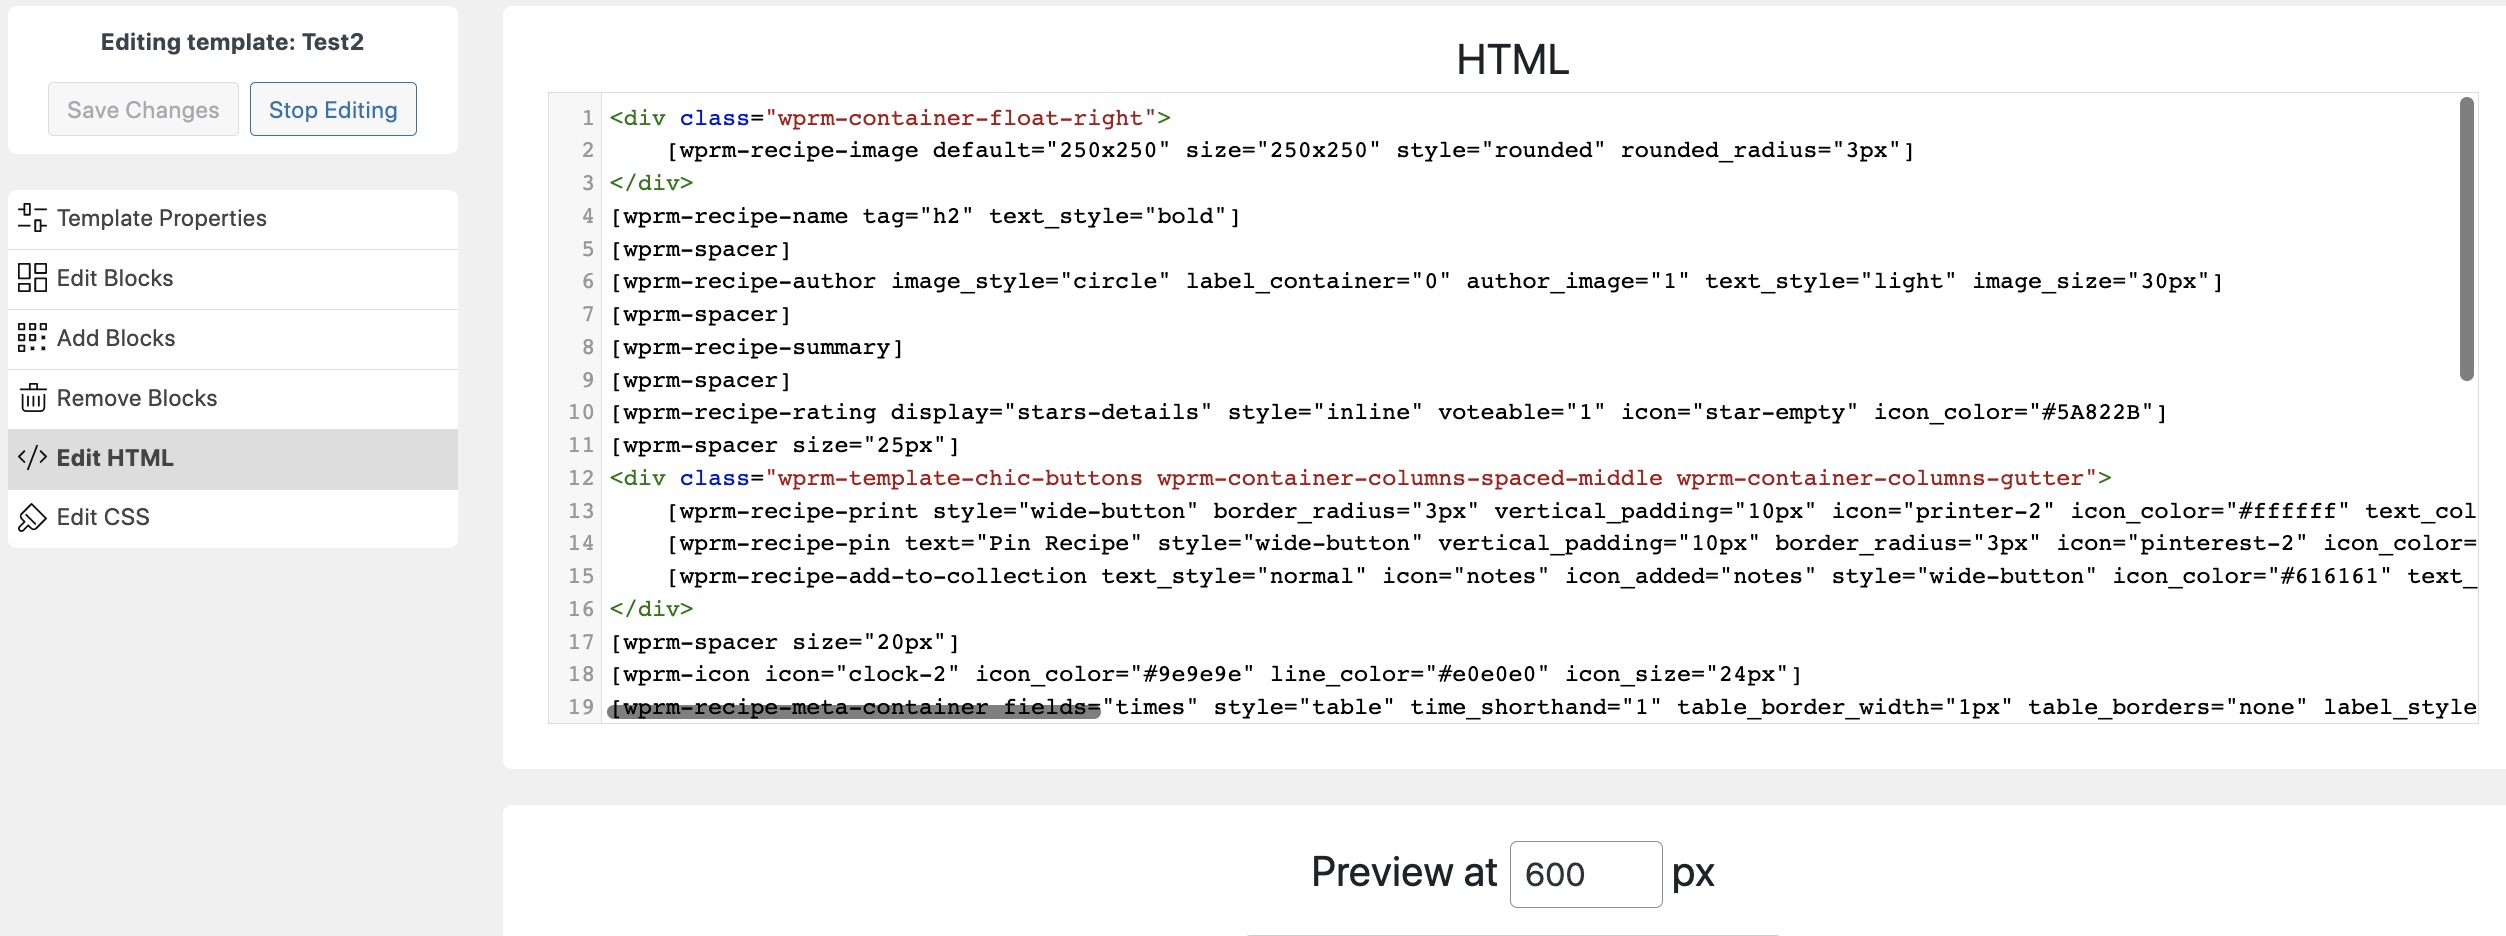
This adds the template’s existing buttons (print, add to recipe collection, pin) to the bottom of your recipe.
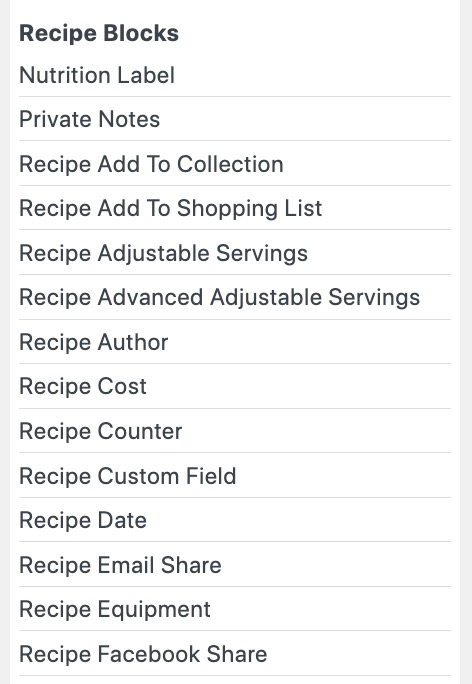
- Click Add Blocks. Under the ‘Select block to add menu’, click on the button you want to add (e.g., Recipe Facebook Share). This will show up as a plain text button.
- To change this button to the same format as the other buttons on the template, click Paste Styles From, and select an existing button style you want to replicate.
- To add an icon to your button, click Select next to the icon option in the menu and select your preferred icon (e.g., FaceBook).
- Repeat to add more recipe-sharing buttons (e.g., Pinterest, share by text).
- To customize the blocks, click Edit Blocks, and select the button you want to edit from the menu below. From there, the options to edit button text, text size, color, icon color, button color, padding, etc., appear. Simply click on each of these options to make changes.
Note that the share-by-text button will automatically appear only on mobile devices such as Android, iPad, and iPhone (not desktop or regular iOS).
Use WP Recipe Maker to Create Shareable Recipes on Your Food Blog
WP Recipe Maker is a helpful tool for sharing original recipes. It makes it easier to meet your audience’s needs, establishes authority, and helps you build a loyal following. Some food bloggers also use it to monetize their content, letting them make a side income via affiliate links and ads.
Because of this, WP Recipe Maker is one of the best tools available for sharing your recipes. You get customizable recipe templates, adjustable serving options, the ability to add photos, shoppable cooking equipment, and integrated SEO features. Share buttons let your readers share your recipes on social channels with a single click.
Want to get started with WP Recipe Maker? It’s easy. Just sign up for a plan today, install it on your WordPress website, and you’ll have all the tools you need to share your first recipe!