Dreaming of turning your kitchen adventures into a thriving online business? Starting a food blog isn’t just about sharing recipes – it’s your first step toward building a sustainable income doing what you love.
Whether you’re a home chef ready to share your secret recipes, a food photographer wanting to showcase your work, or a culinary explorer eager to monetize your kitchen experiments, this guide will show you exactly how to start a food blog that stands out and generates revenue.
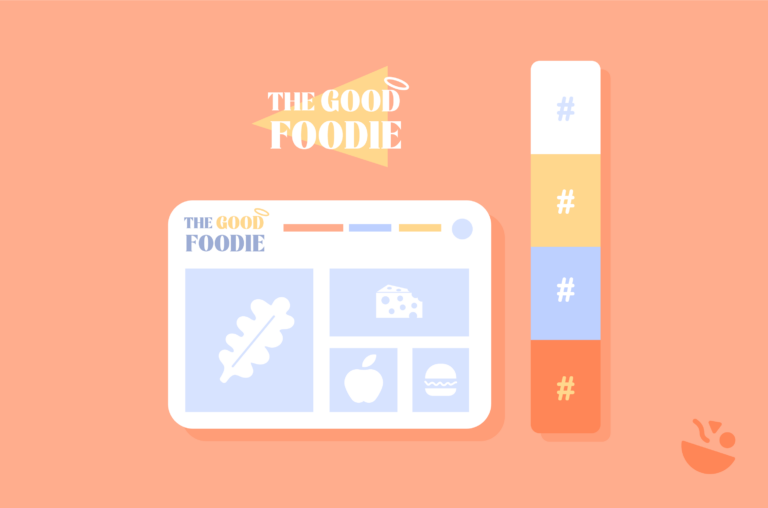
What is a food blog?
Okay, this question may sound obvious, but there might be more to food blogs than you think.
A food blog is more than just a collection of recipes – it’s a digital platform that can generate income through multiple streams like sponsored content, advertising, product sales, and affiliate marketing. Successful food blogs come in many flavors:
- Recipe blogs that earn through cookbook sales and brand partnerships
- Restaurant review sites monetized through advertising and sponsored content
- Culinary travel blogs making income from tourism partnerships
- Specialty diet blogs (vegan, gluten-free, keto) selling meal plans
- Food photography blogs offering workshops and presets
- Kitchen equipment review blogs earning affiliate commissions
Many of today’s top food bloggers earn six-figure incomes through their blogs. While this success takes time and dedication, starting your blog the right way sets you up for future monetization opportunities.
10 simple steps to start a food blog
Before diving into the detailed process, here’s a quick overview of the steps we’ll cover to launch your food blog:
- Plan your finances
- Choose a niche
- Conduct market research
- Choose your blog name and domain
- Select a web host and website builder
- Choose a theme
- Add dedicated plugins
- Create a content plan
- Launch your food blog
- Time to start blogging
Let’s explore each step in detail.
1. Plan your finances
Starting a food blog requires more than just culinary passion – it needs a smart financial plan. Beyond your regular cooking expenses, you’ll need to invest in both technical infrastructure and photography equipment to create a professional-looking blog.
Here’s a breakdown of essential startup costs:
| Category | Item | Estimated Cost |
| Technical setup | Domain Name | $15/year |
| WordPress Hosting | $80-100/year | |
| Premium Theme (optional) | $50-100 | |
| Photography equipment | Entry-level DSLR/Mirrorless Camera | $400 |
| Professional Lens | $100 | |
| Tripod | $50-75 | |
| Basic Lighting Setup | $50-75 | |
| Total investment | $700-850 |
These costs assume using WordPress as your platform (free except for hosting) and represent the minimum investment for quality equipment. While it’s possible to start with a smartphone camera or less expensive setup, investing in proper equipment from the beginning can help your blog stand out in a competitive space.
2. Choose a niche
While it’s tempting to create a general food blog targeting all foodies, successful blogs usually thrive by focusing on a specific niche. A well-defined specialty helps you build authority, engage your target audience, and stand out in the crowded food blogging space.
Popular food blogging niches include:
- Recipe-focused niches
- Vegan and plant-based cooking
- Gluten-free and allergen-free recipes
- Budget-friendly meal planning
- Kid-friendly cooking
- International cuisines
- Specialty content
- Restaurant reviews
- Farm-to-table cooking
- Coffee culture
- Food and travel
- Home baking
- Healthy eating and smoothies
For inspiration, look at successful niche blogs like Cookie and Kate (vegetarian whole foods) and EAT MCR (Manchester (UK) restaurant scene). These blogs succeed by deeply serving their specific audiences rather than trying to appeal to everyone.

3. Conduct market research
After choosing your niche, you should understand your audience and focus on your target readers rather than trying to cater to the entire world. Your chosen niche significantly determines the type of people you want to attract to your blog. Producing content that aligns with your target audience’s demographics, interests, and challenges is essential.
Here are some practical tips on defining your target audience:
- Create an ideal consumer persona, a fictional representation of your ideal visitor. This persona will guide you in making consumer-driven decisions and tailoring your content accordingly. For example, for a food and travel niche, it could be a remote worker who travels the world or upper-class individuals who like to spend their vacations in different countries.
- Identify the main players in your niche and review their followers, comments, and reviews. Find out what the dominant follower profile is.
- Learn how to use tools like Google Analytics, Facebook Insights, or Twitter Analytics to see who is interacting with your content.
After you identify a profile, you can search for trends and interests based on their demographics and start testing. The best approach to really understanding your audience would be to make educated guesses with your content and see how they react.
You can also engage with them directly to gain further insights into your website visitors. This includes reading and responding to blog comments, exploring social media interactions, and utilizing surveys. These interactions will provide valuable information about their needs and preferences.
4. Choose your blog name and domain
Now that you know your niche and target audience, you can choose your blog and domain name. Your blog name should represent your chosen niche and content while being memorable. It’s essential to pick the right name first since rebranding will be complex once you start building an audience.
Various food blog names range from the direct to the cute and clever. When choosing your blog’s name, keep these three must-follow tips in mind:
- Make it catchy. It doesn’t have to be super creative, but it does have to be easy to remember and recall.
- Check that it doesn’t already exist as a blog name, domain name, or social media account. Aside from impeding on copyright- or trademark-related issues, you could also create unnecessary competition.
- Spell and punctuate it correctly! The last thing you want is a blog name with a typo.
When choosing a blog name, aim for brevity, catchiness, and simplicity in spelling. Avoid using hyphens or numbers that can confuse readers. For a food blog, names like “TastyBites,” “FoodieFeast,” or “FlavorfulKitchen” could work well, reflecting the essence of the niche and being easy to remember.
To register the domain name you want to use, you can visit domain registrars or hosting platforms like GoDaddy and NameCheap to see if it is available. If it is, you can register it to start using it. If not, you can choose a similar alternative that these platforms will suggest. You can also use domain name generators like DomainWheel for new ideas.
5. Choose a web host and website builder
Before building your food blog, you need two fundamental pieces: a web host to store your site’s data and a website builder to create it. Let’s break down both choices.
A reliable web host should offer:
- 99.9% uptime guarantee
- Minimum 10GB storage
- Strong security features
- Scalable hosting plans
- WordPress optimization (if using WordPress)
We recommend BigScoots for WordPress blogs due to its reliability, speed, and flexible subscription options.
There are several popular website builders out there, each with its unique set of features and benefits. Here a comparison of a few top picks among food bloggers:
| Platform | Pros | Cons | Best for |
| WordPress | – Unlimited customization- Huge plugin ecosystem- SEO-friendly- Full content ownership | – Steeper learning curve- Requires separate hosting- More maintenance needed | Bloggers wanting complete control and scalability |
| Squarespace | – Beautiful templates- All-in-one solution- Easy to use | – Limited plugins- Less customization- Higher monthly cost | Design-focused bloggers who prefer simplicity |
| Wix | – User-friendly editor- Good app market- Built-in hosting | – Free plan shows Wix branding- Limited functionality compared to WordPress | Beginners wanting an easy start |
| Weebly | – Simple interface- Basic features work well | – Limited customization- Basic features only | Hobby bloggers seeking simplicity |
WordPress stands out as the preferred choice for serious food bloggers because it offers:
- Specialized food blog themes and plugins
- Complete control over monetization
- Superior SEO capabilities
- Robust recipe card functionality
- Strong community support
While platforms like Squarespace or Wix offer simpler starts, WordPress provides the flexibility and features needed to grow a successful food blog.
6. Choose a theme
Once you’ve selected your website builder, choosing a theme for your food blog is the next exciting step. Your theme is the visual layout and design scheme of your site. It dictates how your content is presented and navigated, setting the tone for your blog’s overall aesthetic and user experience.
When choosing a theme for your blog, keep the following matters in mind:
- Reflect your blog’s personality: Your theme should mirror the essence of your blog. Whether rustic and cozy, modern and minimalist, or vibrant and eclectic, choose a theme that aligns with your content’s vibe.
- Functionality: Opt for a responsive theme (meaning it adjusts smoothly to different screen sizes, like mobile phones and tablets) that is easy to navigate and has a clean layout. Features like a recipe index, search bar, and social media integration can significantly enhance your readers’ experience.
- Speed and SEO-friendly: A theme heavy on graphics and complex features might slow down your site, affecting your blog’s search engine rankings and user satisfaction. Choose a theme optimized for fast loading times and built with the best SEO practices in mind to help your recipes rank higher in search results.
- Support and updates: Ensure your chosen theme is well-supported by its developers. Regular updates and reliable support can protect your site from security vulnerabilities and ensure it stays compatible with the latest web updates.
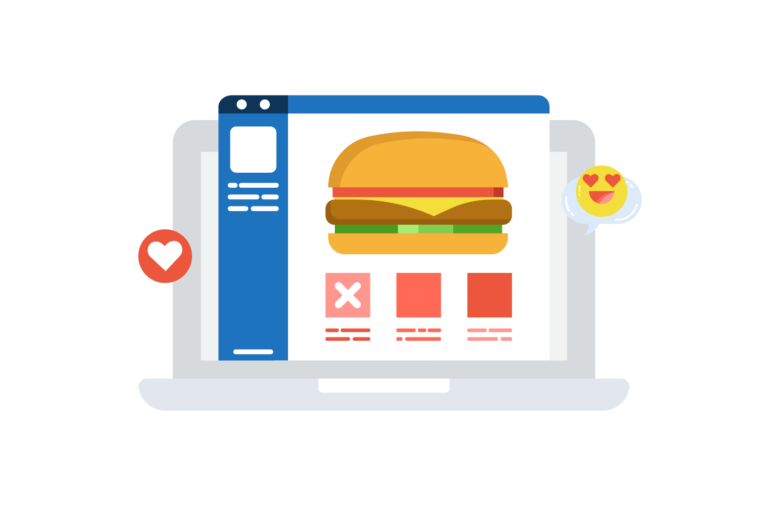
7. Add dedicated plugins
Your WordPress food blog can be enhanced with plugins – special tools that add extra features and functionality. While there are thousands of plugins available, one stands out as essential for food bloggers: WP Recipe Maker.
WP Recipe Maker transforms your recipes into beautifully formatted, professional recipe cards that both readers and search engines love. Key features include:
- SEO-optimized recipe cards with proper schema markup
- Adjustable serving sizes with automatic calculation
- Nutrition facts generation
- Print-friendly recipe formats
- Recipe index creation
- Step-by-step instructions with images
- Shopping list functionality
While you can add other plugins for SEO, security, and performance as your blog grows, starting with WP Recipe Maker gives you the core functionality every successful food blog needs.
After you choose your blog name, domain name, website builder, and theme, you’re all set. However, we can give you a few more tips to help you stand out amongst other food blogs.
Once you’ve chosen a theme for your food blog, it’s time to enhance its functionality with dedicated plugins. They add specific features or functionalities to your website without the need for custom coding. Plugins are easy to install and manage from your website’s dashboard, allowing for straightforward customization and enhancement of your blog’s functionality. While some plugins may come with your theme, niche ones like those for recipes probably won’t.
That’s where a tool like WP Recipe Maker comes in. This plugin is specifically designed to address the needs of food bloggers in a way that even rookies can easily use. It allows you to easily create recipes complete with ingredients, instructions, and nutritional information to post on your blog.

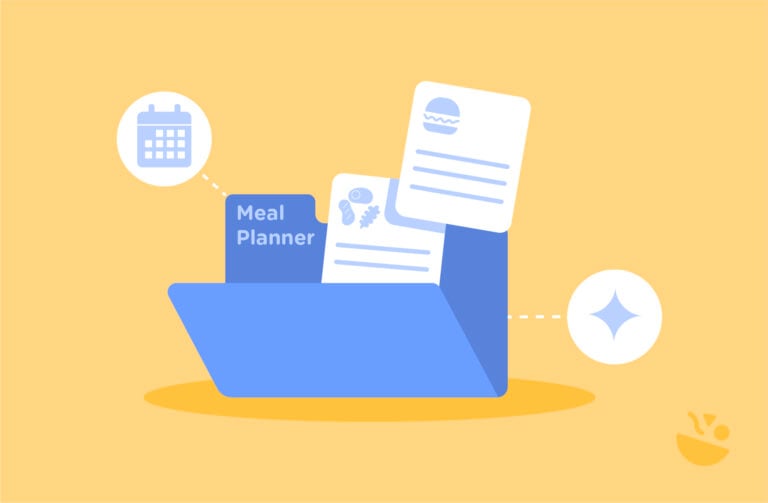
8. Create a content plan
Another important tip we can give you is to create a content plan before posting content. A well-structured content plan will be the backbone of your blogging journey, enabling you to maintain consistency, capitalize on trends, and continually offer value to your readers.
To create a content plan, you can start with a brainstorming session to generate various food content ideas. Think about the types of dishes, cooking tips, ingredient deep-dives, or culinary trends that excite you and would resonate with your audience.
Once you have a pool of ideas, it’s time to organize them into a publishing schedule. This calendar should detail what content you’ll post and when considering the best times to reach your audience. The best time to publish content will depend on your niche. However, weekday afternoons are usually the most busy times to post a new food recipe. Also, when planning, make sure to consider seasonal trends and holidays.
All that is left for you to do is follow your plan. Project management tools like Nifty can streamline the planning process, keeping all your ideas, schedules, and tasks in one place and making following your schedule more manageable.
9. Launch your food blog
A successful launch requires careful preparation and strategic planning. Here’s a pre-launch checklist to ensure your food blog makes a strong first impression:
- Create 5-10 high-quality initial posts showcasing your best content
- Set up essential pages:
- About page introducing yourself and your culinary journey
- Contact page with clear ways to reach you
- Recipe index organized by category, cuisine, or dietary requirements
- Privacy policy and terms of use
- Test all functionality:
- Check recipe card formatting
- Verify search functionality
- Test comment system
- Ensure mobile responsiveness
- Validate all internal links
- Check loading speeds across devices
Technical optimizations
- Install and configure an SEO plugin
- Set up Google Analytics and Search Console
- Create XML sitemaps
- Optimize image sizes and alt text
- Configure recipe schema markup
- Set up proper URL structure
- Enable SSL certificate
- Test site speed and make necessary improvements
Quality assurance
- Have friends or family test the site navigation
- Proofread all content thoroughly
- Check recipe instructions with test readers
- Verify ingredient measurements and conversions
- Test recipe print functionality
- Ensure photos display correctly across devices
Remember, launching with an “incomplete” blog is perfectly fine – it’s better to start with a few excellent posts than to delay your launch trying to create a massive library of content. Focus on quality over quantity, and plan to maintain a consistent posting schedule after launch.
10. Time to start blogging
Getting all of your ducks in a line regarding your website is great, but one thing you can’t forget about is content. The last thing you want is to publish an empty blog, right?
Wrong. Most newbie blog owners would assume publishing an empty blog damages user experience. You can gather a few recipes and pictures and publish them in one day, and then edit the dates to make it look like the blog has been live for a while. However, this would be a crucial mistake that would negatively affect your blog’s SEO, resulting in your content ranking lower.
There is no shame in starting a blog from scratch. You can even turn an empty blog into an advantage by launching promotions or publishing special content for early adapters who discovered your blog so soon. So, don’t worry about starting with an empty blog; focus on producing constant, good-quality content and start building your brand.
Since you’ll be putting out great (and yummy) content regularly, you’ll gain visibility, which you can further enhance by leveraging your existing network.
Launch your food blog today
Starting a food blog isn’t just about sharing recipes – it’s about building something uniquely yours that can grow into a thriving business. With WordPress powering your platform and WP Recipe Maker bringing your recipes to life, you have the same tools that today’s top food bloggers used to build their six-figure businesses.
The path to food blogging success is clear:
- Choose your niche and own it
- Build on a solid technical foundation
- Create content that solves real problems
- Engage authentically with your audience
- Focus on quality over quantity
- Stay consistent and keep learning
Stop dreaming about starting a food blog and take action today. Your first post might be the beginning of an incredible journey from passionate home cook to professional food blogger.
The sooner you start, the sooner you can join the ranks of successful food bloggers who turned their culinary passion into profit.Ready to get cooking? Install WordPress, set up WP Recipe Maker, and publish your first recipe. Your future readers are waiting to discover your unique culinary voice.