Starting a food blog (or even growing one) can feel like a lot. There are so many choices for tools and services out there, it’s easy to get lost!
We want to make it super easy to understand exactly what you need at every step, from starting out to growing big. If you pick the right recipe plugin and essential tools early on, you’ll build a solid website that can handle anything as you grow. No more costly moves or constantly switching plugins.
Think of this as your shortcut to building a blog that’s ready to grow from day one!
Stage 1: Foundation (0-5K monthly views)
What is the best platform for a food blog?
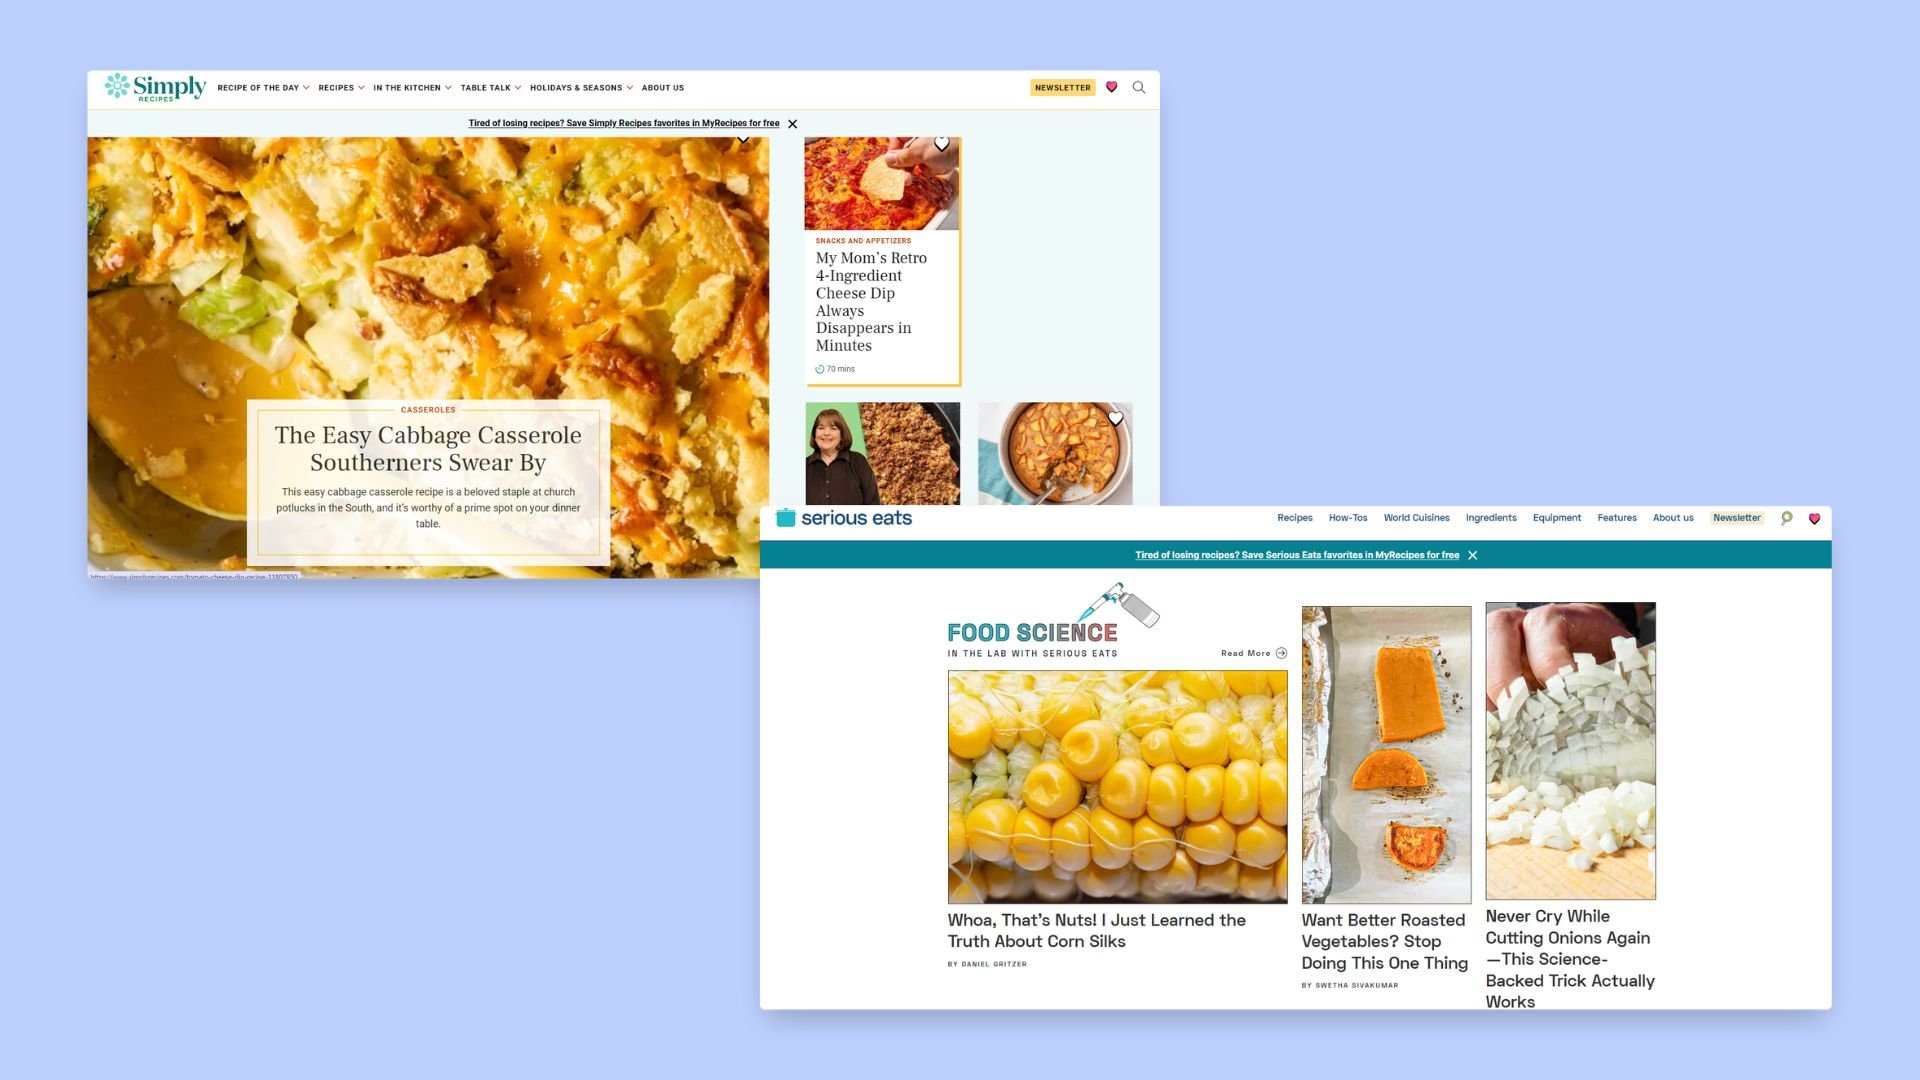
When it comes to building your food blog, WordPress.org is hands down the best platform. It gives you full control over your recipe data, allows you to install powerful, specialized plugins, and makes sure you keep 100% of your ad revenue. It’s the same platform that powers famous food publishers like Serious Eats and Simply Recipes – and for good reason.
Many new bloggers get confused between WordPress.com and WordPress.org. They sound almost the same, but they work very differently. WordPress.com is the hosted version and has limits that can hold back a growing food blog – you can’t install the same range of plugins, and they’ll also take a cut of your earnings. WordPress.org, on the other hand, does require separate hosting, but that small investment gives you complete control over monetization, recipe presentation, and site performance. That flexibility is what sets you up for long-term growth.
As a food blogger, you’ll need specific technical features like recipe schema markup for Google, nutrition calculators, and adjustable serving sizes. To use the plugins that provide these tools, you’ll need either self-hosted WordPress.org or a higher-tier WordPress.com plan (Business or Commerce). The free and lower-cost WordPress.com tiers don’t allow plugin installs, which is why most serious food bloggers start with WordPress.org for full flexibility and lower long-term costs.
Essential free tools to start
No one wants to spend a ton of money at first. So here are our favorite free tools to try out as you get started:

- Yoast SEO: Yoast is a must-have for any food blog. The free version creates an optimized sitemap that Google loves and lets you fine-tune SEO data to help your blog rank higher in search results.
- Akismet Anti-Spam: Stop spammers with Akismet. It automatically filters out unwanted comments so you don’t have to deal with low-quality or irrelevant submissions. Akismet is free (or donation-based) for personal, non-commercial blogs, but if you’re running a commercial site – which most food blogs aim to become – you’ll need one of their paid plans.
- Google Analytics and Search Console: Both free tools from Google provide invaluable insights into your blog’s performance. Google Analytics helps track your traffic and see what recipes are attracting visitors, while Search Console shows you which search queries bring people to your site, allowing you to uncover new content opportunities.
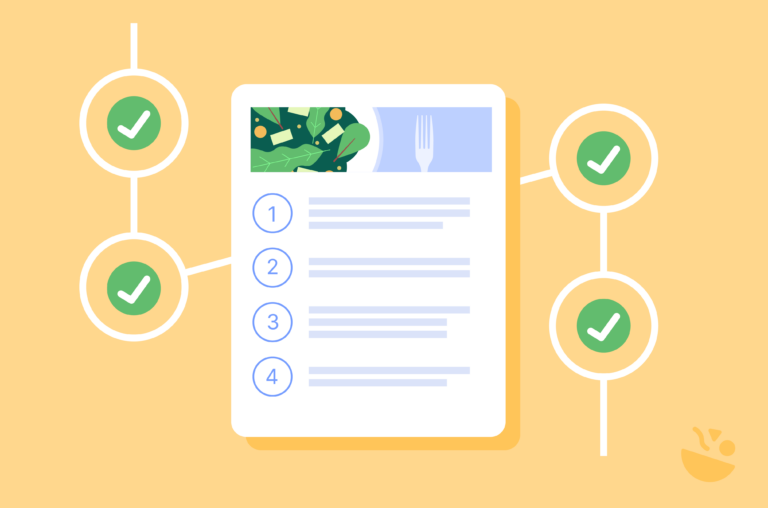
Do I need a recipe plugin for my food blog?
To be brutally honest: yes, a recipe plugin is essential for any serious food blog. It helps structure your recipe data in a way that search engines can easily understand, while also presenting it in a clean, reader-friendly card that keeps visitors engaged.
At this stage, a good recipe plugin should have:
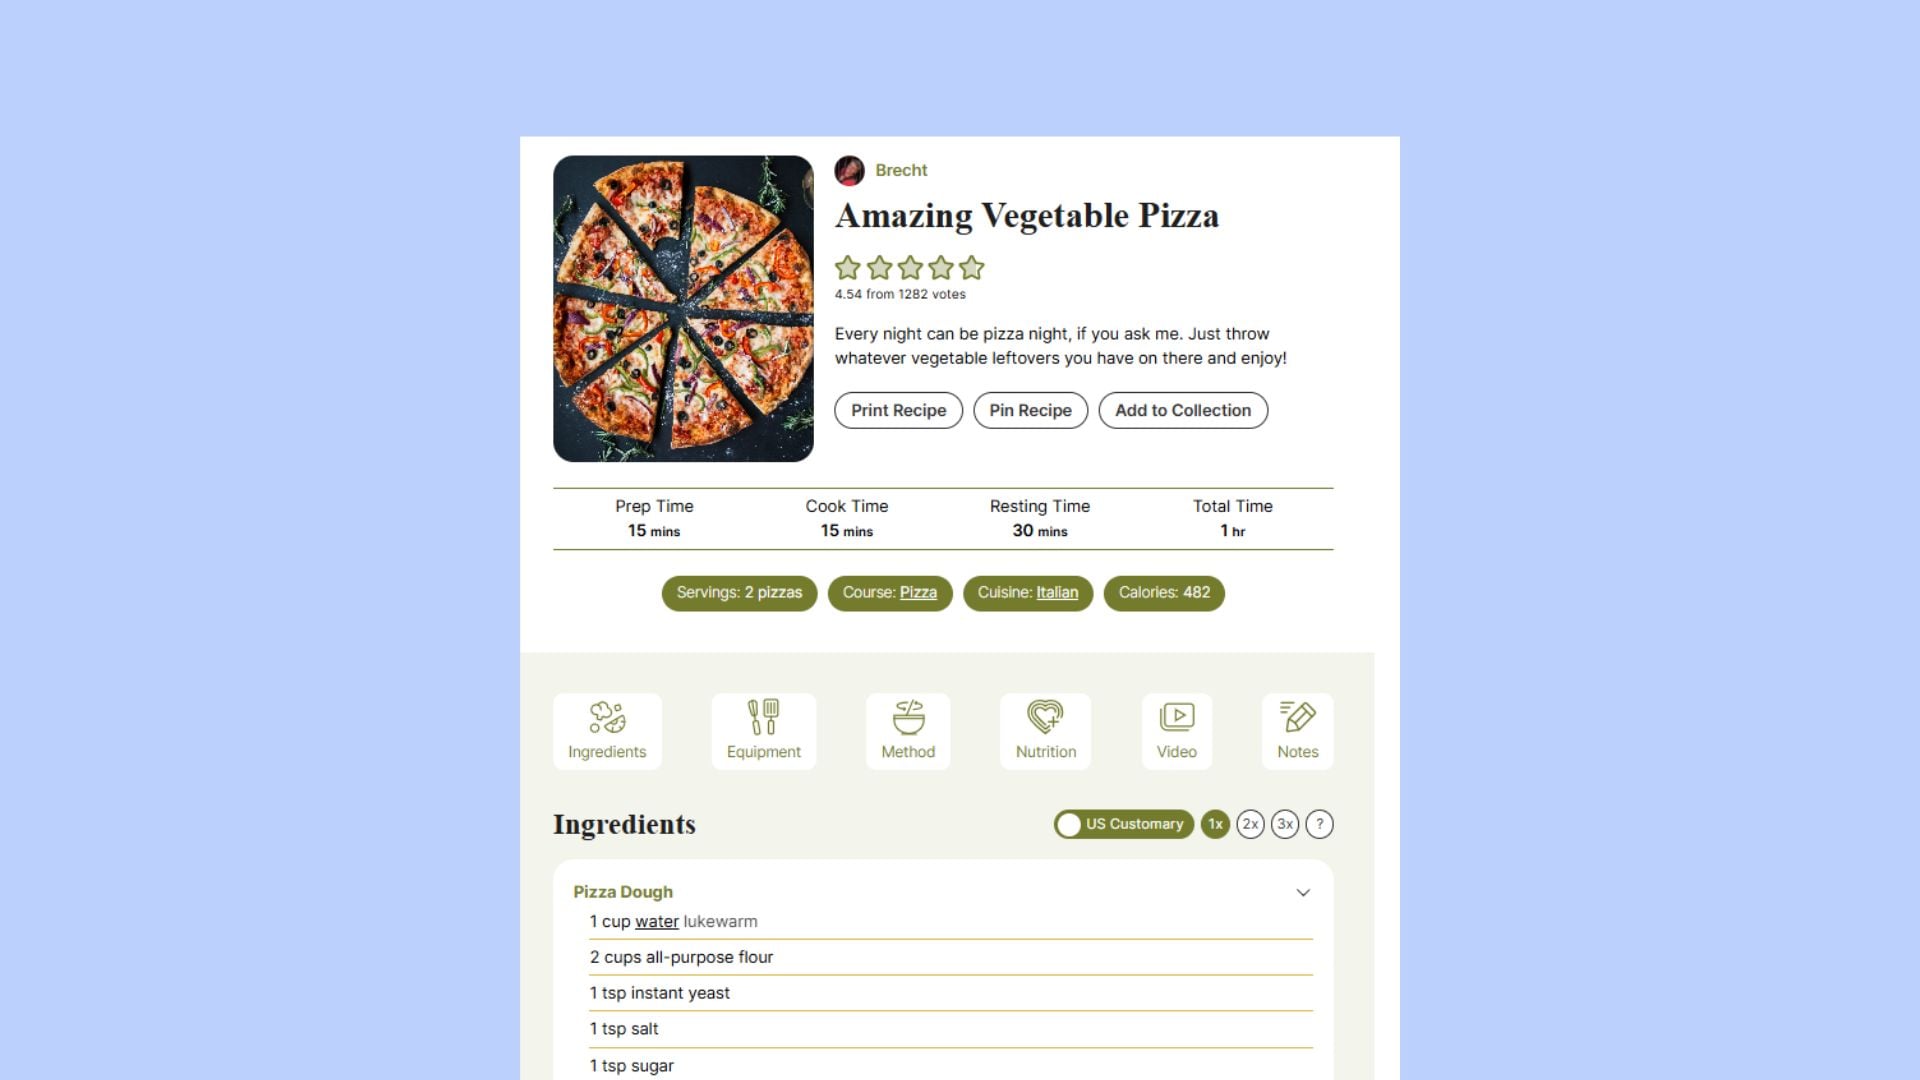
- Valid JSON-LD recipe schema: This includes structured data for ingredients, steps, times, and nutrition, ensuring your recipes show up in search engines with rich snippets.
- Clean, customizable print view: Make sure your readers can easily print out recipes without all the clutter – just the ingredients and instructions they need.
- Reader ratings: At a minimum, you’ll want comment-based star ratings to collect feedback and encourage engagement.
- Flexible templates: As your blog evolves, you’ll want to switch templates without needing to re-edit each recipe post. This flexibility allows your site to grow!
- Recipe data as its own content type: By storing recipe data separately from your regular blog posts, you ensure that your content scales easily as you add more recipes over time.
- Import/export tools and a basic fallback: This means you can move your content between plugins or revert to a basic version if needed, without losing your hard work.
If you take our advice and go with self-hosted WordPress.org, WP Recipe Maker covers all of these features from the start – giving you a strong foundation that’s ready to grow with your blog.
Photography and content creation
You don’t need expensive gear to take great food photos – just smart techniques and a simple setup:
- Natural window light: Use natural light from a north-facing window for soft, diffused lighting. Pair this with inexpensive white foam board reflectors (around $20 total) to bounce light and fill shadows, giving your photos a professional look.
- Batch photography: Maximize your efficiency by shooting 5-8 recipes in a single session. This allows you to create a month’s worth of content while keeping your setup consistent and saving time.
- Smartphone cameras and Adobe Lightroom Mobile: You can start with your smartphone and the free version of Adobe Lightroom Mobile to edit your photos. It offers powerful editing tools and presets that can take your images to the next level. Once your blog begins generating steady income, think about upgrading to a DSLR for even higher-quality photos.
| Beginner-friendly reading list for newbies: Top 20 tips for succeeding at food blogging – Practical advice on everything from finding your niche to establishing a content cadence and growing habits. These tips will help you stay on track during the early days. Food blog SEO guide – A no-nonsense guide to SEO with clear steps for keyword research, schema setup, and on-page wins that will get you noticed by Google. Traffic boost? Yes, please! How to write a recipe blog post – A handy structure to follow for your posts, from the perfect hero image to the recipe card that keeps readers coming back for more. Write once, reuse forever! Social media tips for food bloggers – Pinterest and Instagram are your best friends for audience growth. This guide shows you how to use them effectively to seed your blog’s early success. Podcasts to listen to: Eat Blog Talk and The Vine Podcast. |
Stage 2: Growth (5K-25K monthly views)
How do I drive traffic to my food blog?
As your blog starts to grow, you need to think about how you can get consistent traffic.
- Pinterest Business Account with Rich Pins: A business account with Rich Pins makes your content more visible and clickable.
- Email list building: Start collecting emails from day one using services like ConvertKit or MailerLite. Even a small list of 100 subscribers can bring more consistent traffic than social media alone. Your email list will provide a steady stream of repeat visitors, helping your blog grow reliably.
Hosting migration path
Over time, your hosting needs will naturally change with you. Think about:
- Migrating to managed WordPress hosting: As your traffic grows, you’ll need a hosting plan with more resources to keep your site fast and reliable. If you’re not already with a managed WordPress host, this is the time to switch. Managed hosting takes care of a lot of the technical maintenance for you, so you can focus on content and growth!
- Choosing a host with a clear upgrade path: Start on an entry-level plan that suits your needs, but make sure your host offers easy upgrades. You’ll want to move up to a higher plan without any downtime. Look for hosts that offer staging, daily backups, and responsive support to keep things running smoothly. If your needs change, you can always migrate to another provider.
- Budget for hosting as you scale: Expect to budget around $35-$100/month for hosting as you scale. Upgrading to a managed plan becomes necessary when performance or reliability becomes an issue. Signs it’s time to upgrade include slower page loads during traffic spikes, Core Web Vitals slipping, or the need for server-side caching, a CDN, staging, and 24/7 support to keep everything fast and maintain steady ad revenue.
Content creation efficiency
To effectively scale your food blog and avoid burnout, maximizing efficiency in content creation is an absolute must. Here are some tools and strategies to optimize your workflow:
- Batch photography: Dedicate one session to photograph 5-8 recipes. This allows you to generate a month’s worth of content, maintain consistent setups, and concentrate on cooking and shooting without constant interruptions.
- Adobe Premiere Rush: This intuitive Adobe tool is designed for content creators. It simplifies video editing for platforms like TikTok, Instagram, and YouTube, enabling you to produce polished, professional-looking videos with minimal effort.
- Canva: With its drag-and-drop interface and extensive template library, Canva is ideal for quickly creating visually engaging content. It allows you to design professional graphics for social media, blogs, and more, even without prior graphic design experience.
Recipe management at scale
As your recipe catalog grows past 100 posts, you’re going to need to think about how you can manage everything. At this stage, central control is more important than adding new features. If you started with WP Recipe Maker, you’re already set. The Manage Dashboard, bulk editing capabilities, and site-wide template control are designed to scale with your growth.
If you’re using another plugin, don’t worry – switching to it is simple. WP Recipe Maker imports from all major recipe plugins, preserving your data, SEO value, and URLs. WPRM includes importers that preserve data; with proper redirects and fallback display, you maintain SEO value.
| What can WP Recipe Maker offer you? Manage Dashboard: Filter, search, and bulk-edit recipes easily, including schema fields, taxonomies, and nutrition info. This saves you time as your content library expands. Site-wide template changes: Make template adjustments across your entire site without having to update each post manually. Safe migration and redirect support: If you ever need to switch systems, WPRM offers smooth migration tools and works smoothly with redirect setups, so you won’t lose any traffic. Audit tools: Check for missing data like prep time or ratings, helping you tighten up both your SEO and user experience. |
Stage 3: Scale (25K+ monthly views)
How do I add nutrition information to my recipes?
When nutrition becomes part of your brand, it’s time to upgrade your recipe system. Look for features that make adding nutrition simple and professional:
- Manual nutrition entry: Input nutrition info yourself and generate a professional FDA-style label.
- Automatic nutrition calculation: Use an API to calculate nutrition automatically from ingredients – accurate and time-saving.
- Custom nutrient fields: Highlight specialized diets like keto or vegan to meet your audience’s needs.
Extras that make recipes more usable and monetizable:
- Unit and temperature conversion: Let readers switch between metric and U.S. customary units (grams ↔ ounces, Celsius ↔ Fahrenheit).
- Centralized affiliate links: Set links for ingredients and equipment once – updates apply across all recipes.
Monetization infrastructure
To maximize revenue as your traffic grows:
- Ad placement options: Insert ads in or around recipe cards without breaking the layout.
- Affiliate link support: Automatically add affiliate links for ingredients and tools, with proper rel attributes (nofollow, sponsored) for SEO.
- Structured data for roundups and how-to: Output a valid schema so Google can display your recipes as rich snippets.
Performance optimization
Fast-loading pages keep both readers and search engines happy:
- Caching and image optimization: Speed up your pages and protect your Core Web Vitals.
- Efficient recipe systems: Choose plugins that separate data from design. Features like JSON export and REST API access keep queries fast and allow advanced integrations.
Recipe infrastructure that scales: WP Recipe Maker
WP Recipe Maker is a WordPress plugin built to handle everything from your first recipe to a full library of hundreds. It keeps recipes as their own content type and outputs structured data for Google and Pinterest, giving you a reliable backbone for your food blog.
Recipes live separately from your posts, so template changes apply site-wide and bulk edits are fast – perfect for growing your library. Adjustable servings, a ratings modal, cook mode, timers, and clean print options make your recipes easy and enjoyable to follow. Ingredient and equipment links, ad-friendly template positions, and shoppable integrations with services like Instacart, Walmart, and Chicory make monetization simple, while the plugin also integrates smoothly with popular affiliate tools.
With the template editor and modern templates, you can match your site’s branding and tweak every detail, while importers, JSON export, and a fallback display ensure your content stays safe and flexible.
WP Recipe Maker also offers a clear upgrade path as your blog grows. The Premium tier ($49/year) adds adjustable servings, ratings modal, cook mode, ingredient/equipment links, kitchen timer, and a manage dashboard; Pro ($99/year) adds unit and temperature conversion, automatic nutrition calculation with an FDA-style label, custom fields/nutrients, and translation support; and Elite ($149/year) unlocks recipe collections, saved shopping lists, and front-end recipe submissions for contributors or community content.
Turn recipes into results!
As you move from building your blog to scaling it, every decision you make (whether it’s about the platform, tools, or workflows) plays such an important role in your success.
By using the right recipe plugin, like WP Recipe Maker, you’ll streamline your content creation while also scaling effortlessly as your blog expands. So whether you’re just starting or already seeing traffic, WP Recipe Maker offers the flexibility, performance, and monetization features you need to take your food blog to the next level.
Start your journey with WP Recipe Maker today, and build a blog that grows with you every step of the way!