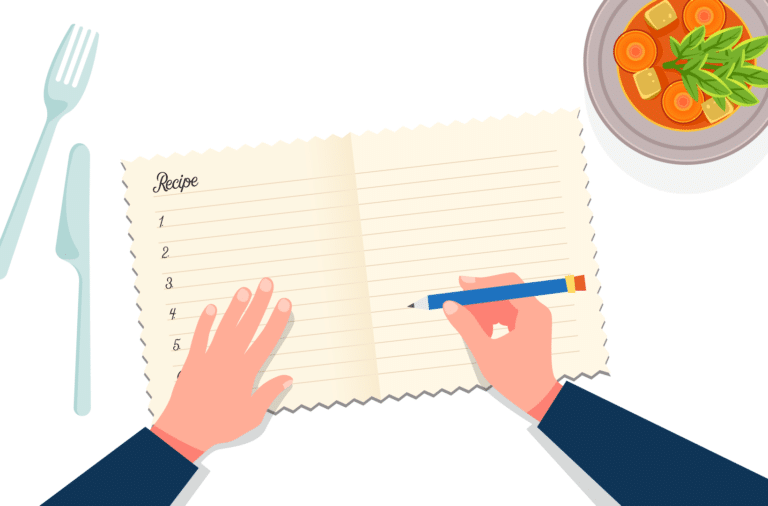
Are you wondering how to keep readers captivated by your food blog content, but are struggling to figure out how? Jump-to-recipe buttons offer a fantastic solution.
A jump-to-recipe button is a clickable link placed at the top of a recipe post that scrolls readers directly to the recipe card, bypassing the intro text. This helps encourage readers to stick around and engage with your recipes on your blog, as users can choose between reading the backstory or getting straight to the point and finding the recipe. Balancing effective SEO writing with a compelling recipe post can be challenging, but keeping readers engaged while delivering high-quality articles is possible with this. For food bloggers on ad networks like Mediavine or Raptive (formerly AdThrive), adding this button is a deliberate UX trade-off worth knowing about – it improves the reader experience, but those who skip your intro will see fewer ad impressions from that content. Most bloggers find it’s worth enabling anyway, as the better user experience tends to support longer-term engagement and return visits.
In this post, we’ll explain two ways to add a jump-to-recipe button in WordPress:
- Adding a recipe button with the recipe plugin WP Recipe Maker
- Adding a jump-to-recipe button using HTML
How to add a jump-to-recipe button with WP Recipe Maker
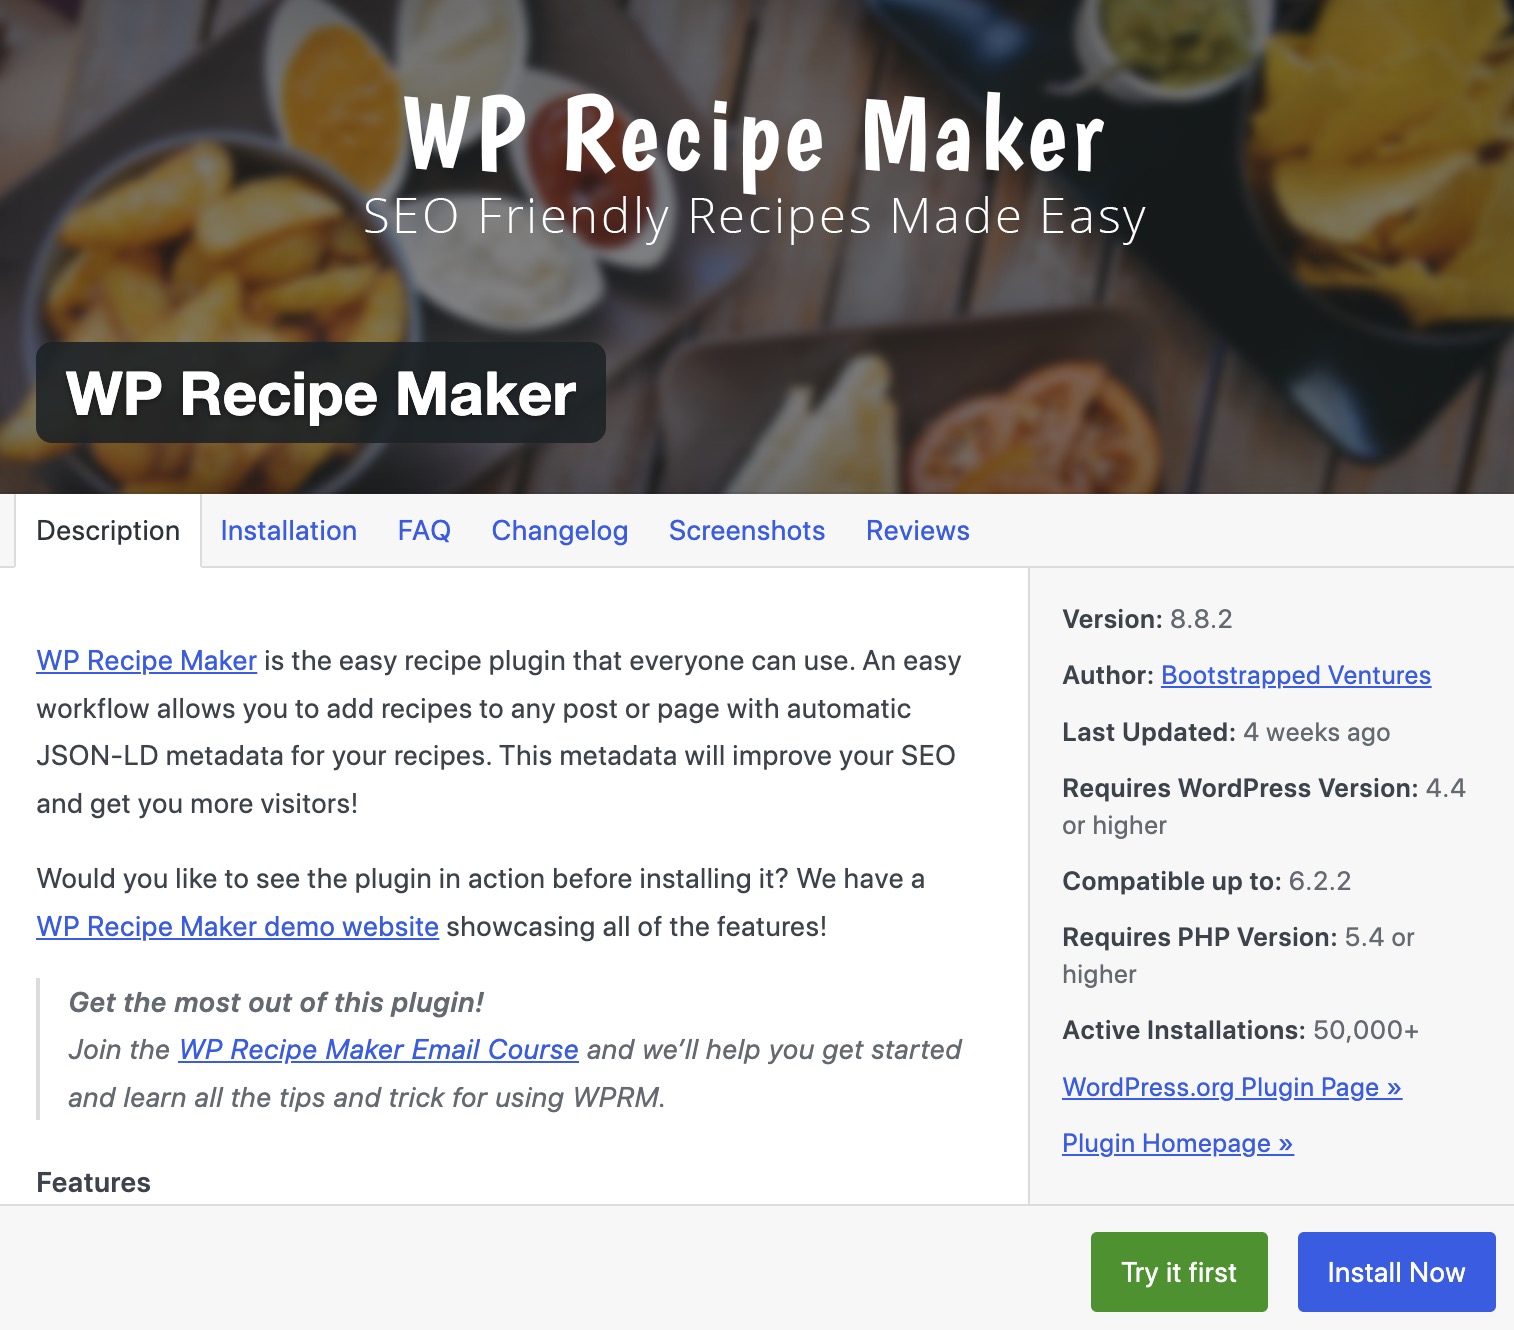
If you want to add a jump-to-recipe button to your WordPress website, look no further than WP Recipe Maker, a powerful plugin that offers a comprehensive range of features to create captivating recipe cards and seamlessly insert them into your posts.
The recipe plugin allows you to automatically add a convenient jump-to-recipe button at the top of recipe pages, along with other recipe snippets. It produces a smooth scroll animation when the button is clicked, easing readers down to the recipe card smoothly rather than abruptly jumping them there.
Here are the steps you’ll need to follow to set up your jump-to-recipe button with WP Recipe Maker:
Step 1: Install WP Recipe Maker: The first step is to install WP Recipe Maker. Open WordPress.org and search the WordPress plugin repository for “WP Recipe Maker”. Click the Install Now button, as shown in the screenshot below, and follow the instructions to download and activate the plugin.
Step 2: Add a Jump-to-Recipe Button: Go to your WordPress admin dashboard, click WP Recipe Maker on the left menu, and select “Settings,” then “Recipe Snippets.” From there, simply enable “Automatically add snippets” and select “Save Changes,” as shown in the screenshot below.

Once you have enabled Automatic Snippets, go back to your WordPress site and refresh a page that displays a recipe. The jump-to-recipe button will appear at the top of every page that has a recipe, as shown in the screenshot below. Note: enabling snippets also activates a Print Recipe button alongside the Jump to Recipe button and your readers will see both at the top of each recipe page.

Step 3: Customize template: Enabling automatic snippets will add a jump-to-recipe button with the default basic template.
To change the template, go back to your WordPress admin dashboard and navigate to WP Recipe Maker on the left menu, then to Settings and the “Recipe Snippets” page. There, you can select a different template from the “Food Recipe Snippet Template” section, as shown in the screenshot below.

You can customize the template you selected even further. To do this, navigate to the “Template Editor” section in the WP Recipe Maker menu and click “Open Template Editor,” as shown in the screenshot below.

There, select the template you want to use and click “clone and edit” to create a new editable version. Assign a distinct name to the new template you created, and don’t forget to select it by following the instructions in step 2 to apply it to your website once you are done editing! The Template Editor also supports undo/redo history, so if you make a mistake while customizing or you’re not happy with your changes, you can step back through your edits without starting over.
Step 4: Test the button: Before you publish posts with the new jump-to-recipe button, test the page. This will enable you to check that the button functions properly to ensure a smooth, enjoyable experience for your readers.
Not using WP Recipe Maker yet? Download it here.
How to add a jump-to-recipe button to WordPress manually
Prefer to get hands-on? If you’re comfortable with a little HTML, you can also add a jump-to-recipe button manually – though you’ll miss out on the automatic placement, smooth UX, and time savings that WP Recipe Maker handles for you. Here’s how the manual method works:
Step 1: Open WordPress Editor: Go to your WordPress dashboard and navigate to the post where you want to add the jump-to-recipe button.
Step 2: Add an HTML Anchor: Locate the beginning of your recipe section and add the HTML anchor below:
<a id="recipe"></a>This anchor will be the target for the jump-to-recipe button. Alternatively, if you’re using the Block Editor (Gutenberg), you can add an HTML anchor by selecting the block where your recipe starts, opening the “Advanced” settings, and adding a unique anchor name.
Step 3: Add the Jump-to-Recipe Button: Add the following HTML code in the location where you want the jump-to-recipe button to appear:
<a href="#recipe" class="jump-to-recipe-button">Jump to Recipe</a>Step 4: Edit your button: You can make your button visually appealing by adding custom CSS. To do that, go to Appearance > Customize > Additional CSS and add the following CSS code:
.jump-to-recipe-button {

    display: inline-block;

    padding: 10px 20px;

    background-color: #4CAF50;

    color: white;

    text-align: center;

    text-decoration: none;

    font-size: 16px;

    border-radius: 5px;

    transition: background-color 0.3s;

}

.jump-to-recipe-button:hover {

    background-color: #45a049;

}
You can customize the button’s appearance by changing the values for padding, background color, color, font size, and border radius.
Step 5: Save and Preview: After adding the HTML anchor and button, save your post, and ensure the jump-to-recipe button works correctly.
The Template Editor also supports undo/redo history, so if you make a mistake while customizing or you’re not happy with your changes, you can step back through your edits without starting over.
Elevate your whole blog in minutes with WP Recipe Maker
Adding a jump-to-recipe button with WP Recipe Maker is a quick, effective way to enhance your food blog, improve user experience and SEO, and make recipes more engaging and accessible.
With WP Recipe Maker, you can enrich your recipe cards by adding recipe snippets, customizing templates, adjusting servings, incorporating media like images and videos, and even adding affiliate links to ingredients and equipment.
If you’re looking for an immediate improvement to your website without investing too much time and effort, WP Recipe Maker is the right plugin for you! With WP Recipe Maker, adding jump-to-recipe buttons to all your recipe pages takes minutes, but its impact elevates your whole website since you significantly improve the user experience and increase the visibility of your recipes.
Download WP Recipe Maker now to help visitors find your recipes faster and easier!