
Frustrated because you can’t find last month’s perfect soup recipe buried somewhere in Evernote, Pinterest, or a stack of recipe cards? We’ve all been there – the chaos of unorganized recipes making it nearly impossible to retrieve that one dish you loved last time. Sounds like you need to learn how to create a recipe database!
Imagine if all your recipes are neatly stored, searchable, and organized at the click of a button. In the next 30 minutes, you’ll have a proper recipe database that handles search, scaling, and organization automatically, without touching a single line of code.
We’ll use WordPress with WP Recipe Maker because it creates the database structure behind the scenes while you focus on your recipes. Follow these five practical steps, and you’ll go from recipe chaos to permanent organization, ready to retrieve your favorite dish in seconds!
Step 1: Set up your recipe database platform
Creating a recipe database doesn’t have to be as complicated. The internet is full of debates about SQLite, MySQL, and Airtable, but the truth is, you need a solution that works today, not a computer science project.
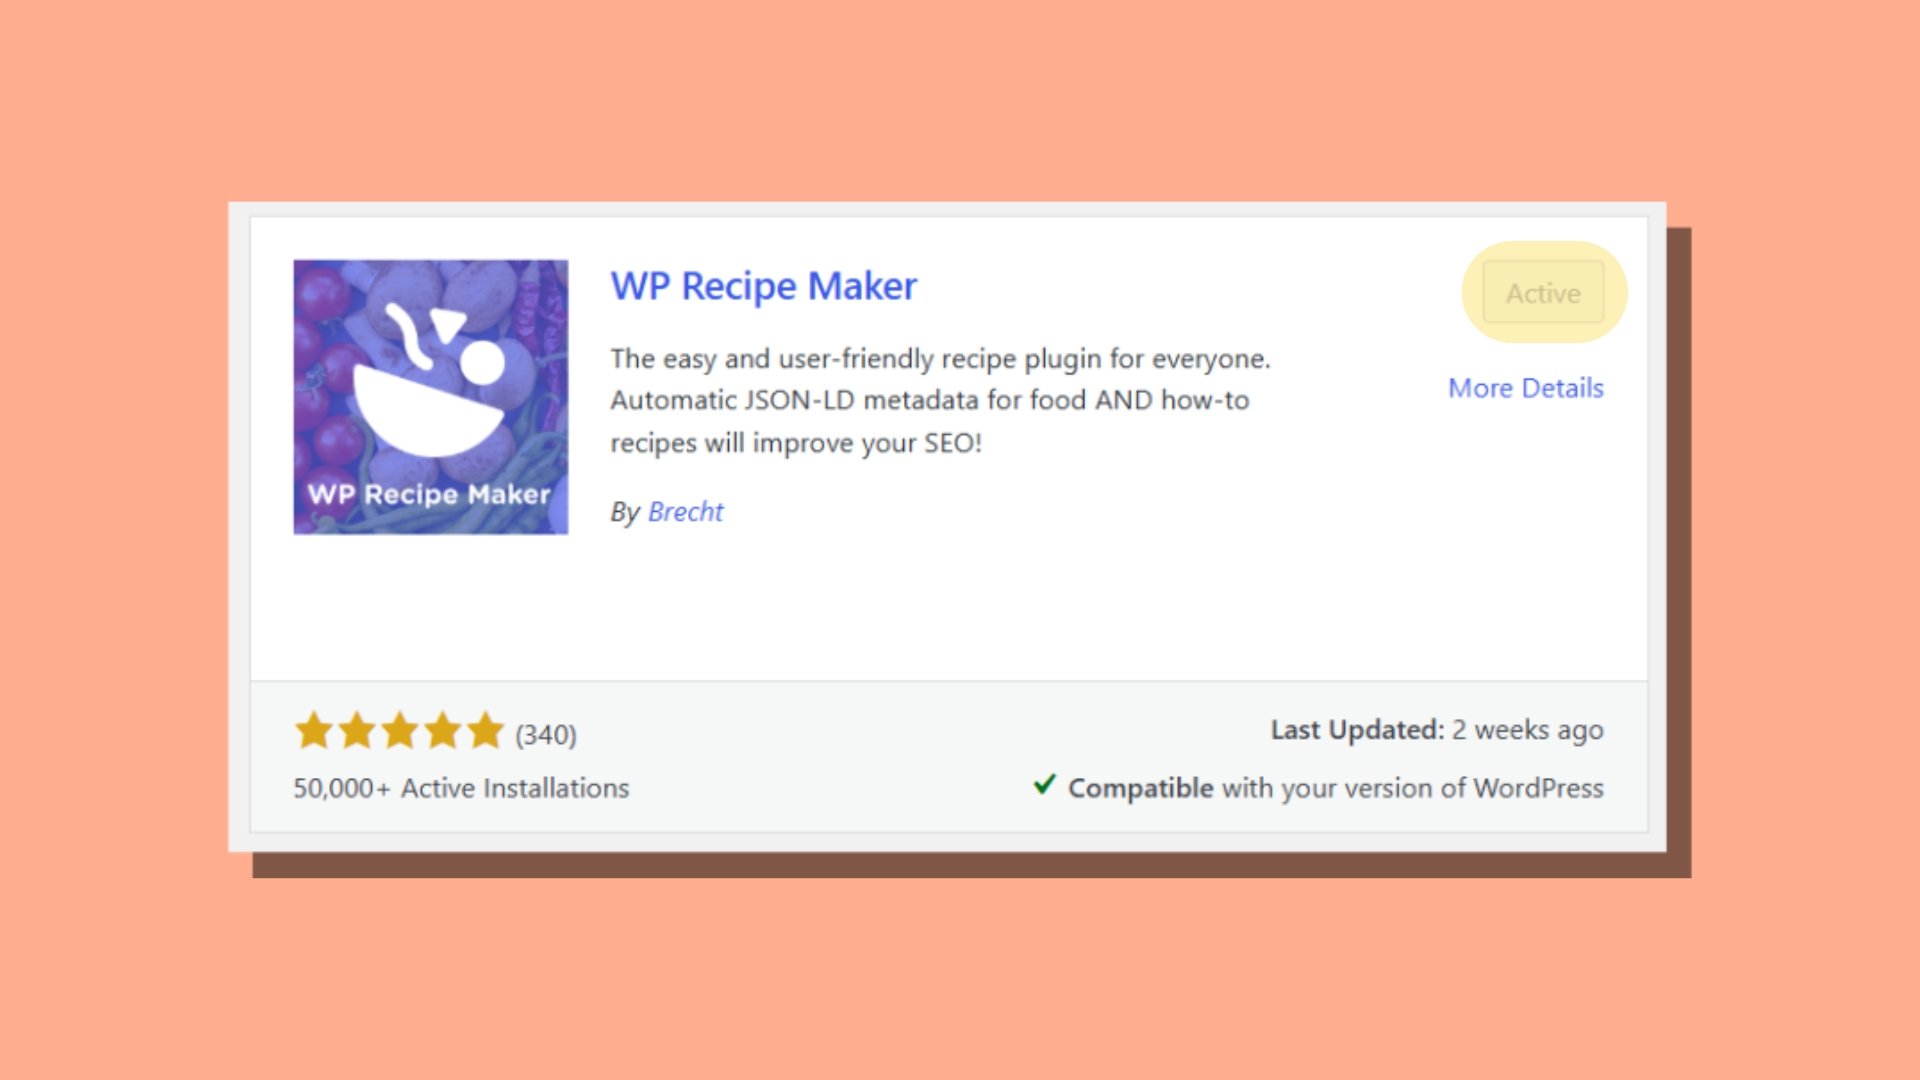
WordPress powers 43.4% of the web, making it the most popular and user-friendly platform for building websites. When you add WP Recipe Maker, it transforms WordPress into a powerful recipe database – without needing any coding experience.
Setting it up is simple:
- Install WordPress: Most hosts offer one-click WordPress installation, so this step takes minutes.
- Install WP Recipe Maker: After installing WordPress, head to your dashboard, search for WP Recipe Maker in the plugin section, and click “Activate.”
- If you need more guidance, check out our step-by-step guide on how to build a recipe website.
One major concern with recipe databases is data ownership. WP Recipe Maker stores your recipes in standard WordPress tables, giving you complete ownership over your data. Unlike closed platforms, you can always export, back up, or migrate your content as you see fit! No murky ‘do I own my content?’ questions here!
Why not other options?
Tools like Airtable and Notion are great for spreadsheet-style organization, but they fall short when recipes need structured ingredient data or scaling. Workarounds are possible, but they quickly get clunky.
A custom database is another route, but it requires months of development time to handle features like built-in taxonomies, unit conversion, and recipe-specific SEO. For most food bloggers, this is impractical and expensive.
Google Sheets is also popular, but it lacks proper search functionality, can’t scale ingredients effectively, and has no built-in way to manage unit conversions.
That’s why WP Recipe Maker is the stronger choice. It gives you these advanced features from the start, without the cost, hassle, or limitations of other tools.
Step 2: Add your recipes
Once you’ve set up your WP Recipe Maker database, you’ve got to get adding your recipes. There are two easy ways to do this: manually and by importing from other plugins.
Adding recipes manually
- Create a new recipe: In your WordPress dashboard, go to “WP Recipe Maker” and click on “Create Recipe.”

- Fill in recipe information: Enter the title, description, ingredients, and instructions. WP Recipe Maker allows you to break ingredients down into individual parts – quantity, unit, ingredient name, and notes – making your recipes more structured and searchable.
- Add additional details: Input the prep time, cook time, servings, and nutritional facts (which is a premium feature). You can also upload a recipe photo and include video links if needed.
- Customize: If desired, you can adjust the layout using WP Recipe Maker’s template editor to match your website’s branding.
- Publish: Once everything looks good, hit “Publish” and your recipe will be added to your website.
This method is perfect for adding new, original recipes or for making quick edits to existing ones.
Importing recipes from other plugins
If you’re switching from another recipe plugin, WP Recipe Maker makes it easy to import your old recipes:
- Install WP Recipe Maker alongside your current plugin: First, install WP Recipe Maker, but don’t deactivate your old plugin yet.
- Backup your data: Before starting the import, it’s highly recommended to back up your data to ensure you can revert if needed.
- Start import: Go to the WP Recipe Maker → Import Recipes, where you’ll find a list of recipes from your previous plugin. Select the ones you want to import and click the Import button.

- Check and clean up: After importing, go through each recipe to check for formatting. WP Recipe Maker uses separate fields for each ingredient part, which may require some cleanup, especially with measurements.
Step 3: Organize with smart categories
There is nothing more satisfying than an organized recipe collection. WP Recipe Maker makes this easy with its built-in taxonomies that allow you to categorize your recipes in a way that makes sense for you and your readers.
Here are the core taxonomies WP Recipe Maker provides to help you organize your recipes:

- Course: Tag recipes by the meal they belong to, such as Breakfast, Lunch, Dinner, Snack, or Dessert. This helps answer the question, “What meal is this for?”
- Cuisine: Categorize recipes by type of food, like Italian, Mexican, Thai, or American. It’s a great way to help users find what they’re craving based on cuisine.
- Dietary: Label recipes as Gluten-Free, Vegan, Keto, or Dairy-Free to answer “Who can eat this?”
These taxonomies help organize your recipes in multiple ways. For example, if you tag a recipe as Dinner + Italian + Gluten-free + Beginner, it will automatically appear in four filtered views on your website, making it easier for users to find what they need.
Let’s make this practical. When someone asks, “What’s for dinner?” you can filter by Dinner + Beginner + ingredients you have on hand, providing instant results.
For even more flexibility, WP Recipe Maker Premium lets you create custom taxonomies like “Kids Love This” or “Company-Worthy” to categorize recipes the way you think about cooking. This feature makes it easy to tailor your database to suit your unique needs!
Step 4: Publish your database on the frontend
Now that your recipes are organized in your database, it’s time to publish them and make them accessible to your readers. Keep in mind that recipes in your database are not automatically published. They are only shown when you actively add them to a page or post. This gives you full control over how and when your recipes go live.
To display all your published recipes in an organized, filterable grid, the best solution is to integrate WP Recipe Maker with the WP Ultimate Post Grid plugin. This allows you to display your recipes in an attractive grid layout with easy-to-use filters for course, cuisine, dietary preferences, and more. For example, visitors can quickly find “Gluten-Free Desserts” or “Dinner Recipes” by using the filters, which enhance user experience and make your content more navigable.

Along with this, to make your database more useful and interactive, you can enable Recipe Collections. This feature allows users to save their favorite recipes, creating personalized collections for meal planning, shopping lists, or even future cooking projects. Whether they’re organizing their go-to recipes or planning for the week ahead, these collections enhance engagement and usability.
Do this by going to WP Recipe Maker → Settings → Recipe Collections.

For visitors, collections are stored directly in their browser for easy access later. For logged-in users, collections are saved in the database and accessible across devices. You can even customize how collections are displayed and include features like shopping lists, which automatically pull ingredient information from saved recipes.
Step 5: Maintain your recipe database
A recipe database is only useful if it stays reliable. There’s nothing worse than having a broken image on your grandmother’s lasagna recipe when company’s coming over! Regular maintenance is the trick to keeping your recipes accessible, organized, and functioning properly.
Weekly backups
Make sure you never lose your valuable recipes by setting up automatic backups. Use plugins like UpdraftPlus to back up your entire WordPress database – including all your recipes. Store backups in cloud storage (like Google Drive or Dropbox) because relying on your hosting provider’s backups isn’t a foolproof recovery plan.
Plugin updates
Keep your WordPress and WP Recipe Maker plugins updated to benefit from the latest features and security fixes. These updates often include important recipe schema improvements, which help search engines better understand your recipes. Set aside just 10 minutes a month to handle updates, rather than letting them pile up and risk missing out on key improvements.
Image optimization
Recipe photos are essential, but they can quickly eat up storage space. Use an image optimization plugin like ShortPixel to compress images without losing quality. Your photos will load faster, saving storage space while still looking just as mouthwatering, especially important when you’re showcasing decadent desserts!
Database cleanup
WordPress automatically saves post revisions, which can clutter your database over time. Use a tool like WP-Optimize to clean up these revisions monthly, ensuring that only your active recipes remain intact and easily accessible.
Check broken elements
Nothing undermines trust like clicking on a broken link. Use the Broken Link Checker to find any dead ingredient supplier links or missing images, ensuring that your visitors never encounter a 404 error.
Performance monitoring
If your recipe grid loads slowly, you’ll lose readers. Use Google Page Speed Insights quarterly to identify any performance issues and make improvements, ensuring your recipes are always fast and easy to access.
Recipe fallback
If something ever goes wrong with your site or a plugin conflict pops up, WP Recipe Maker’s fallback system makes sure your recipes are still visible to readers. Even if the styling isn’t perfect, the recipe content itself remains accessible, so you never have to worry about your audience being left without instructions.
Time to start your own recipe database!
Now that you know how to create a recipe database, you’ve gone from scattered recipes to a permanent, searchable, and scalable system in just five steps. Imagine finding any recipe in seconds, scaling it perfectly for guests, and never losing a family favorite again!
With WP Recipe Maker, your recipe database is the solution that transforms how you organize and access your recipes. No more digging through old recipe cards or hunting through endless lists.
This database will help with your meal planning, make it easier to share recipes, and make sure everything is right at your fingertips whenever you need it. Your journey to stress-free cooking and recipe management starts now!
Get WP Recipe Maker now, and start organizing your recipes today.


