Did you know that 4% of the U.S. population is now following a vegan diet? While it might not sound like a huge number, that’s over 13 million people searching for new ideas and inspiration on what to cook. That’s a lot of potential readers and hungry people looking for fresh plant-based recipes!
Sharing your delicious vegan creations can inspire others, help you carve out your place in a growing and passionate community, and potentially lead to a steady stream of income as your blog grows.
Create your blog in 30 minutes with these steps
Step 1: Get your website address (5 minutes)
Choosing the right domain name is the first step in building your vegan blog. Pick a name that’s memorable, simple to spell, and reflects your blog’s focus. For example, YourNameVegan.com is perfect if you’re creating a personal blog, while VeganInYourCity.com is great for local-focused content. Keep it clear and relevant, as it’ll make it easier for readers to find you.
Once you’ve decided on your domain, head over to a domain registrar like Bluehost, GoDaddy, or Namecheap to see if it’s available. If it’s taken, try adding a keyword or using a different extension like .vegan.
Next, choose a reliable hosting provider. Affordable, beginner-friendly options like Bluehost or SiteGround offer hosting for around $3 – $5 per month. These services often include one-click WordPress installation and free domain registration for the first year. It’s a small investment for a permanent home for your blog!
Step 2: Install WordPress and your recipe plugin (10 minutes)
After securing your domain and hosting, it’s time to install WordPress. Many hosting providers offer a one-click WordPress installation, making the process incredibly easy. If your host doesn’t offer this, don’t worry – WordPress.org has clear instructions to guide you through the manual installation. Once installed, you’ll be ready to start adding your content.
Next, we recommend installing WP Recipe Maker to make the process super quick! You can begin with the free version of the plugin, which already provides essential features like recipe schema, a jump-to-recipe button, and basic customization options. For a more tailored experience, consider upgrading to a premium plan, which includes additional features such as advanced template customization, nutrition facts integration, and custom taxonomies. Custom taxonomies are especially helpful if you want to organize your recipes by categories like “Difficulty”, “Price”, or “Cuisine”, and are available in the Premium, Pro, and Elite plans.
Step 3: Publish your first recipe (15 minutes)
Now that your blog is set up, it’s time to share your first recipe! Start by choosing the one you’re most excited about – whether it’s a recipe your friends always ask for or one that converts even the biggest skeptics to plant-based eating. Pick something you’re proud of and can’t wait to share!
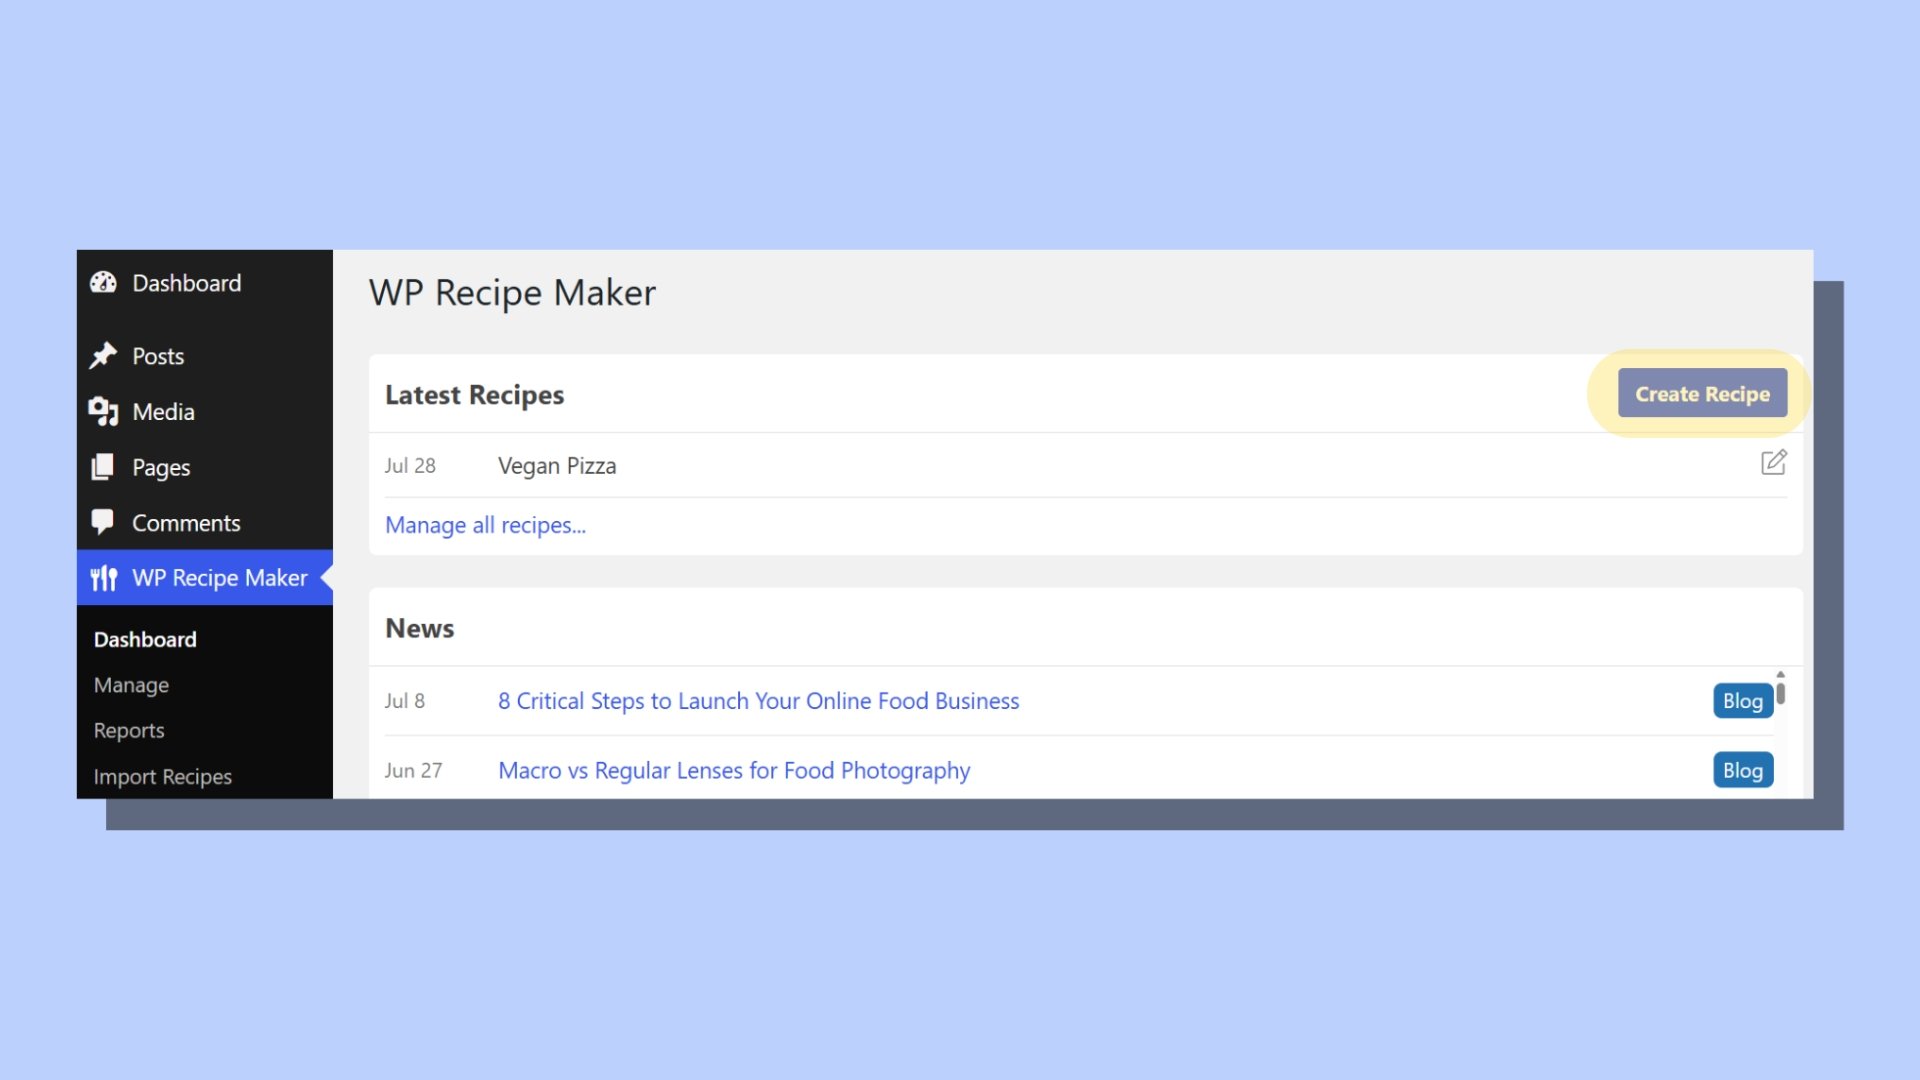
In WordPress, click Create Recipe to start. The WP Recipe Maker plugin makes it simple – just paste your ingredients from your notes and add the instructions step by step. WP Recipe Maker automatically formats them into a clean, structured recipe card that’s easy for your readers to follow.
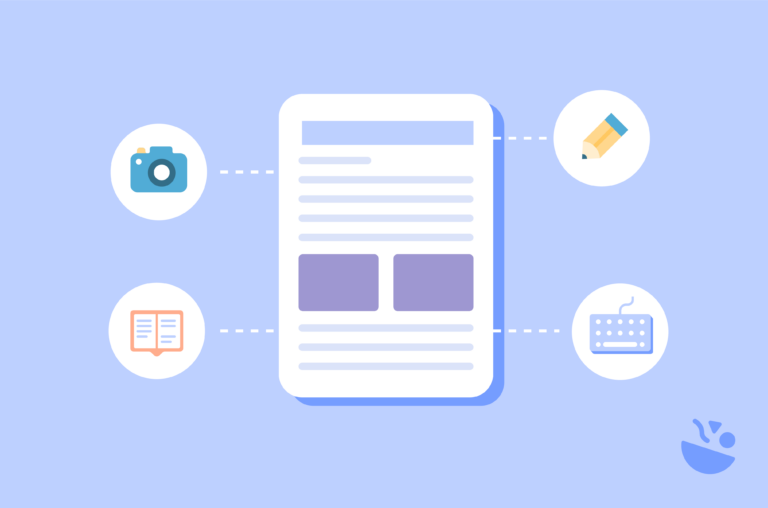
Next, upload a photo of your dish. No need to be a professional photographer! The photo from your phone will work just fine. After uploading, set the prep time, cooking time, and servings, so your readers know exactly what to expect. Don’t forget to add any helpful tips or special instructions in the text field.

Once you’re happy with everything, hit Publish. And just like that, you’ve just shared your first recipe with the world. Even if you have zero design skills, it looks professional and ready for your readers to enjoy. Now sit back and watch as people discover your plant-based creations!
Making sure people can actually find your recipes
One of the biggest fears when starting a blog is thinking you’re blogging about stuff nobody will ever see. But with a few simple steps, you can make sure your recipes are easy to find, and it doesn’t require any complex SEO knowledge. Just follow these three rules:
Rule 1: Name your recipes what people actually search for. For example, instead of calling it “Dreamy Cashew Delight,” name it something like “The Easiest Vegan Mac and Cheese Ever.” This helps Google understand exactly what your recipe is about, and WP Recipe Maker automatically tells Google that it’s a recipe, boosting your chances of being found.
Becky Excell is great at naming recipes perfect for SEO. Along with WP Recipe Maker, she creates beautiful recipe cards, while naming them in a way that really grabs the readers (and Google’s!) attention.
Rule 2: Add the jump-to-recipe button – this reader favorite lets users skip over things like the “history of Roman lettuce,” giving them a better experience and helping your site rank higher with Google.
Rule 3: Share your recipes on platforms where you already have an audience. Your Instagram followers, for example, probably want your recipes in a printable format. By sharing your blog posts on Instagram, Facebook, or Pinterest, you can drive traffic to your site without extra effort.
Aim to have at least five recipes live before you start promoting your blog. With a small collection, visitors have more to explore and are less likely to bounce after reading just one post. It also signals to Google that your site is worth indexing, giving you a better chance to start ranking early on.
Growing beyond your first five recipes
Improving your blog
Once you’ve published your first few recipes and gained some momentum, it’s time to enhance your blog for a better reader experience. WP Recipe Maker offers some fantastic features that can make your content even more engaging. For example, the adjustable servings feature allows your readers to automatically scale recipes up or down based on how many people they’re cooking for. This is a huge plus, especially for people cooking in different quantities. Along with this, WP Recipe Maker offers print-friendly formatting, so your readers can easily print out recipes without a messy layout. These small tweaks can make a big difference in how your audience interacts with your blog.
Monetizing your blog
As for monetization, you might be wondering, “How profitable are food blogs?” and “How long does it take to make money?” The reality is that most food blogs don’t make significant income for the first 6–12 months, if not longer. It’s important to focus on creating great content and building a solid recipe collection first. Monetization will come later once you have an established audience and traffic.
When the time comes to start earning, WP Recipe Maker’s templates are designed to work with ad networks. This makes it easier to monetize through ads or affiliate marketing when your blog is ready.
Your first recipe awaits
It’s time to share your first recipe with the world! Choose the recipe you’re most excited about. Pick something that’s easy to follow and will inspire your audience to get in the kitchen. Then, add your recipe to your WP Recipe Maker dashboard. No need for fancy formatting – the plugin handles that automatically, creating a professional-looking recipe card.
Next, upload a photo of your dish. It doesn’t have to be a professional shot! A quick picture from your phone will do the trick. Add prep time, cooking time, servings, and any helpful tips you want to share.
Once you’ve filled everything out, hit Publish. That’s it – you’ve just shared your first recipe! It may have taken just 15 minutes, but now your blog is officially live. No design skills required, and it looks great! Your recipe is now ready for readers to enjoy, and you’ve taken the first step toward building a community around your plant-based creations.
This is all made possible with WP Recipe Maker, so try it out today and start sharing your recipes with the world.

![The Beginner’s Guide to Starting a Health Blog [2024]](https://bootstrapped.ventures/wp-content/uploads/2023/07/The-Beginners-Guide-to-Starting-as-a-Health-Blog-2023-1-768x506.png)