Writing a recipe that works for someone else is harder than it looks. You might know exactly what “cook until soft” means or which pan you always grab, but a reader coming in blind doesn’t. Most recipe issues (like burnt edges, gummy centers, and confused comments) come from tiny details that were clear in your kitchen but never made it into the final draft.
That’s why having a simple pre-publish checklist makes such a difference. It gives you a way to slow down for five minutes and catch the things cooks struggle with most: inconsistent measurements, skipped cues, missed timing, or layout choices that make people scroll back and forth with messy hands.
Our checklist is designed to be practical, quick to run through, and easy for anyone on your team to follow. And because formatting plays a big role in whether readers can actually cook from your recipe, we’ll also show how WP Recipe Maker helps you organise ingredients, instructions, and metadata so your recipes are clear and reliable the moment they go live!
Pre-publish QA checklist for recipes
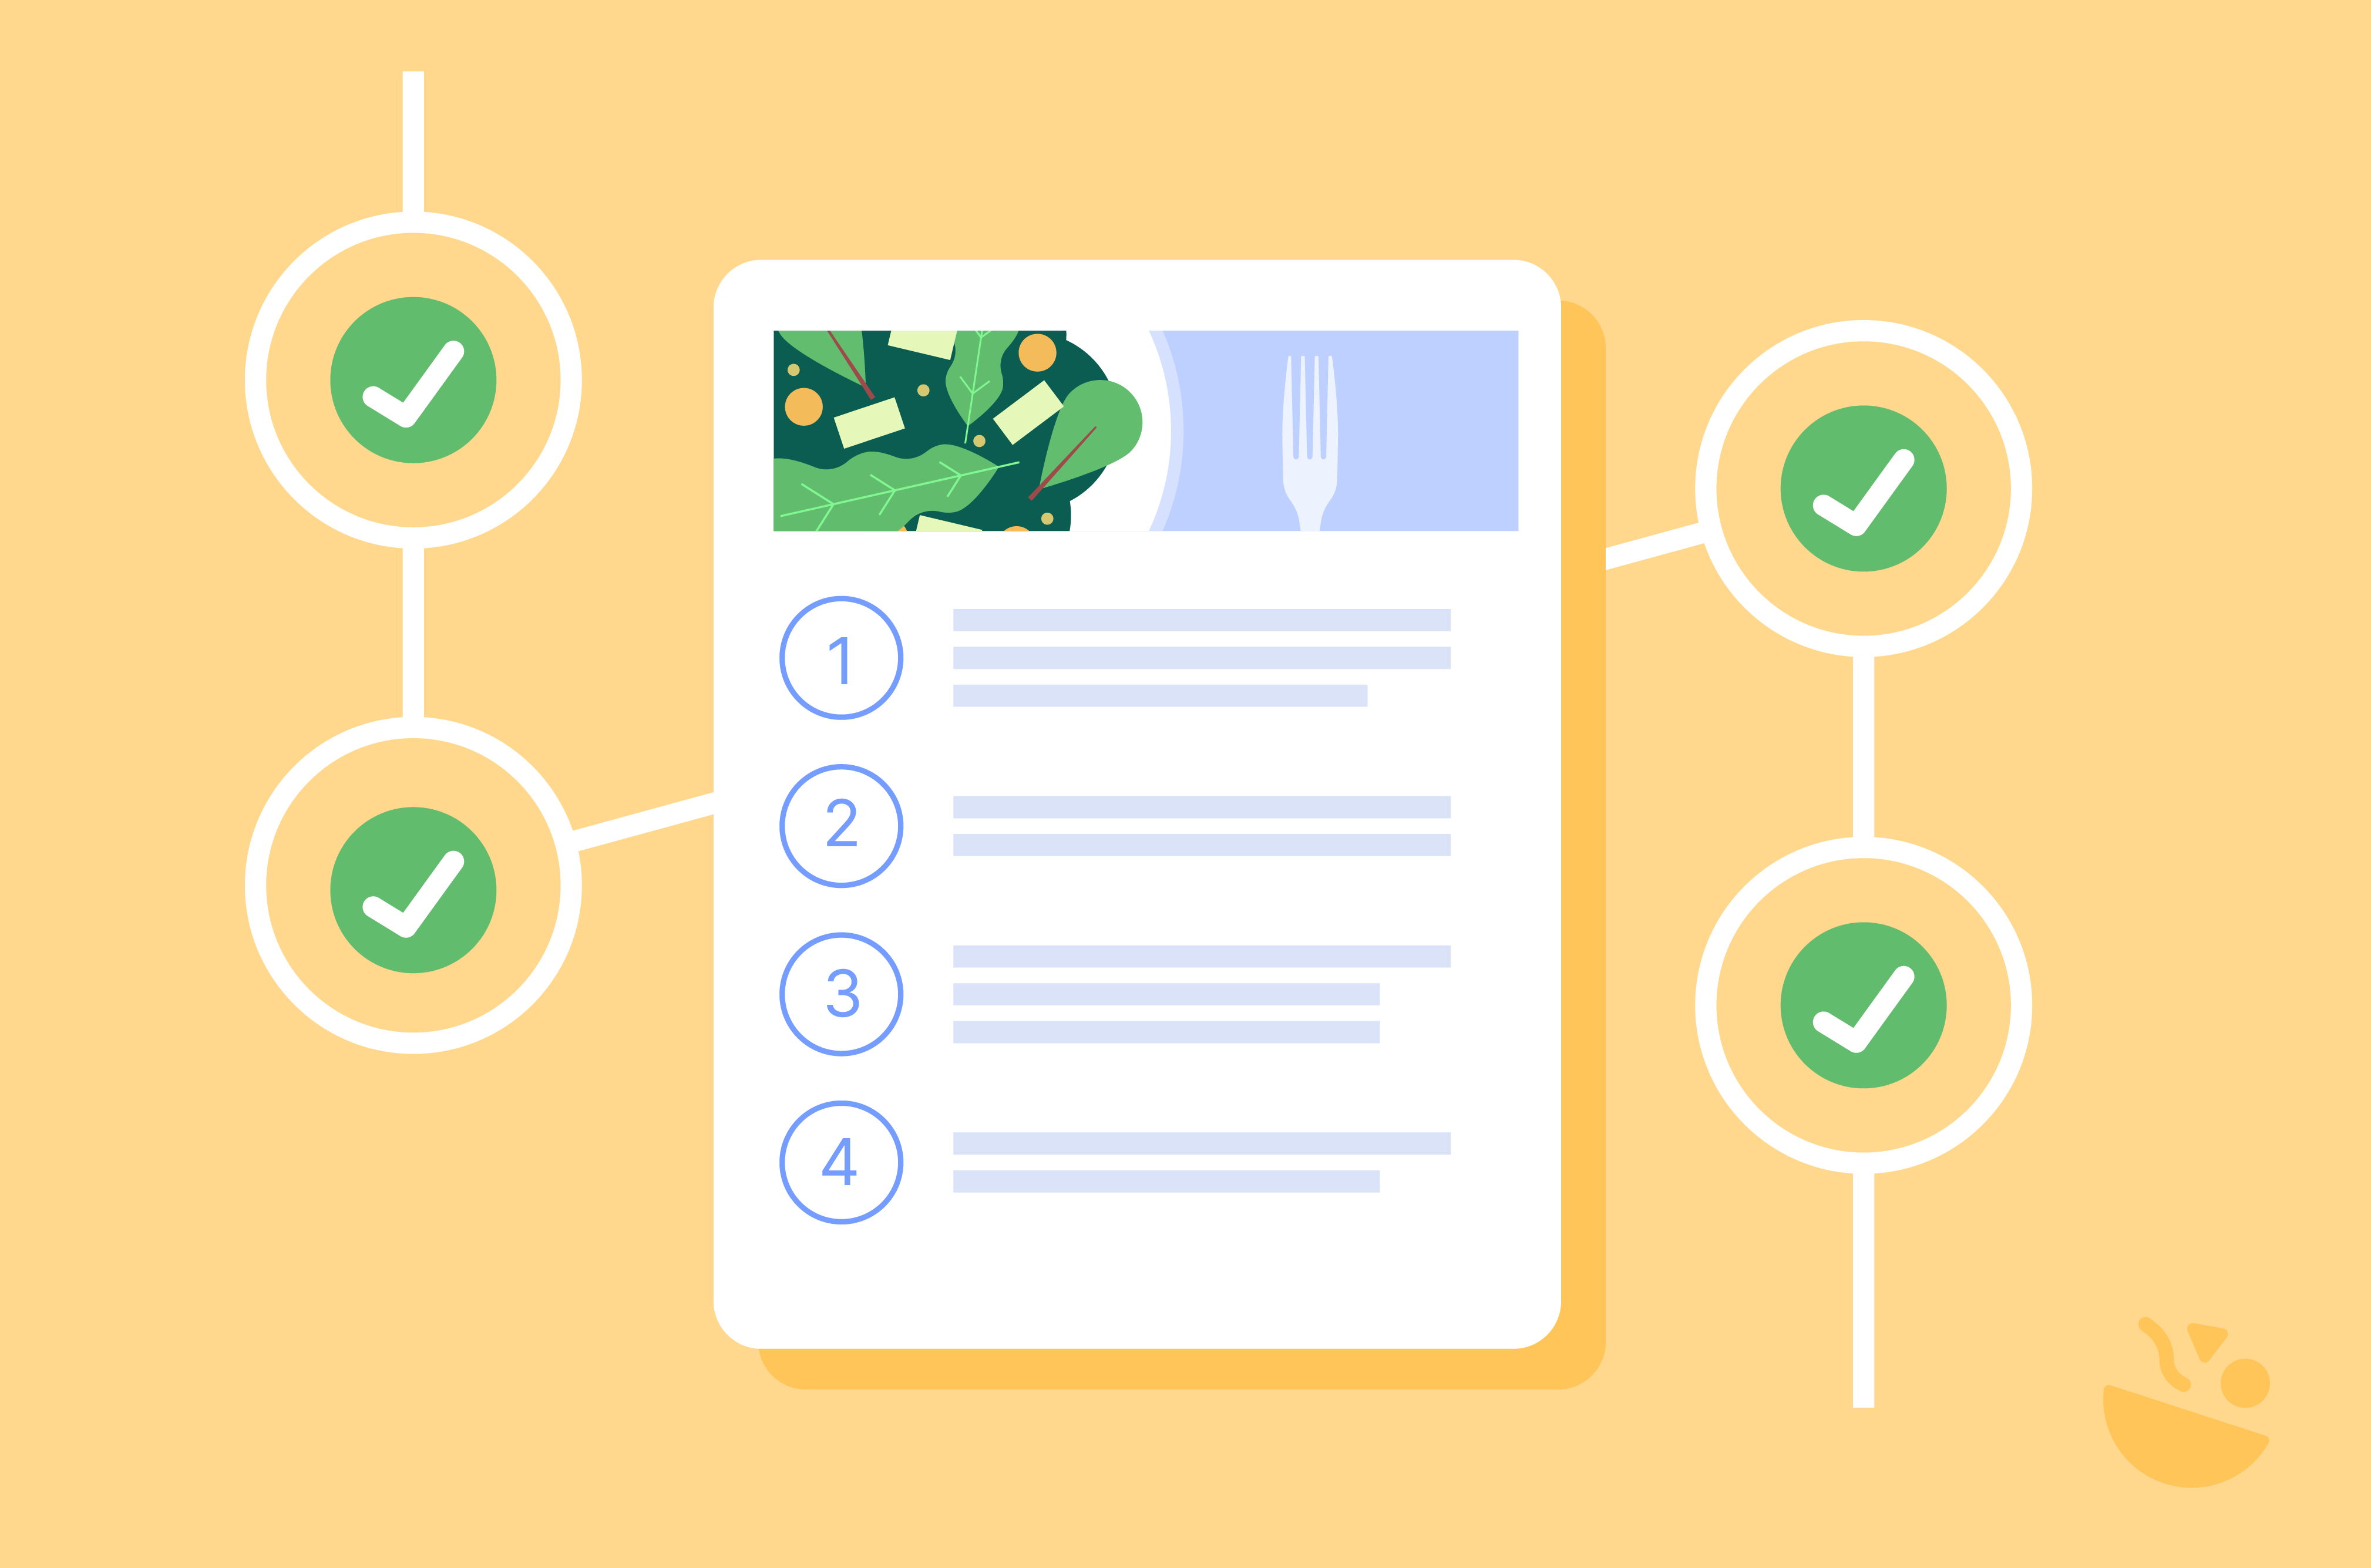
A complete recipe needs clear measurements, specific instructions, reliable timings, and a layout that’s easy to cook from. This checklist focuses on testable steps you can run through before publishing: verify ingredient accuracy, confirm steps include times and sensory cues, check essential metadata like yield and equipment, review accessibility details, and validate your structured data. Each item is designed to catch gaps that don’t show up until someone else tries the recipe for the first time – we’ve included a little checklist at the end of the article for you to follow, too!
Make sure titles are specific
A good recipe title tells readers exactly what they’re about to make. The easiest way to check yours is to look for the dish name plus one defining detail – usually the cooking method, main flavour, or key ingredient. If the title could apply to dozens of dishes, it needs tightening.
Instead of “Shrimp Recipe,” go for something like “Garlic Butter Shrimp” or “Sheet Pan Lemon Shrimp.” These minor clarifications help readers understand the flavour and effort level before they click, and they also stop you from having multiple posts with nearly identical names. When you review your draft, ask whether someone who’s never made the dish before would know what to expect just from the title.
Confirm ingredient precision
Precise ingredient lines prevent most reader mistakes, so start by checking that each item appears in the exact order it’s used. Prep should always be written in line – “1 cup chopped walnuts” and “1 cup walnuts, chopped” are not the same measurement, and readers rely on you to spell out the difference clearly. If an ingredient appears more than once, mark it as “divided” and note how much goes into each step so no one accidentally adds the full amount at the start.
For accuracy, list both weight and volume whenever possible. Using grams or ounces alongside cups removes the guesswork that causes so many recipe failures, especially for flour, cocoa, and other variable-density ingredients. If you’re choosing between weight and volume, weight is almost always more consistent, but offering both gives every cook a fair chance at getting it right on the first try.
Check instructions for vagueness
Vague instructions are one of the main reasons recipes end up being no good for readers, so each step should be clear, specific, and observable. Replace open-ended phrases like “cook until done” with a time range and a visual cue, such as “cook until the edges turn golden, about 12 minutes.” Check that pan sizes, oven rack positions, and temperature units (°F/°C) are included wherever they affect results.
If a step contains more than one action, break it into separate numbered steps so readers don’t miss anything in the moment. When technique affects texture or structure, add a short “why” note – something as simple as “don’t overmix or the muffins become dense” can make all the difference. These cues only show up after proper recipe testing, and they’re exactly what people look for when deciding if they can trust your recipe.
Test timing and yield
Timings and yield are small details that have a big impact on how smoothly someone can cook your recipe. Start by breaking out prep time, cook time, and total time into separate fields so readers can plan around each stage. If there’s inactive time – resting dough, chilling batter, marinating – note that too, so nothing catches people off guard.
State your yield in plain terms like “Serves 4,” “Makes 12 muffins,” or “Yields 2 cups of sauce.” When the portion size isn’t obvious from the yield alone, add a quick clarification such as “1 serving = 2 muffins” or “1 bowl = about 300g.” These simple checks help readers shop accurately, avoid waste, and understand exactly what the recipe will produce before they start.
Check accessibility and user experience (UX)
A recipe should be easy to read for everyone, so do a quick accessibility checkup before publishing. Start by running your text and background colours through the WebAIM Contrast Checker to confirm they meet the 4.5:1 ratio for normal text. Then use the WAVE browser extension to scan for missing alt text on step photos, skipped heading levels, and unclear focus states.
Open your print view to verify it removes ads and clutter while keeping headings and structure readable for assistive technologies. Finally, test basic keyboard navigation: can you tab through the recipe card in a logical order without getting stuck? These small checks make your recipe easier to follow on screens, in print, and with assistive tools – all things your readers will appreciate when they’re cooking!
Validate structured data
Before publishing, run a quick check to make sure your recipe’s structured data is intact. Open your draft post, view the page source, and paste it into Google’s Rich Results Test. Look for a Recipe JSON-LD block and confirm there are no errors or missing required fields. The preview panel should show your image, cook time, prep time, ratings (if included), and key metadata exactly as readers would see them.
If anything is missing or flagged, fix it before the post goes live – broken or incomplete schema can prevent your recipe from appearing correctly in search features and can also signal that something in your recipe fields isn’t filled out properly. This step takes less than a minute and helps make sure all your metadata is accurate and consistent.
Document your editorial standards
Once you’ve built a solid checklist, write it down as a simple, repeatable set of rules your whole team can follow. Clear editorial standards make your recipes consistent even as writers change or workloads shift. They also remove guesswork – everyone knows how to format ingredients, how detailed steps should be, what metadata is required, and what “ready to publish” actually means. With a shared reference, you spend less time fixing inconsistencies and more time developing recipes your readers can trust.
Write a one-page checklist document
Turn every QA step in this article into a simple yes/no question you can run through before publishing. Keep it short and concrete: “Does the title include the dish name + one descriptor?” “Are all ingredients in order of use?” “Do steps include sensory cues and time ranges?” Pair each question with accept/reject examples so expectations are obvious – e.g., “Garlic Butter Shrimp” passes; “Shrimp Recipe” doesn’t.
Add the tools your team will need right in the document, including links to Google Rich Results Test, WebAIM, and WAVE accessibility extension. Store the checklist where everyone can access it, whether that’s a shared folder, a project management tool, or inside your recipe development workspace. A single, consistent reference keeps your process stable even when team members change.
Update your older recipes in small batches
Start by filtering your recipes by publish date to surface the oldest posts – these usually need the most cleanup. Then look at your traffic data and flag the recipes readers visit most often. Updating those first gives you the biggest return on effort because small clarifications (dual units, clearer steps, better timings) immediately help the largest group of cooks.
Work in batches of 10-20 recipes so the project stays manageable. Apply your checklist to each one, make notes as needed, and mark every recipe as “complete” in your tracking tool before moving on. This steady, methodical approach keeps the workload realistic and gives your readers a better experience where it matters most: on the posts they still cook from every day.
How WP Recipe Maker helps you QA recipes before you publish
A lot of recipe quality issues come down to formatting, consistency, and missing metadata, and WP Recipe Maker helps you prevent those gaps before they reach your readers. The plugin structures your ingredient list, steps, timings, and equipment fields so you can fill them out in a predictable order, which makes it easier to follow your checklist as you write. Dual units, prep notes, temperature fields, and divided ingredients all have dedicated places in the editor, so you’re less likely to overlook them.
Because the Template Editor controls how your recipe card displays, you can create a layout that highlights the details readers rely on most: inline quantities, clear headings, readable print views, and strong contrast. If you want to add an approval step to your workflow, Pro and Elite users can create custom fields – like “Checklist complete?” – and filter recipes in the Manage screen before publishing. And since WP Recipe Maker generates Recipe JSON-LD automatically, your structured data is already in place when you run your Rich Results Test.
Together, these tools make recipe QA feel like part of your writing flow rather than a separate chore!
WP Recipe Maker handles structured data automatically
Structured data (JSON-LD) is what allows Google to recognise your post as a recipe and display rich details like star ratings, cook times, and photos. Creating this markup by hand requires coding knowledge, and even a small syntax mistake can break the entire block.
WP Recipe Maker takes that pressure off your plate (pardon the pun!) As you fill in fields for ingredients, timings, images, and ratings, the plugin generates all the required Recipe JSON-LD behind the scenes. You don’t write or edit any code – WP Recipe Maker handles the technical formatting, escaping, and validation for you. When you run your Rich Results Test, the schema is already in place and reflects exactly what you entered in the recipe card, making this part of your QA quick and reliable.
Set up your template so everything’s in the right place
WP Recipe Maker’s Template Editor lets you control exactly which fields appear in your recipe card and where they’re placed, so the layout supports your QA process instead of working against it. As you test a recipe, you fill in structured fields for ingredients, times, instructions, nutrition (Pro), and more. Those same fields appear in your published recipe in the order and styling you’ve set in the template.
Because the editing experience mirrors the final card, it’s easier to spot missing details before you hit publish – an ingredient without a prep note, a step without a time cue, or a missing yield field stands out immediately. Adjusting the template once means every new recipe follows the same structure, giving readers a consistent, reliable layout they can cook from without confusion.
Add a custom testing step before publishing
If you’re using WP Recipe Maker Pro or Elite, you can add custom recipe fields that act as your editorial status markers. Create options like “Draft,” “Needs review,” and “QA approved,” then assign the correct status as you work through your checklist.
In the Manage screen, filter your recipes by this custom field to see exactly which posts still need attention. When a batch of recipes has passed all your checks, use bulk edit to update them from “Draft” to “QA approved” in one go. This creates a simple but reliable approval gate: nothing moves to publishing until it’s been tested, reviewed, and signed off according to your standards.
Catch mistakes before readers do
A pre-publish checklist avoids frustrating gaps like missing prep notes, unclear timings, or ingredients that don’t match steps. Consistent checks make recipes reliably clear and easy to cook from.
Start by using this workflow on your next new recipe. Once it feels natural, work through your older posts in small batches, giving extra attention to the ones that still bring in steady traffic. Improving those recipes first gives readers a better experience right away and helps you feel good about the posts people rely on most.
Over time, this becomes a habit: write, test, check, publish. No guesswork, no 11 pm corrections, just a process you can trust!
Need a hand? Download our recipe writing checklist and keep it open next to your draft for a quick final pass!
Get WP Recipe Maker, set up your template, and run this checklist on your next recipe. Your readers (and your peace of mind) will notice the difference, trust us!