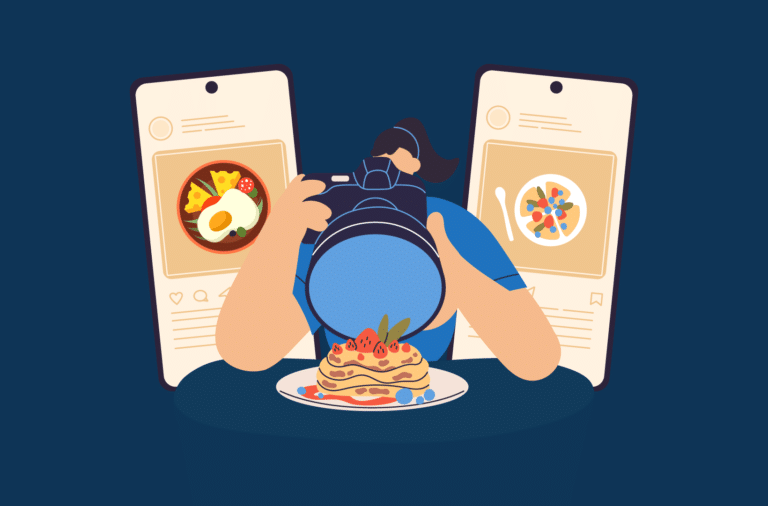
Want to make your food blog more engaging? You should add videos to your recipes!
People all over the world love to watch food videos on different platforms such as YouTube and Instagram. While you don’t need to ditch your food blog to open a YouTube channel, you should look into adding videos to your recipes so you can appeal to a wider audience who may be interested in that kind of content.
Having videos on your site can also help you rank better in search engines, which will increase traffic to your food blog!
Read on to find out everything you need to know about how to make a food video for your blog and how to add cooking videos to your WordPress site using WP Recipe Maker.
Why Should You Add Videos to Your Food Blog?
While there are plenty of successful food blogs that don’t use videos, there are lots of reasons why you want to consider them for your own site. Before we look at how to make a food video, let’s see why it’s a great idea!
- While you don’t need videos for your blog, they have become the standard. Many people are used to consuming food videos, on blogs and social media platforms, so by adding videos to your blog you have more chance of keeping your audience’s attention. You’ll also appear more relevant since you can keep up with the current trends.
- Recipe videos can make the process of following a recipe easier and can make the food itself seem more appealing by using the right shots.
- You’ll be a more versatile content creator if you can make recipe videos, and you can easily add them to other platforms to expand your audience. This way you can add a food video to Instagram, for example, and users will be able to find your blog through your videos.
- Adding videos to your site helps with SEO. When Google crawls your website it will index your videos and if you rank well enough your videos could appear in the main search results page, video search results, Google Images, and Discover.
What Equipment Do You Need to Make Food Videos?
Are you worried that you don’t have the right equipment to make videos, or don’t have the budget to buy expensive equipment? The great news is that you can make high-quality, professional videos without having to spend much money.
Let’s look at how to make a recipe video with a modest budget and a reasonable amount of equipment.
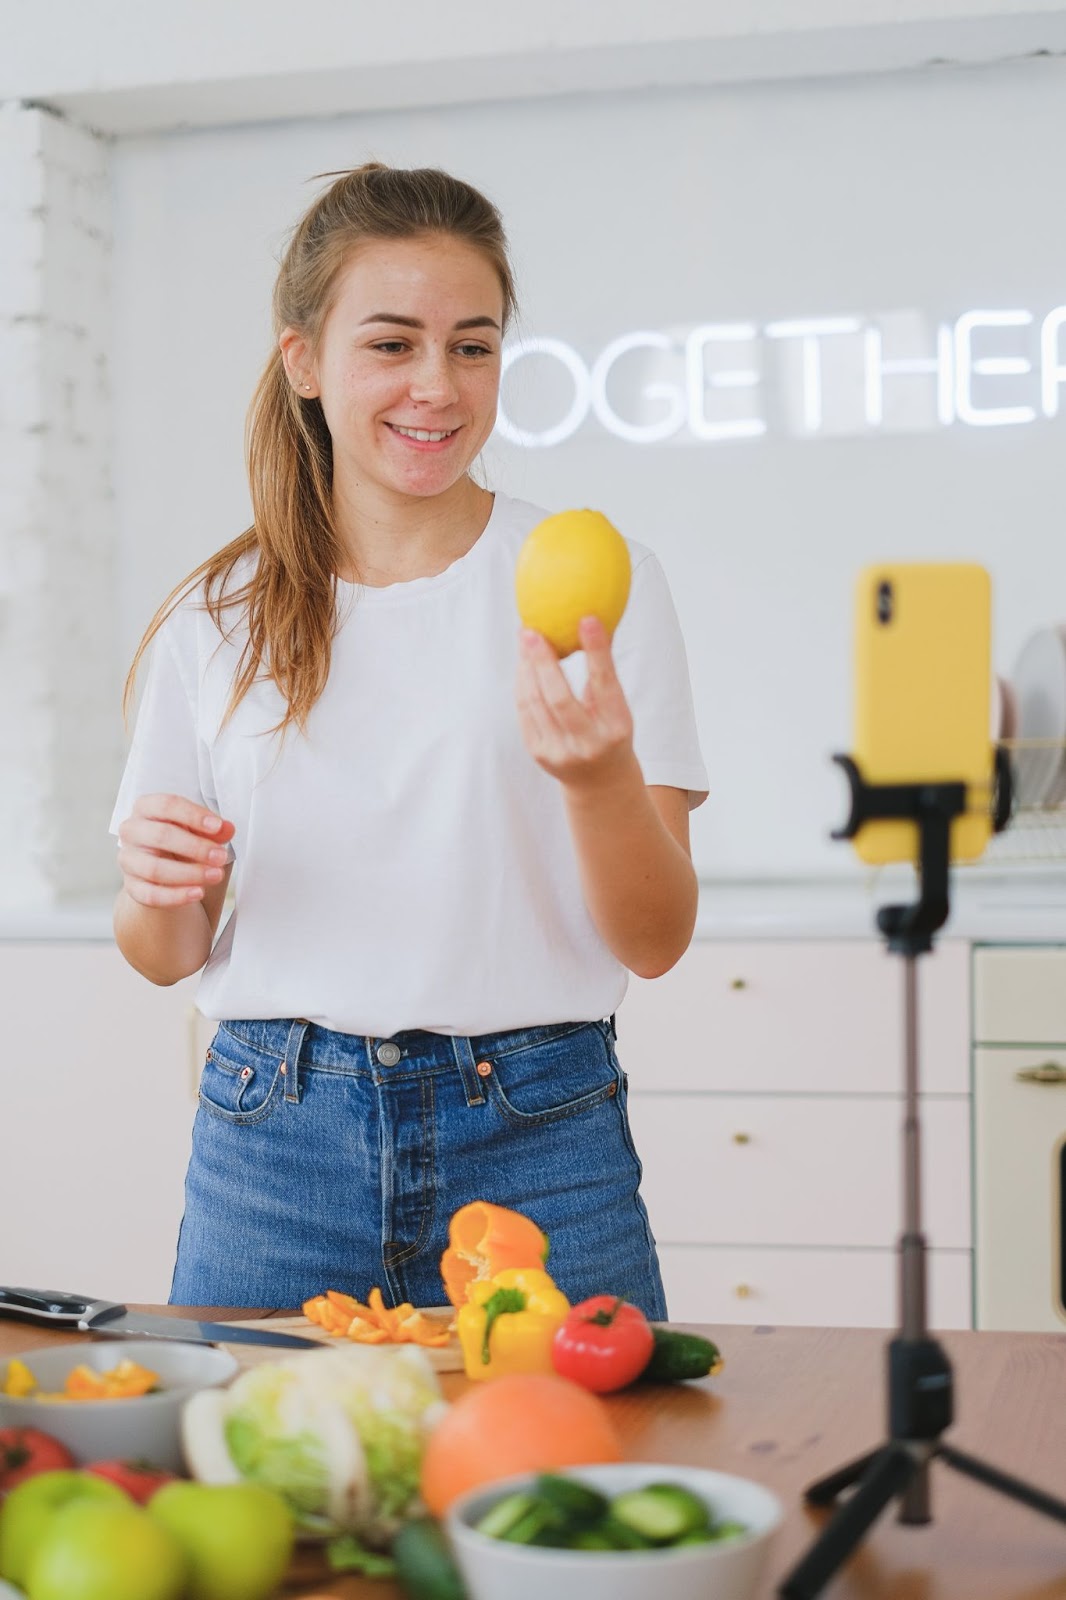
Camera
A good smartphone like an iPhone is fine for most people, so if you have a decent camera phone you don’t need to rush to buy a professional camera. Some smartphones are better than others, of course. So if you’re just starting, create your first videos with your smartphone and see how it goes.
Whatever you start with, you should be recording in high resolution, which means at least 1080p.
Later on, if your videos are going well, you can always upgrade to a good mirrorless or DSLR camera that you can pick up on Amazon or elsewhere. These are more expensive, but they have more professional features like better white balance, and you can consider them an investment in your business.
Tripod
A tripod is an easy addition to your kit. They are typically inexpensive, although you can get various types at different prices. For your needs, a simple tripod is more than fine. This will allow you to film your recipes from various angles without the camera shaking. If you’re using your smartphone, you’ll need a tripod that has the right attachment.
Lighting Kit
Just as recipe books use stunning food photography to make the food look more tempting, you need to make the food in your videos look amazing. And one of the ways to do this is by focusing on lighting.

No matter how delicious your recipes are, they won’t look great if you don’t have the right lighting. Your foodie visitors want to see the ingredients and steps in all their glory, so a lighting kit should be considered a requirement.
While natural light can be effective, it’s best to invest in a lightbox or two with diffused screens. This will ensure the lighting is consistent when you film, and it will make the colors and the details pop out.
Audio Recorder
If you plan on adding audio to your videos then you may prefer to record it externally. Even if your smartphone has a good in-built microphone, you have to factor in that the audio won’t be consistent if you’re always adjusting the positions and angles of your camera.
Consider investing in an omnidirectional microphone or a field recorder with a high-quality microphone to ensure clear audio. You could also film your videos and edit them before adding audio at the end with voice-overs.
Video Editing Software
Your videos don’t have to be works of art, but people expect them to be edited properly. Fortunately, you don’t need to be a professional video editor to produce recipe videos, but you’ll need some basic editing skills.
A program like Premiere or iMovie should be more than enough for your purposes. These allow you to do all the basic editing you need to make your videos look professional and more enjoyable to watch. You could even use a smartphone app, like inShot, if you’re shooting on your mobile device.
How to Make a Food Video for Your Blog with Our Top Tips
The first thing to keep in mind when making videos is that you should make them your way. Your unique style is part of your brand. But with that in mind, there are still a few video tips that you can use to make your videos more appealing.
Determine Your Style
What is the intention of your videos? Will they be short video clips covering the basics and quickly getting to the final product? Or do you want to talk viewers through the recipe? It’s a good idea to watch lots of other recipe videos to get an idea of how you want to develop your own style.
There is no right or wrong, but consistency is good. Style is something you will develop over time, but it doesn’t hurt to have a clear idea of what you’re aiming for when you start.
Create a Storyboard
Spend some time creating a storyboard for your video. This does not have to be too elaborate, just a quick template of what you want the video to show, the intro, the transitions, the ingredients you will need, pots and pans, and the shots you want to use.
Film Every Step
Film every step of your recipe. it’s better to have more footage than less. Whatever you don’t want to include in the final video, you can cut later. Film your videos in 15-20 second clips to make editing easier. This is where your storyboard comes in handy, as you can use it as the basis for your clips.
Mix Up Your Shots
Use a range of shots, including base coverage, close-ups, and overhead shots. Think about what shots will work best for each scene – overhead shots can be great if you’re demonstrating how to make the video, while close-ups are great to show off the final product.

Use Time Lapses
While you want to show all the stages, you don’t want people to get bored. So speed up parts like chopping the food up and the prep: people can usually do that without instruction. For example, if you’re stirring some sauce for five minutes, speed it up to a few seconds. This keeps the video more concise and makes it more interesting to watch.
Keep Talk Relevant
If you plan to talk during your videos, try to keep it relevant. On platforms like YouTube, it’s usually fine to add some more backstory and even behind-the-scenes footage, especially for lengthy recipe tutorials.
But remember that people will probably land on your website after a search for a specific recipe. They are less interested in your online persona and more interested in finding out how to prepare the food.
Focus on Audio Afterward
If you are visibly talking in the video, then you’ll need to record audio while you’re filming. But if you want to add narration to your recipe video, recording your audio after you shoot is a great idea.
This way, you can focus on the quality of the filming and then on the quality of your audio in two separate stages. This makes it easier to create a professional result.
Add Textual Instructions
Depending on the style you’re going for, you may want to add some instructions in the form of text. If so, keep them very brief.
Just add text like ingredient lists and single-sentence instructions. People don’t always watch videos in quiet environments, so this can help them to follow the stages.
Create Long and Short Versions
Start by creating the main version of your video, but consider creating a shorter version too. For example, this could be a 15-second version that is highly edited and shows just the main steps.
These are popular on social media platforms like TikTok and great for sharing with appropriate hashtags. They can also lead people back to the full video on your blog.
How To Add Videos to Your WordPress Food Blog
You now know how to make a food video and create a stunning finished product with these quick video hacks. But once you have made your first videos, you need a way to get them onto your website.
If you have a WordPress blog, there are a few options, but the best way is to use the WP Recipe Maker plugin.

What Is WP Recipe Maker?
WP Recipe Maker is a WordPress plugin that makes it easy to add stunning video recipes to your WordPress site. You can create beautiful-looking recipe cards by choosing from the standard template options or by using the Template Editor to customize them to fit your blog’s style and appearance.
The plugin is packed with features that you can use to display your recipes, such as adding Call-to-Actions and Ingredient Links. You can set adjustable servings so that users can make sure your recipe fits their needs. But the feature we’re specifically interested in today is that you can use the plugin to add videos to your recipes.
Apart from making your recipe cards more engaging as we’ve discussed throughout the article, the plugin will make sure that any videos you add to your recipes are included in the recipe metadata. This means they could appear in the search results in Google in rich snippets or rich cards. Doing this can help to get more visibility for your recipes and drive more traffic to your blog.
How to add videos to your blog using the plugin
It’s easy to start with WP Recipe Maker to add a video. You can either embed a video or upload a video directly.
Embedding a Video
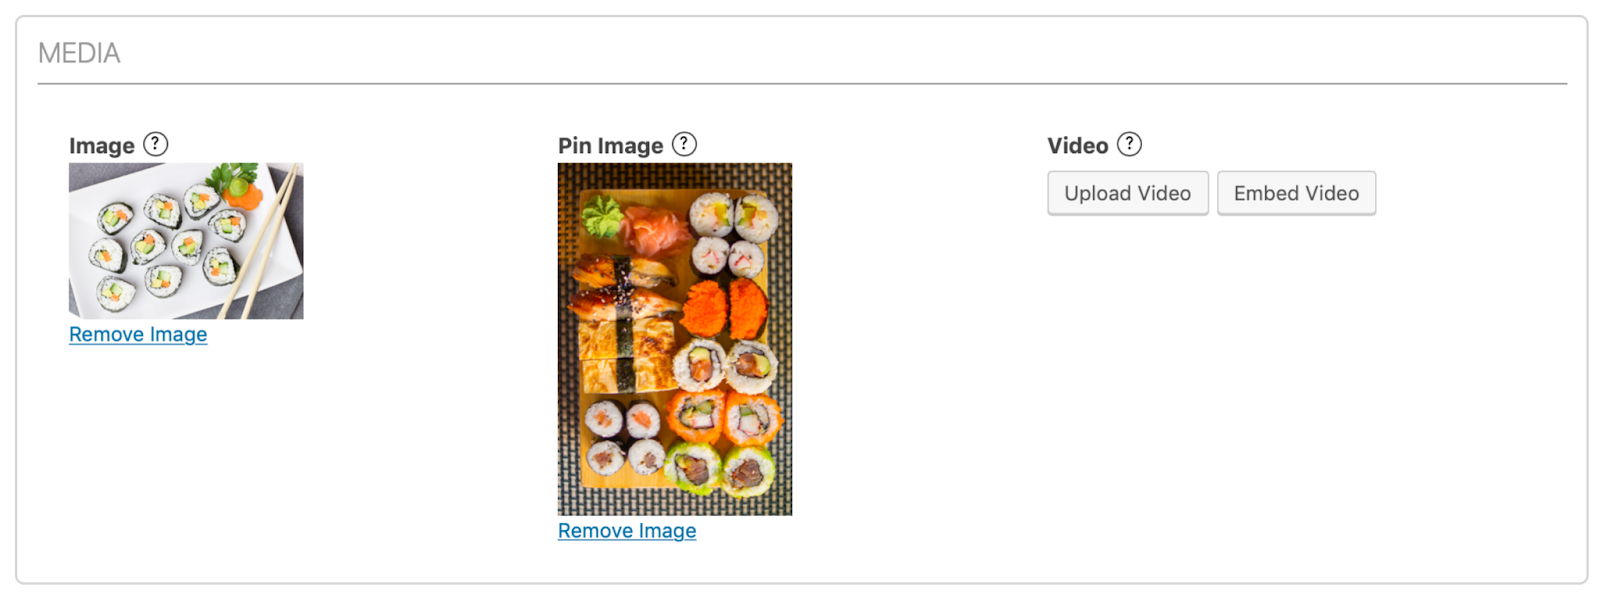
Once you have a video you want to add to your blog, go to the Media section of the plugin.
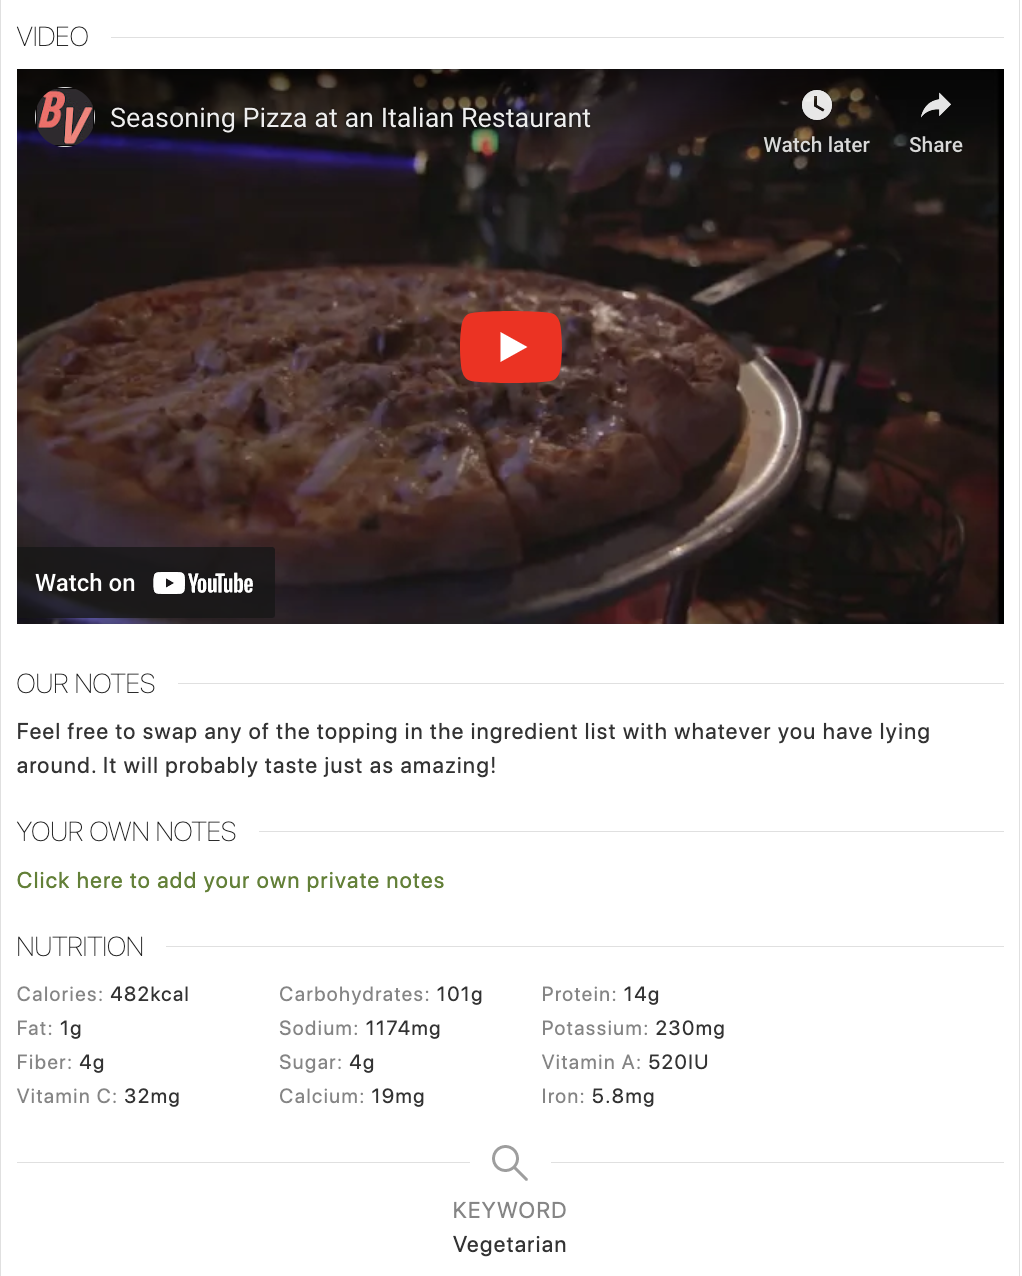
Paste a link to your video or use the embed code provided on the site. Some of the sites supported include YouTube, Vimeo, Mediavine, and AdThrive. If the sites provide a WordPress shortcode, you can also use this.
The plugin retrieves the video markup and adds it to the recipe metadata.
Uploading a Video
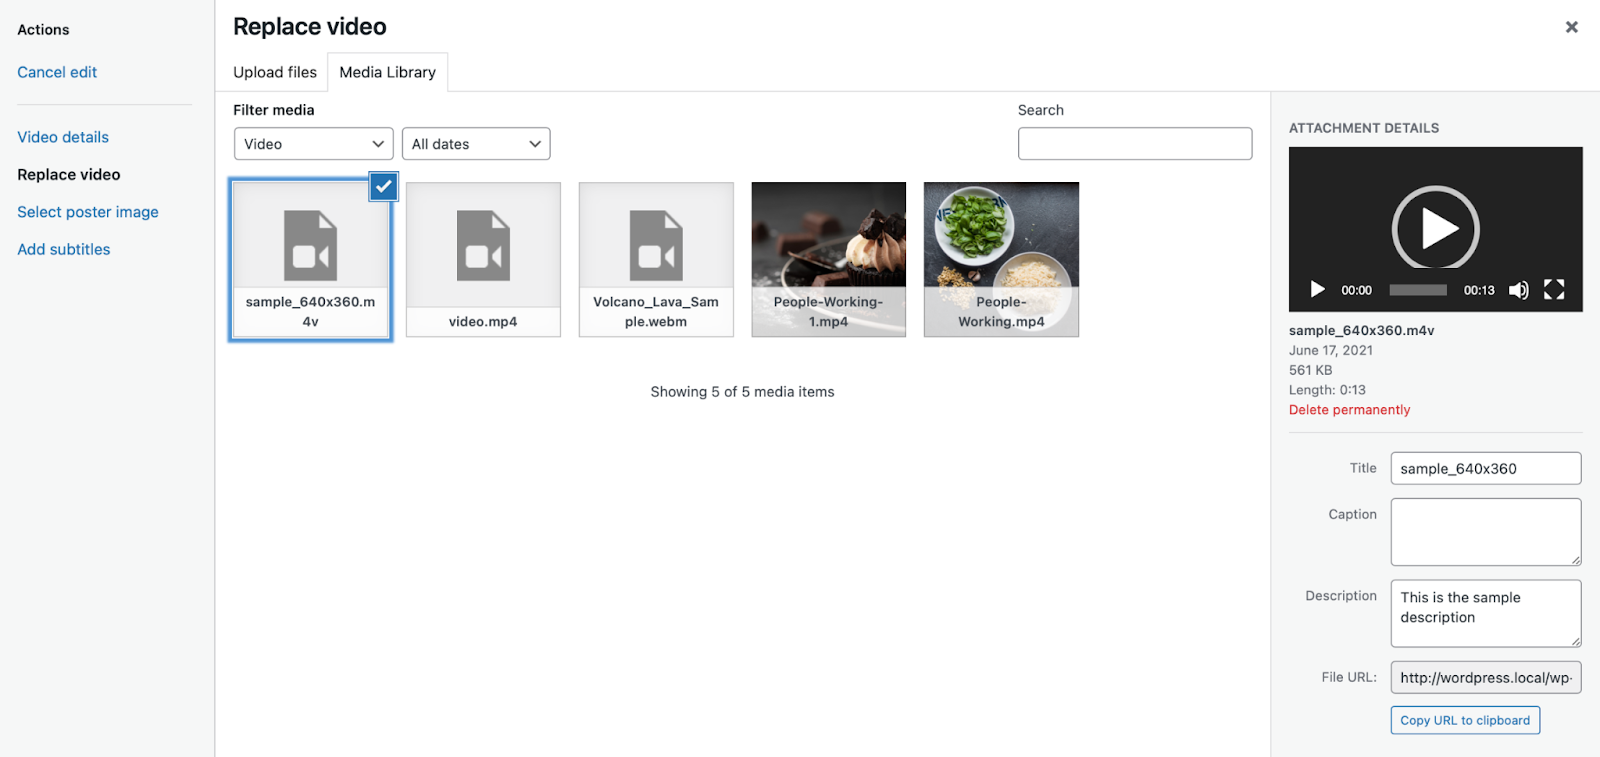
While embedding is recommended for most sites, you can upload a video directly in the ‘Upload Files’ tab.
You’ll need to add details about the video to complete its metadata. To add a title and description, click on the video’s thumbnail, go to ‘Replace Video,’ and select the video. A sidebar will appear to insert these details. You can select the poster image in the left-hand menu.
Show a Video Outside the Recipe Box
The videos you show will, by default, be shown inside the recipe box, but you have the freedom to choose to show the video outside the box too.
In the Template Editor, remove the video field from your recipe template. Then, decide where you want the video to appear in the post.
When you have decided, just add the shortcode [wprm-recipe-video] in the place you want it to go.
Add Videos to Your Food Blog with WP Recipe Maker
To run a successful food blog, you should know how to make a food video and present it properly. As this guide has made clear, you don’t need to be a professional videographer or buy expensive equipment.
And with WP Recipe Maker, you can quickly add videos to your WordPress blog. This way, you can make your recipes more engaging and boost the chances of your recipes ranking!
Try WP Recipe Maker and see how easy it is to add video recipes to your blog.