Do you run a blog about cooking and want to improve your food photography? Are you looking for some helpful tips and tricks to make your creations stand out and attract new followers?
Photography is an integral component of any food blog! If your content includes beautiful and appetizing images, you will be able to catch the attention of your readers and grow your audience more quickly. However, if it’s the first time you’re seriously taking up food photography, you might find it’s a challenge to get started.
In this post, we’ll explore how to take great pictures of your food and optimize them for your blog. Let’s get started!
What Are the Benefits of Good Food Photography?
If you care about having good content on your food blog, then you need to care about having good food photography! It’s important to have an interesting food blog introduction page, and easy-to-follow recipes. But you also need to think about the visual experience of your blog.
If your photos are unappealing or low-quality, readers will be put off and might not want to read your descriptions or cook your meals. If, on the other hand, your recipes include illustrative and attractive images showing the different steps and the final result, your readers will be much more compelled to try out the recipe for themselves or share your recipe with other people.
If you want to monetize your blog by adding affiliate links on your blog for ingredients and equipment, it’s even more important that you have great photos (as any eCommerce marketing expert will tell you), as you can display these products in your recipes and encourage your readers to purchase them through the links on your site!
High-quality images are also a ranking factor according to Google, so having clear images that complement your recipes could help your site appear higher in search results, which will help you stand out in the competitive food blogging scene. Finally, food photos are versatile, and can be used on multiple platforms! If you have an Instagram account where you promote your blog, for example, you can upload your photos there as well as on your website. You can collect your photos and use them in a cookbook when you have enough recipes!
How to Take the Best Photos of Your Food for Your Blog
You don’t need to be a professional photographer to take great food photos. All you need is a good smartphone, some practice, and a few handy tips. Check out our top food photography tips below, and you’ll be able to get started in no time!
Tip One: Look at Other Food Photos for Inspiration
An easy and convenient way to get inspiration for your food photography is to follow other food bloggers and professional photographers and see what they are doing right. This is a really straightforward way to build on your own photography skills, too.
A convenient way to find inspiration is to use Instagram to explore your favorite food bloggers’ photography. This platform is full of talented creators who have mastered the art of food styling, photo editing, and attractive food shots.

Tip Two: Work on Your Photography Skills
Developing your photography skills is actually much more important than purchasing expensive camera equipment. So, if you want to take great food photos, make sure you get plenty of practice.
There are many professional food photographers, including Christina Peters and Betty Liu, who offer product photography workshops and tutorials. Of course, you can learn on your own; but having a great teacher will help you develop your skills faster and more consistently.
Tip Three: Make Sure You Have the Right Equipment
As we mentioned, you don’t need expensive equipment to take the best food photography. Here’s how you can get started with minimal equipment!
Camera
You don’t need to invest in a high-end camera. If you have good photography skills, you can just use a smartphone to capture your results. This is a perfect option if you don’t want to invest too much money yet. However, if you want to achieve superior resolution, sharpness, and clarity, a DLSR camera is worth the investment.
The Nikon Z7 II is a great high-end option for capturing all the fine details. The Nikon D3500 is also a great budget option for beginners.
Top tip: Experiment with different camera settings to adapt your shots! For example, a faster shutter speed and higher ISO will result in a crisp, well-lit shot.
Lenses
It’s always better to go for fixed macro lenses for close-up photography, as you can capture all the details of your food more easily. If you’re using a smartphone, you can get a lens attachment to enhance the quality of your photos.
Tripod
A tripod is an affordable and highly convenient accessory for creating professional-looking images. Using one will help you have more control over the angles and framing of your photos and avoid taking blurry shots – a big no-no for any blogger!
Tip Four: Consider Your Lighting
In photography, there is a big difference between using natural lighting and artificial lighting. For food photography, natural light is considered best. However, not everyone has access to a window or space that receives it, so you can use artificial light to imitate it. Softboxes, diffusers, and reflectors are all great options to get a soft, natural light that reduces harsh shadows in your pictures.
Top tip: adjust your white balance to imitate different times of the day. For example, if you want to have a sunrise-like light for a breakfast dish, you can set your camera to 4500-5000 Kelvin.
Tip Five: Photograph Different Steps of the Recipe
It’s essential to take photos of your food preparation process as well as your finished dish. The step-by-step photos are the easy part, as it’s quite repetitive. What matters here is that they are uniform and shot from a birds-eye view. Remember: It’s always better to take too many pictures and then delete the unnecessary ones (as opposed to taking too few and realizing you might have missed a step!).
Photographing your finished dish will usually take a little more time and consideration, but this means you can also get to be more creative! Think carefully about how you want to present your food and choose a style that fits your brand and message.
Top Tips on How to Photograph Your Finished Dish
Here are some additional tips for making your pictures more attractive and unique:
- Don’t be afraid to experiment with composition and framing. After all, you want your recipes and photos to stand out, not get lost in a sea of similar images.
- Take multiple shots from different angles. This will give you different options when it comes to editing and choosing which one works best for each shot. For example, if you’re taking pictures of cakes or pastries, make sure you take pictures from above as well as from different angles so that readers can see what it looks like from various perspectives.
- Styling your final food before shooting it is crucial! Think like a food stylist. What makes your dish special? How can you use color to help it stand out? Some things you can do include:
- Garnishing your food with other attractive ingredients.
- Choose complementary colors or elements that help the overall composition.
- Choose an appropriate background for your food photography; you can use the same one for all your food photos or create different ‘scenes’ for each.
- Minimize clutter. Your food should speak for itself, so make sure you’re not filling the picture with unnecessary distractions.
- Use props such as utensils, containers, and additional ingredients placed on the side of the prepared dish.
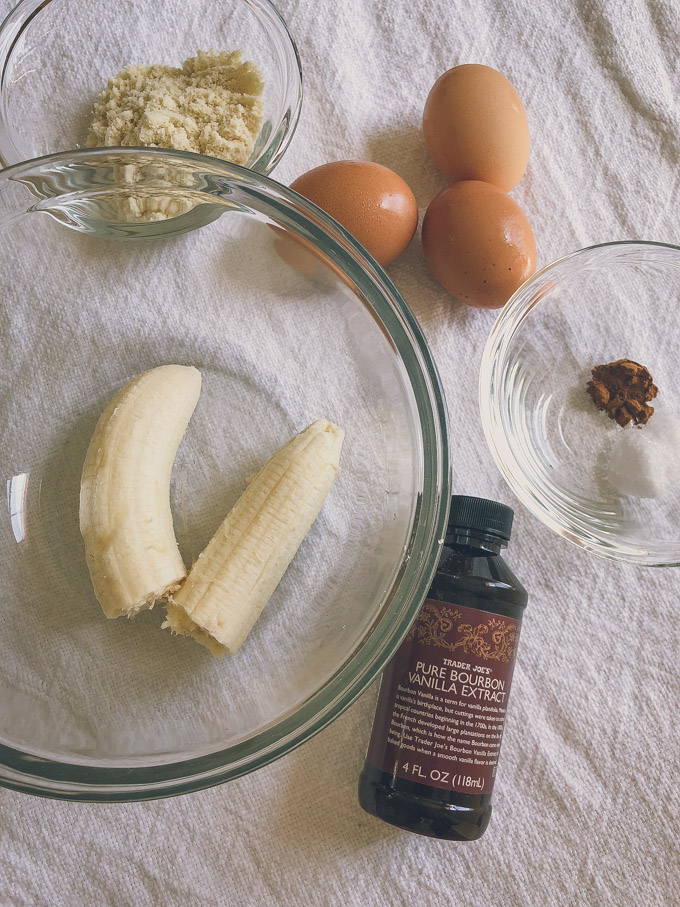
- Include key ingredients in the background. This is a particularly good idea if you want to feature your photos and tempt users to click on them to learn more about a recipe.
Tip Six: Edit Your Photos
You need to know how to take a great picture from the start, but you’ll likely have to make some light edits to get it website-ready! Using editing software can help you tweak your photos to adjust contrast, light, colors, and much more.
Two of the most popular options when it comes to editing food photographs are Lightroom and Photoshop. These programs serve different purposes. We recommend you start with Lightroom, as it’s great for easily managing and processing thousands of photos. This is where you’ll likely spend most of your editing time. However, Photoshop is an excellent tool if you need to edit your photos further. For example, if you want to crop elements, clean image artifacts, or highlight specific features or ingredients.
Tip Seven: Use the Right Tools for Publishing Photos
We’ve covered how to create and edit your pictures. Now, it’s time to share your food photos with the world! Sharing them on social media is the best way to drive traffic to your blog.
If you have a food blog or website, it’s always a good idea to upload your step-by-step and final result photos to your recipe post. And if you have a WordPress site, WP Recipe Maker is a fantastic plugin that makes it easy to showcase your recipes and food pictures beautifully on any page.

What is WP Recipe Maker?
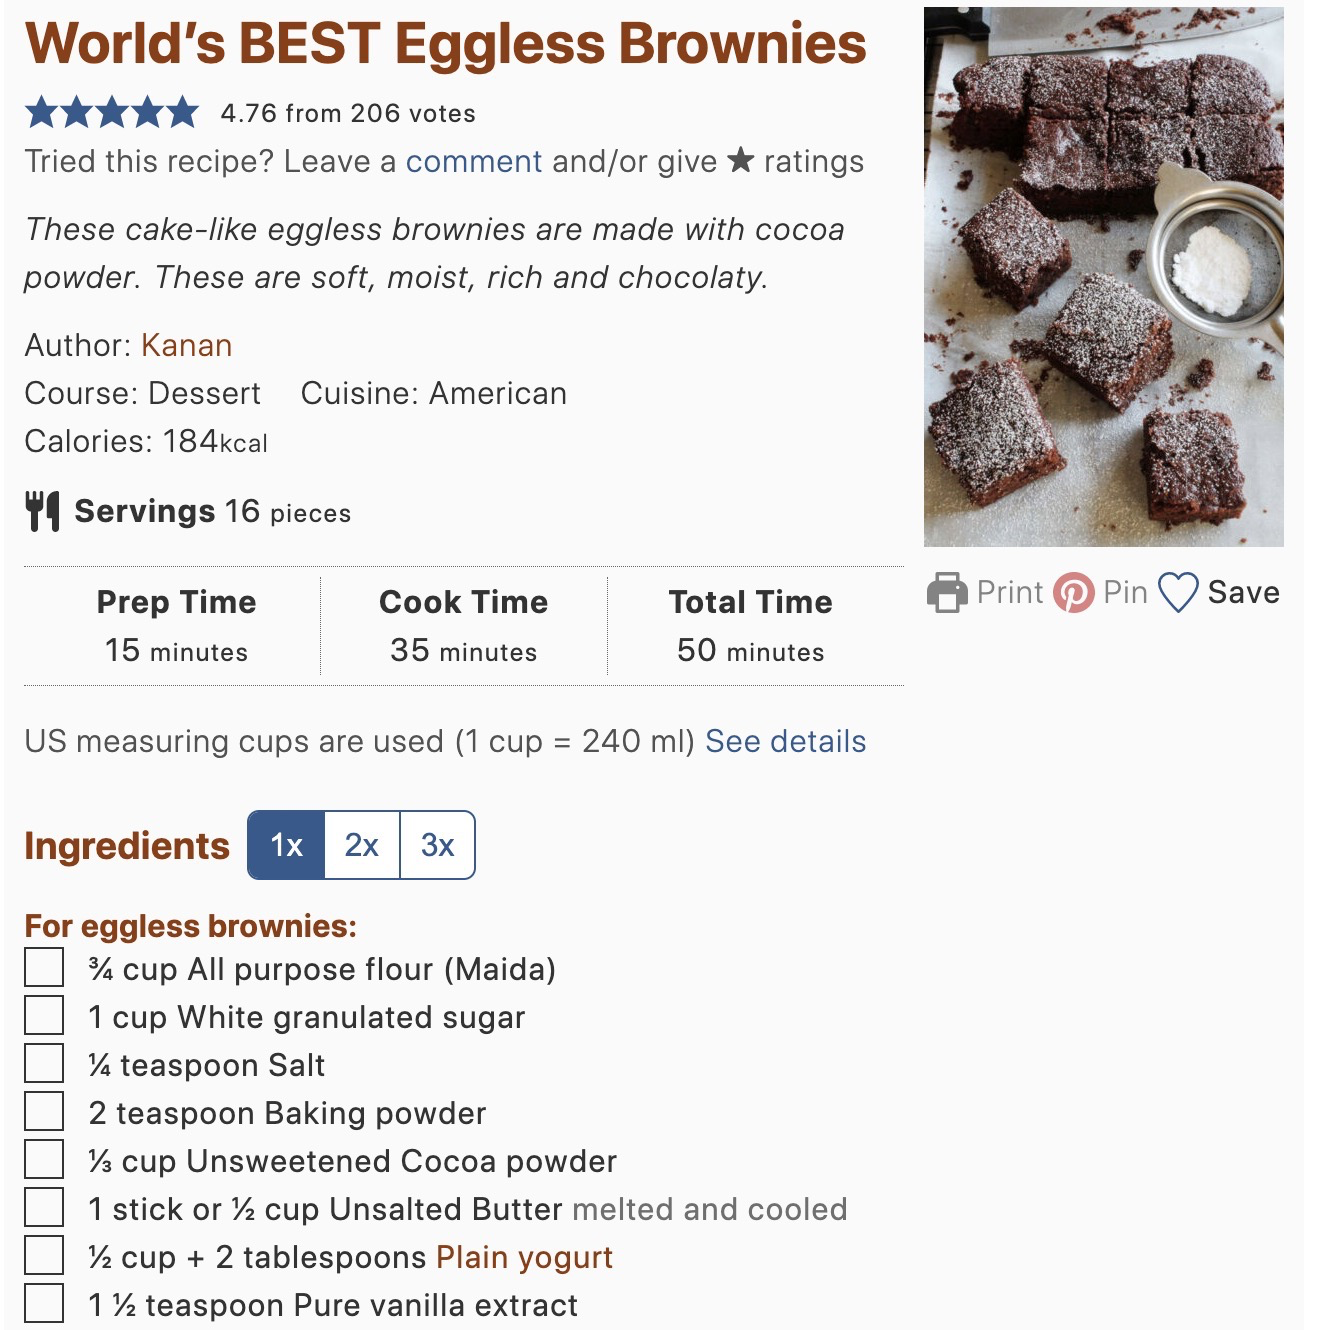
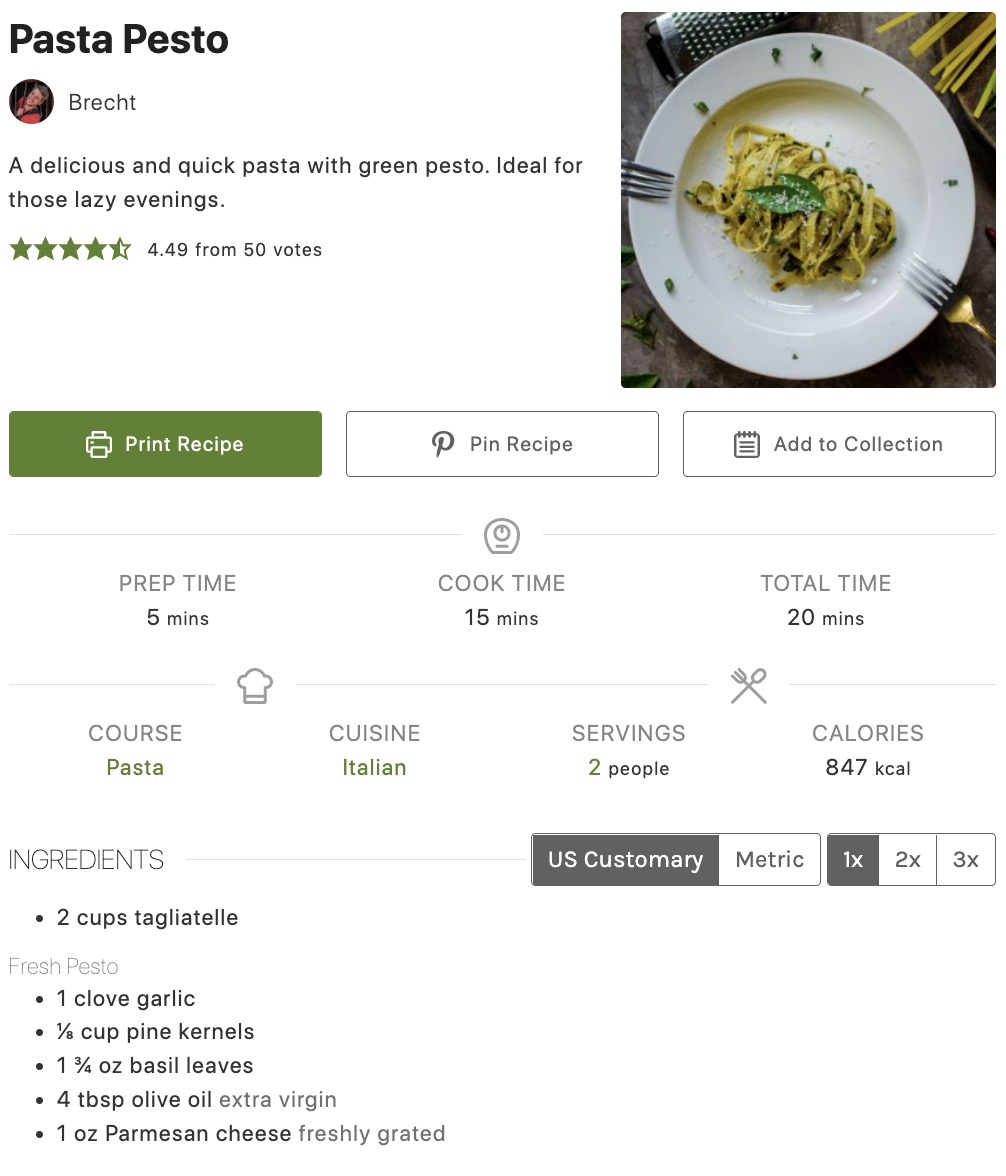
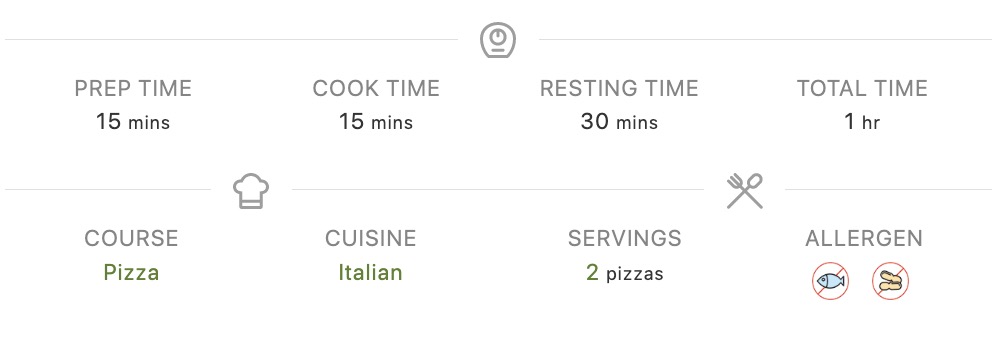
WP Recipe Maker is a recipe plugin that allows you to create, customize and display your recipes directly on your WordPress site. Many food bloggers use it daily, as it helps them add all the correct recipe metadata automatically. This means that, if you use this tool, you can showcase your food pictures in the SERPs in the form of rich snippets and Google Carousel results.
Additional WP Recipe Maker features will also allow you to:
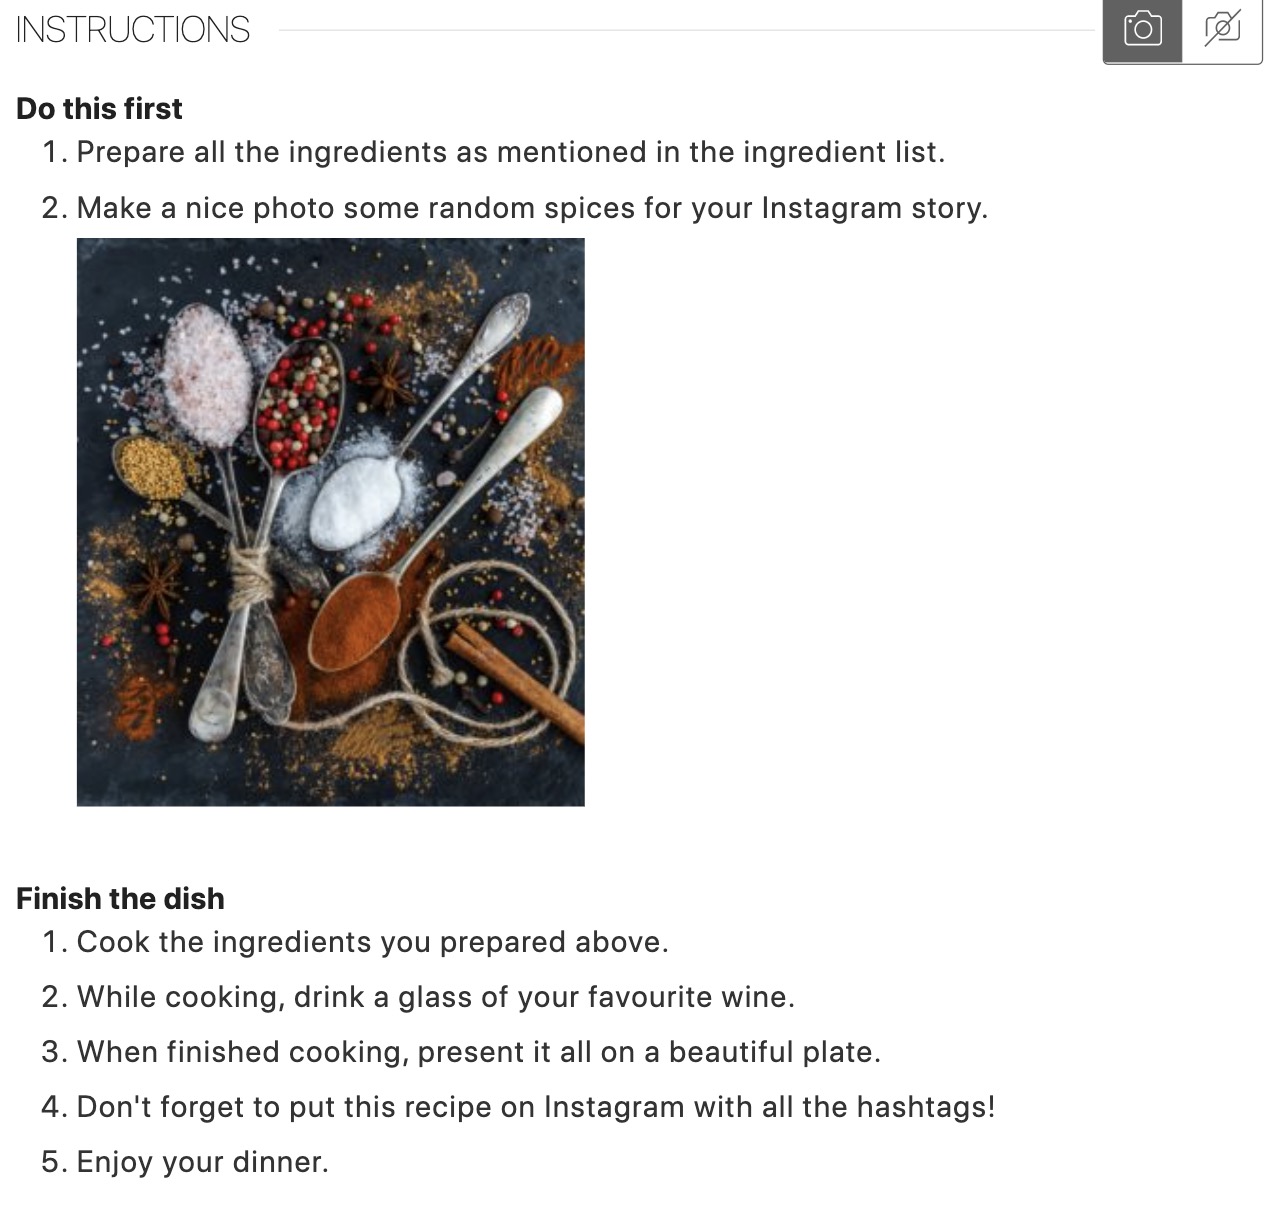
- Add photos to any step of the recipe. This will help your readers to follow all instructions to recreate your dishes.
- Add a “Pin Recipe” button to your template to allow visitors to pin custom recipe images. You can also allow users to print recipes and add them to their own collections, and include personal notes.
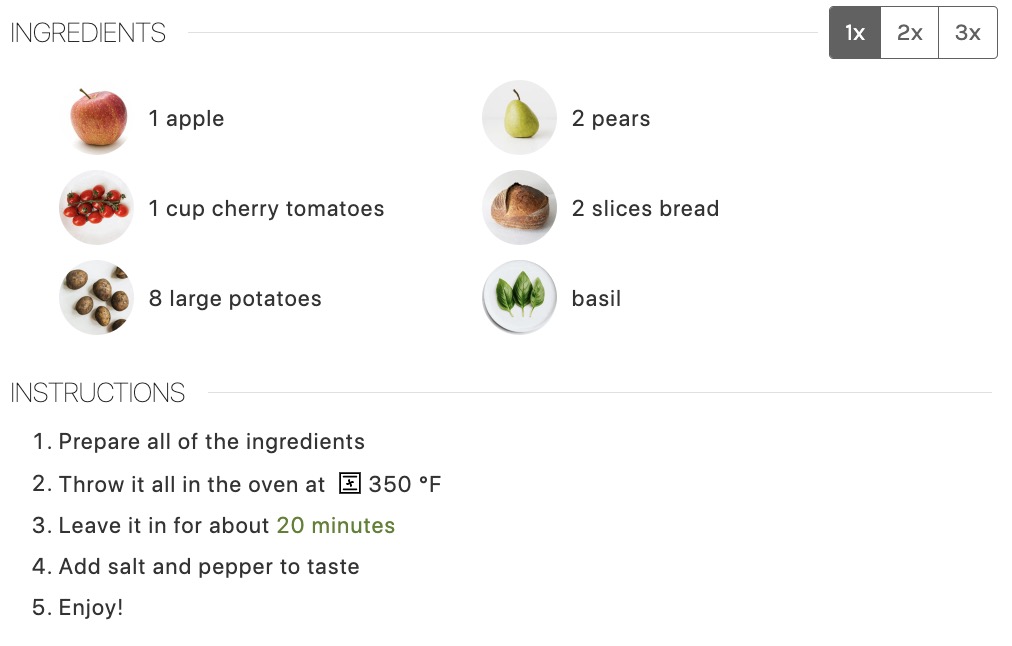
- Add ingredient images to make it easier for visitors to identify ingredients used in your recipes. You can also show how the ingredient amounts change if you’re making one, two, or three portions.
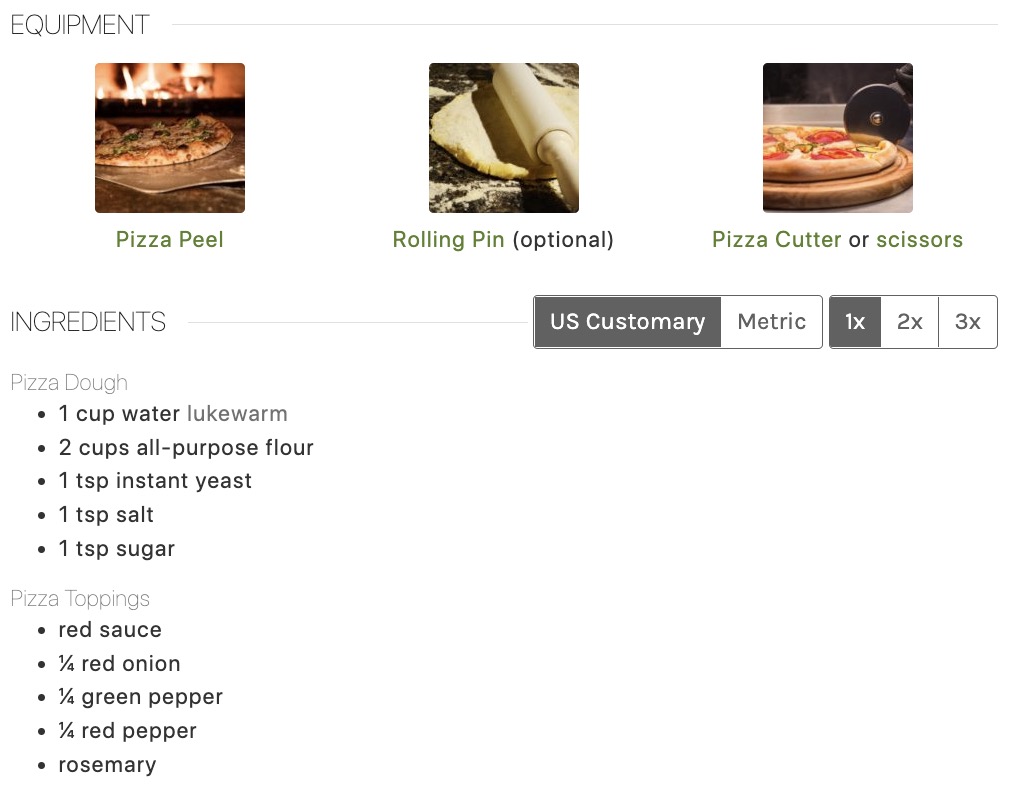
- Add equipment images to your recipe to easily show mandatory and optional accessories. You can also combine these images with equipment links to promo your affiliate marketing.
- Add taxonomy term images.
Growing Your Food Blog With Beautiful Food Photography
If you want to grow your food blog, showcasing good food photography is vital. Great photos can help your content stand out and inspire users to recreate your recipes!
You don’t need much to create the best food images for social media, your blog, or your website. In fact, skill and practice go a long way, longer than having a powerful camera, a tripod, or lighting setups.
If you want to share your best recipes online, WP Recipe Maker is the best WordPress plugin for the job. This tool will allow you to add multiple steps and final result photos (as well as ingredient images and equipment images), allow visitors to pin recipes, and create taxonomy term images to help your followers recreate your dishes.